New Year’s Office Refresh

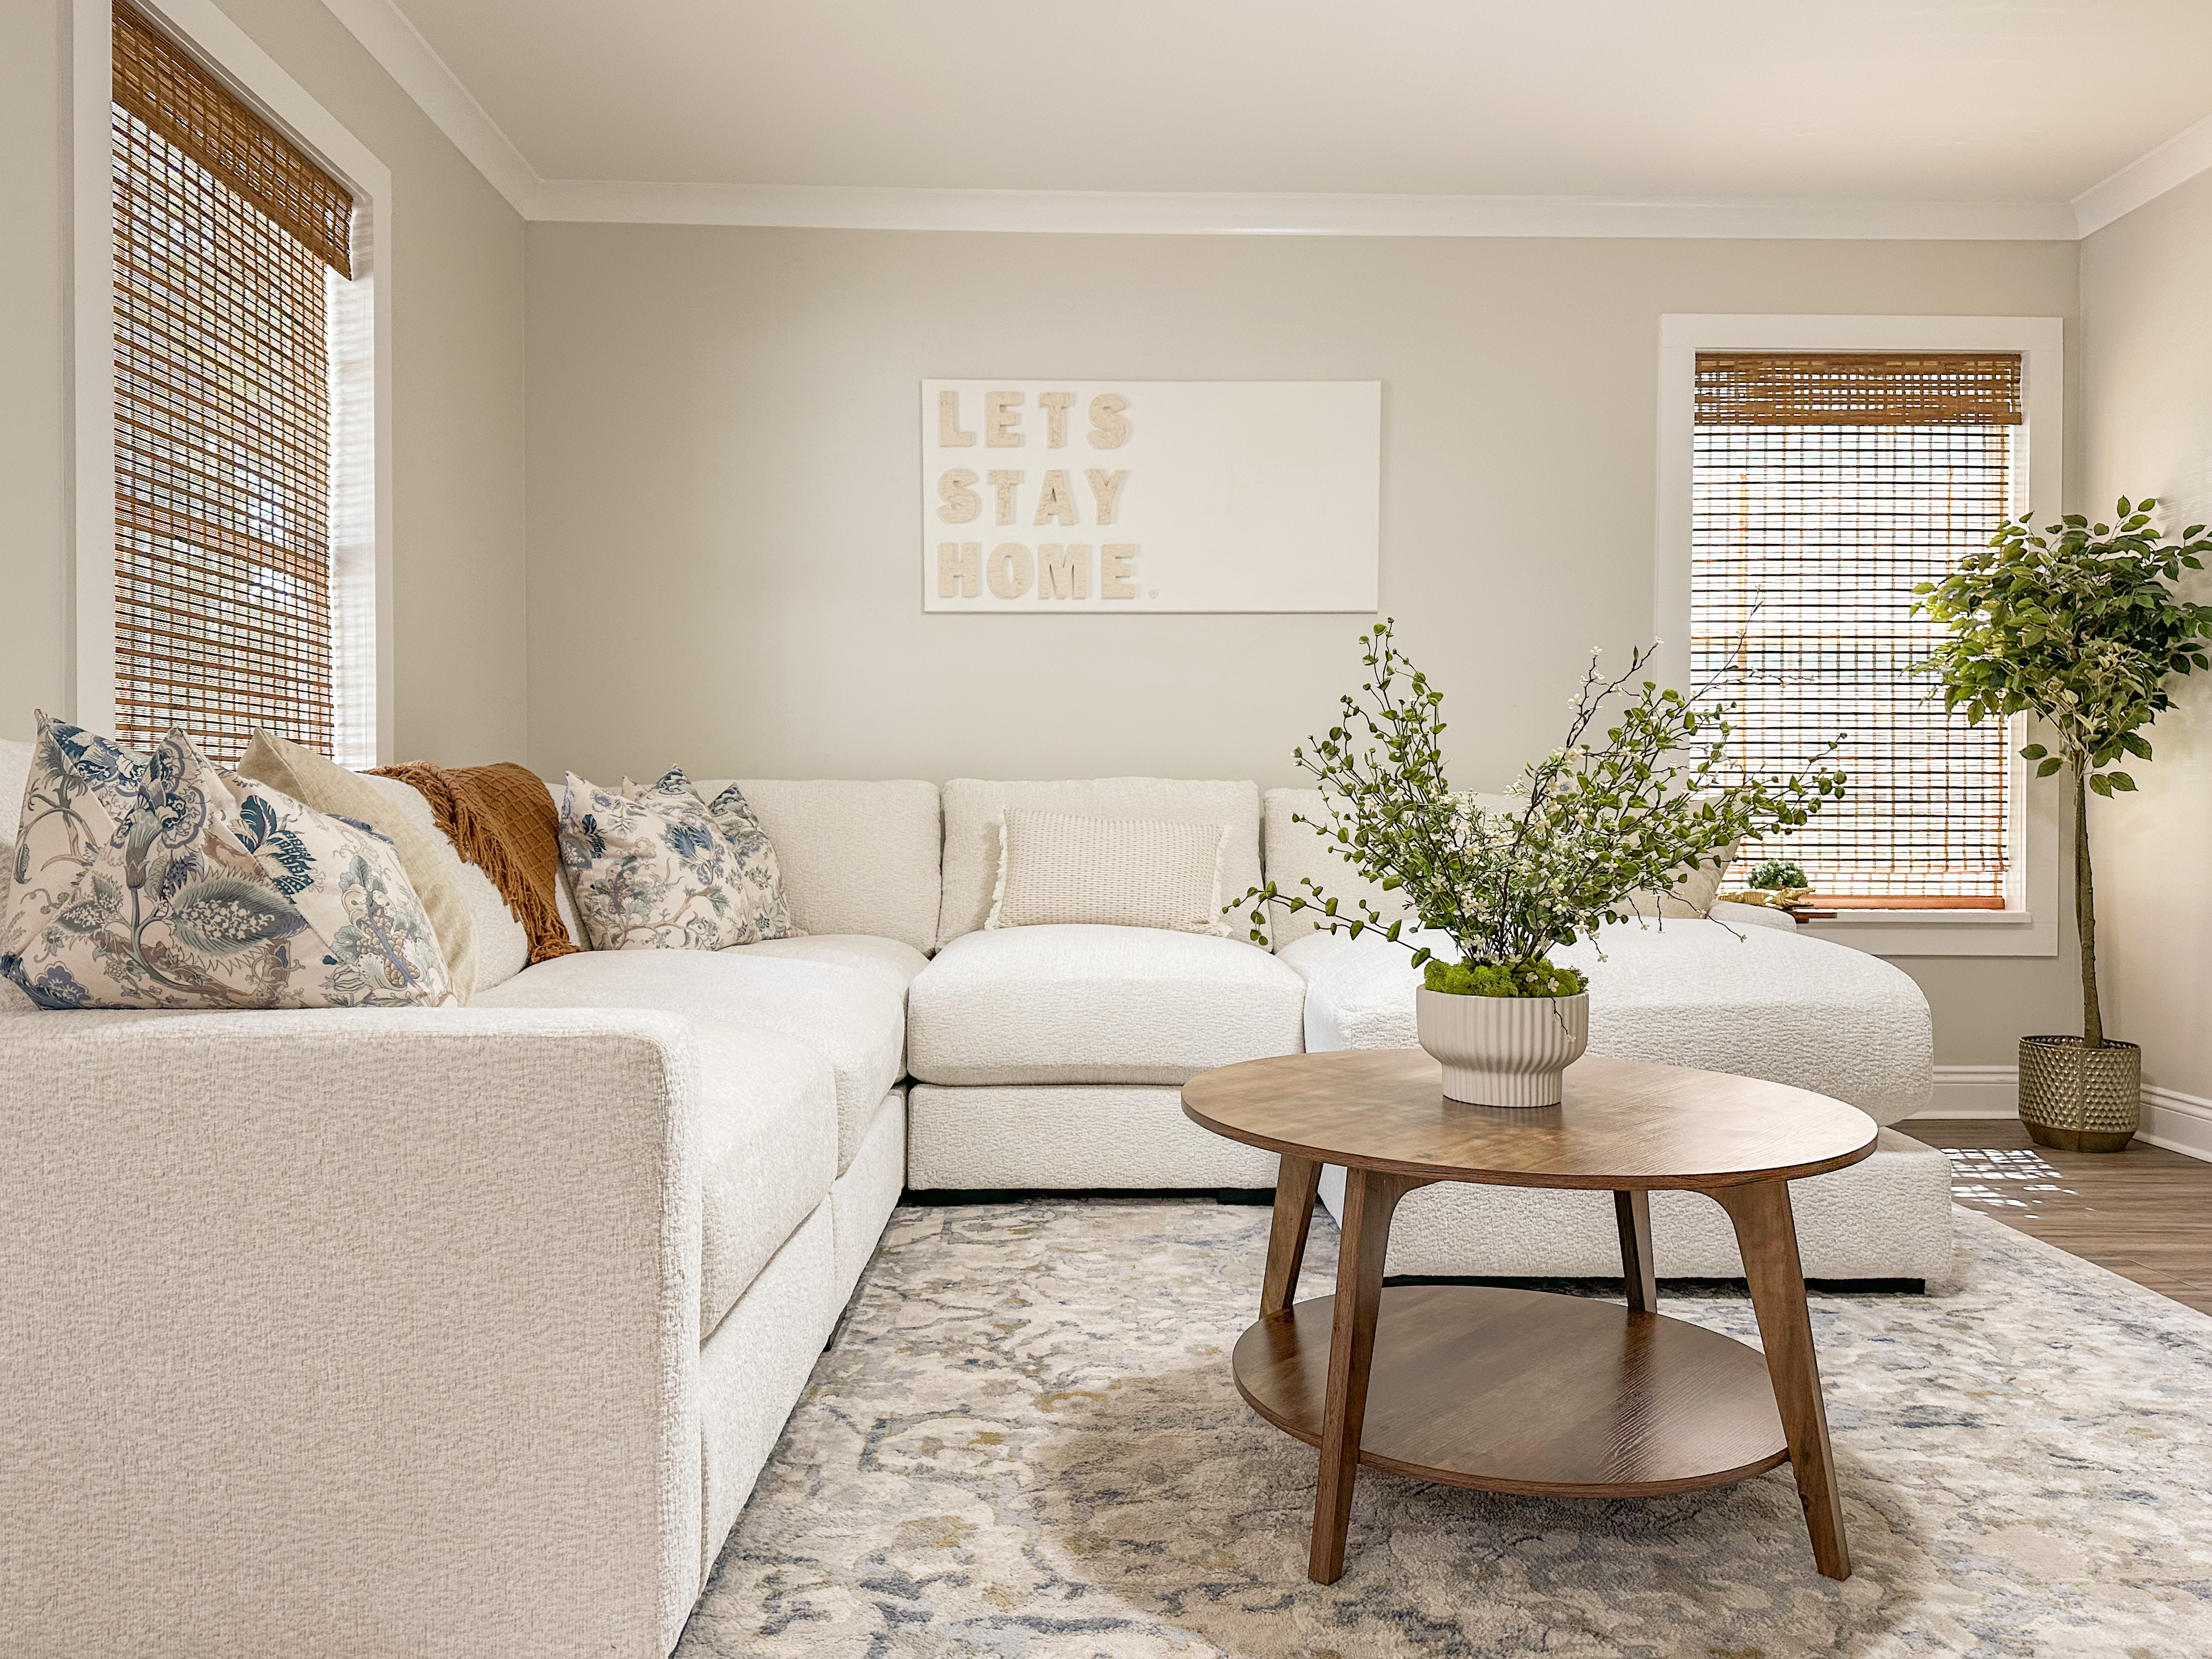
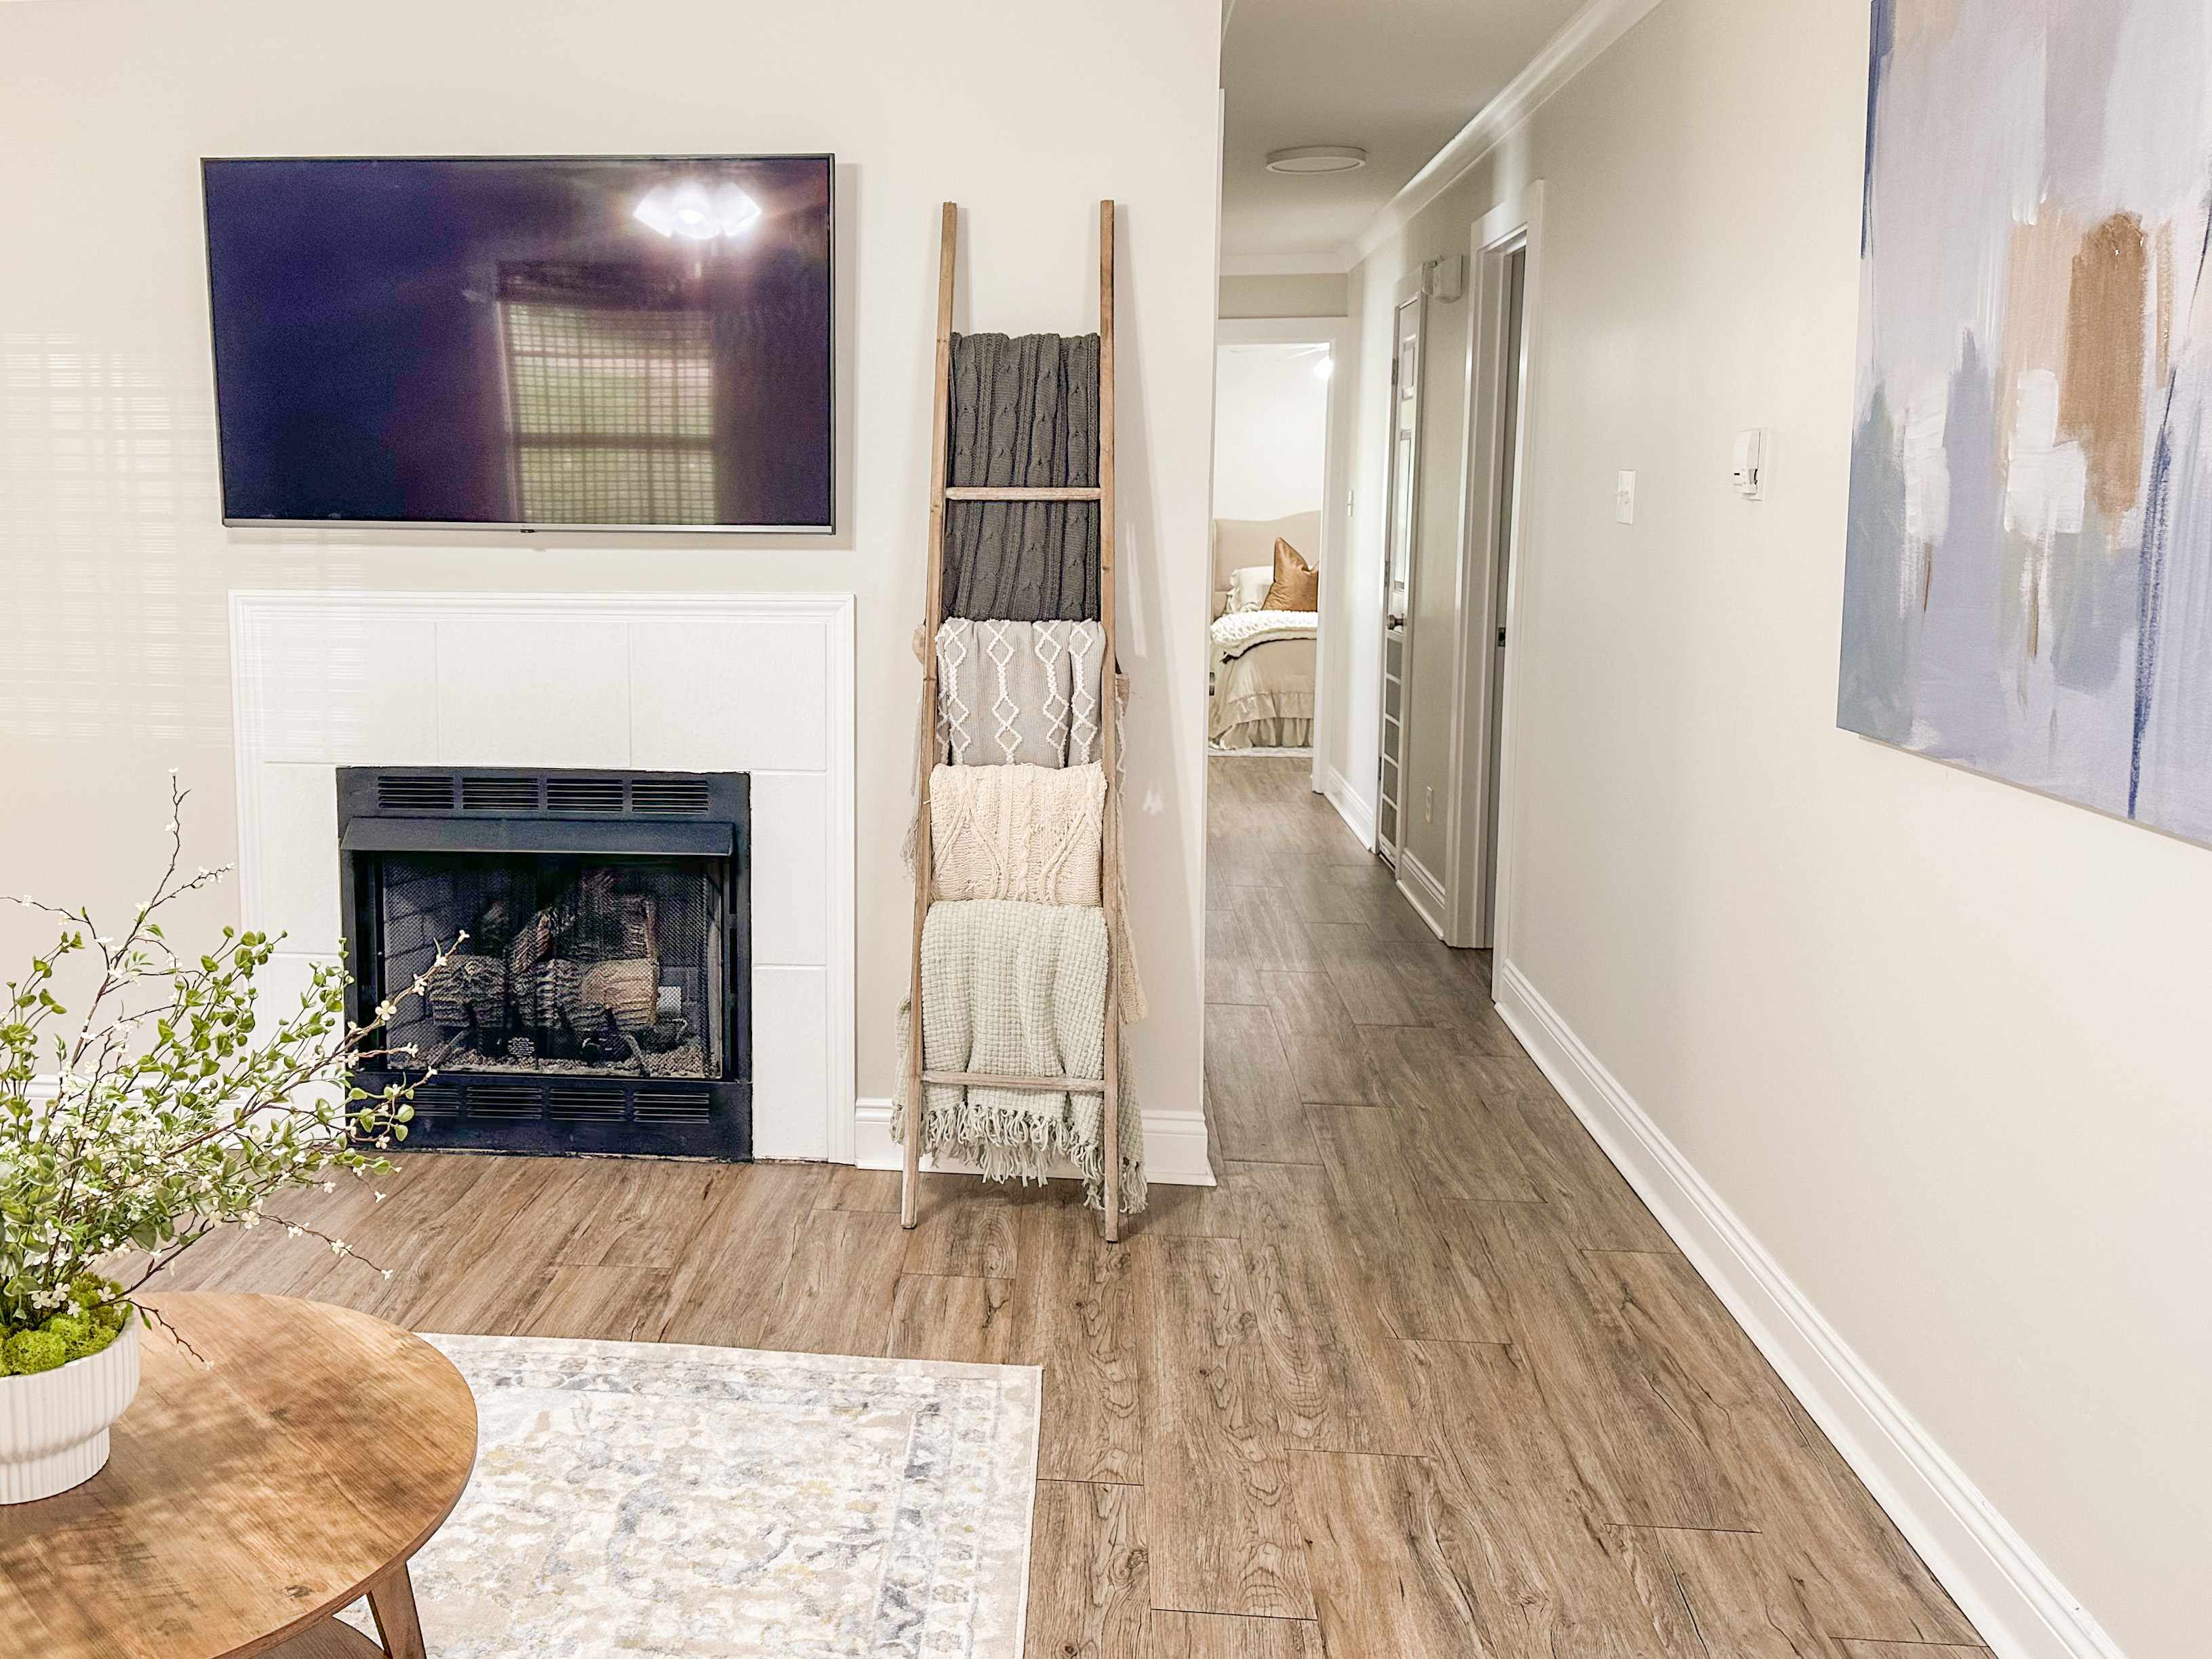
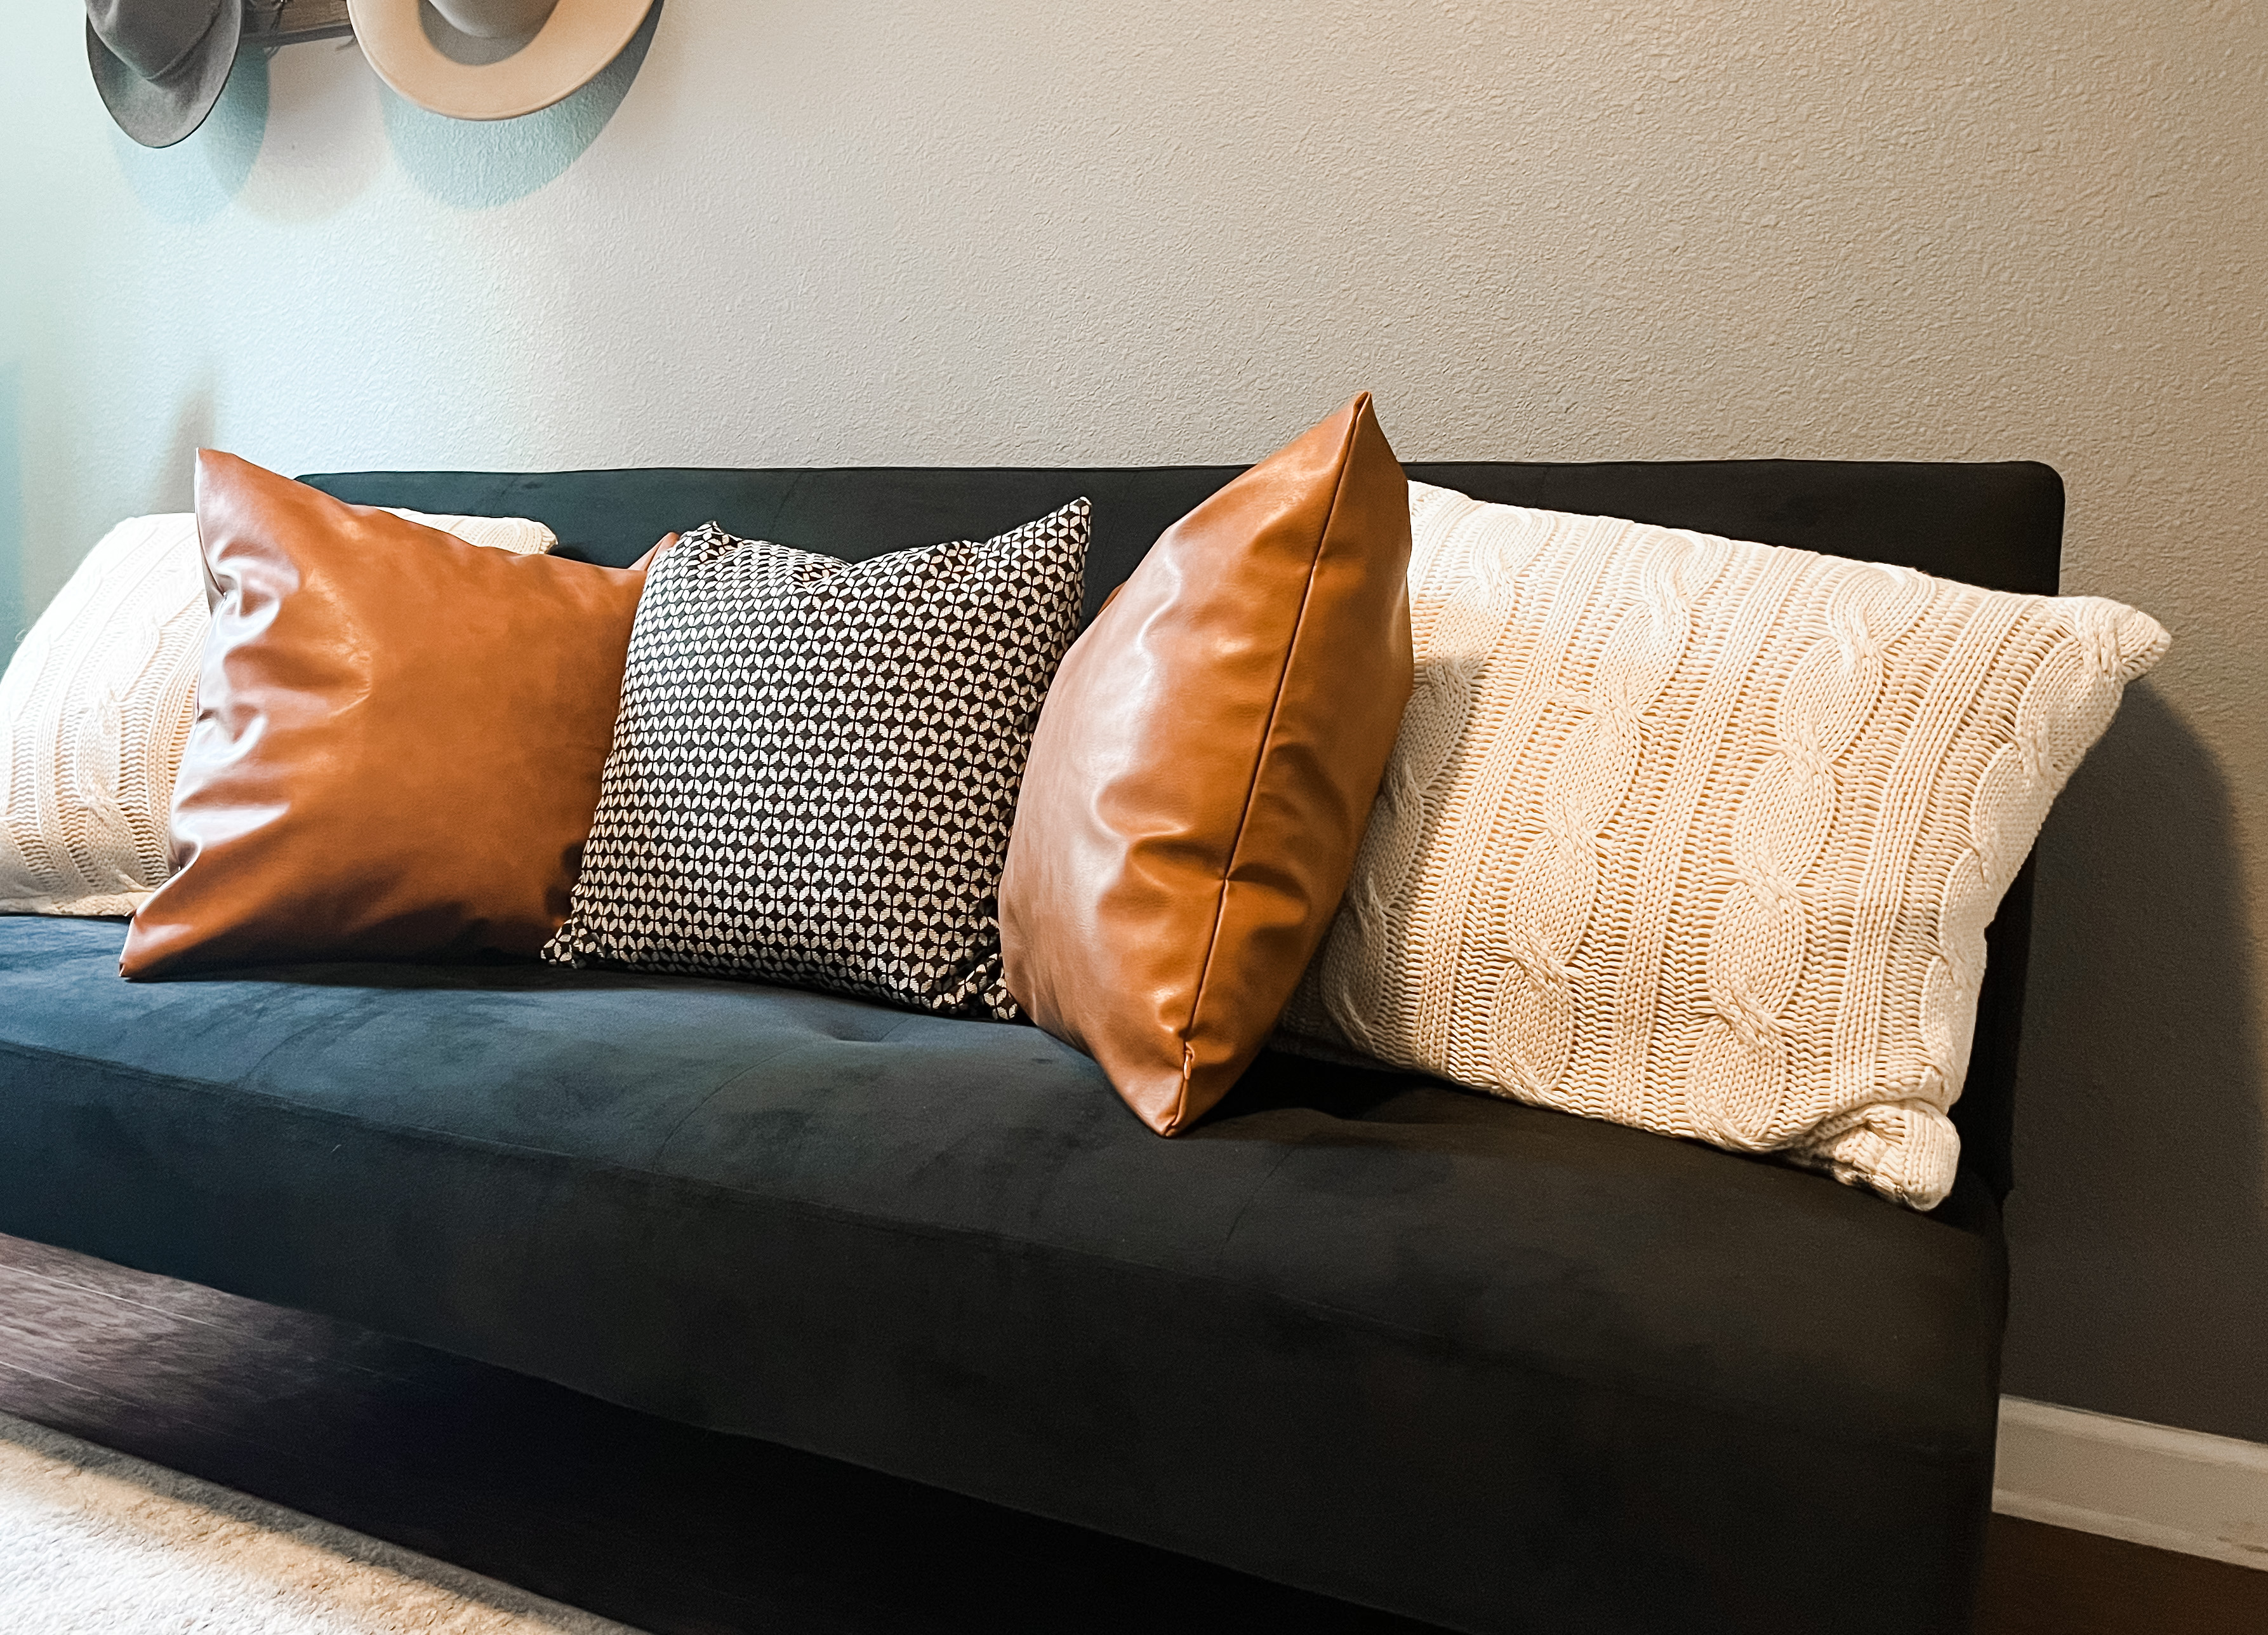
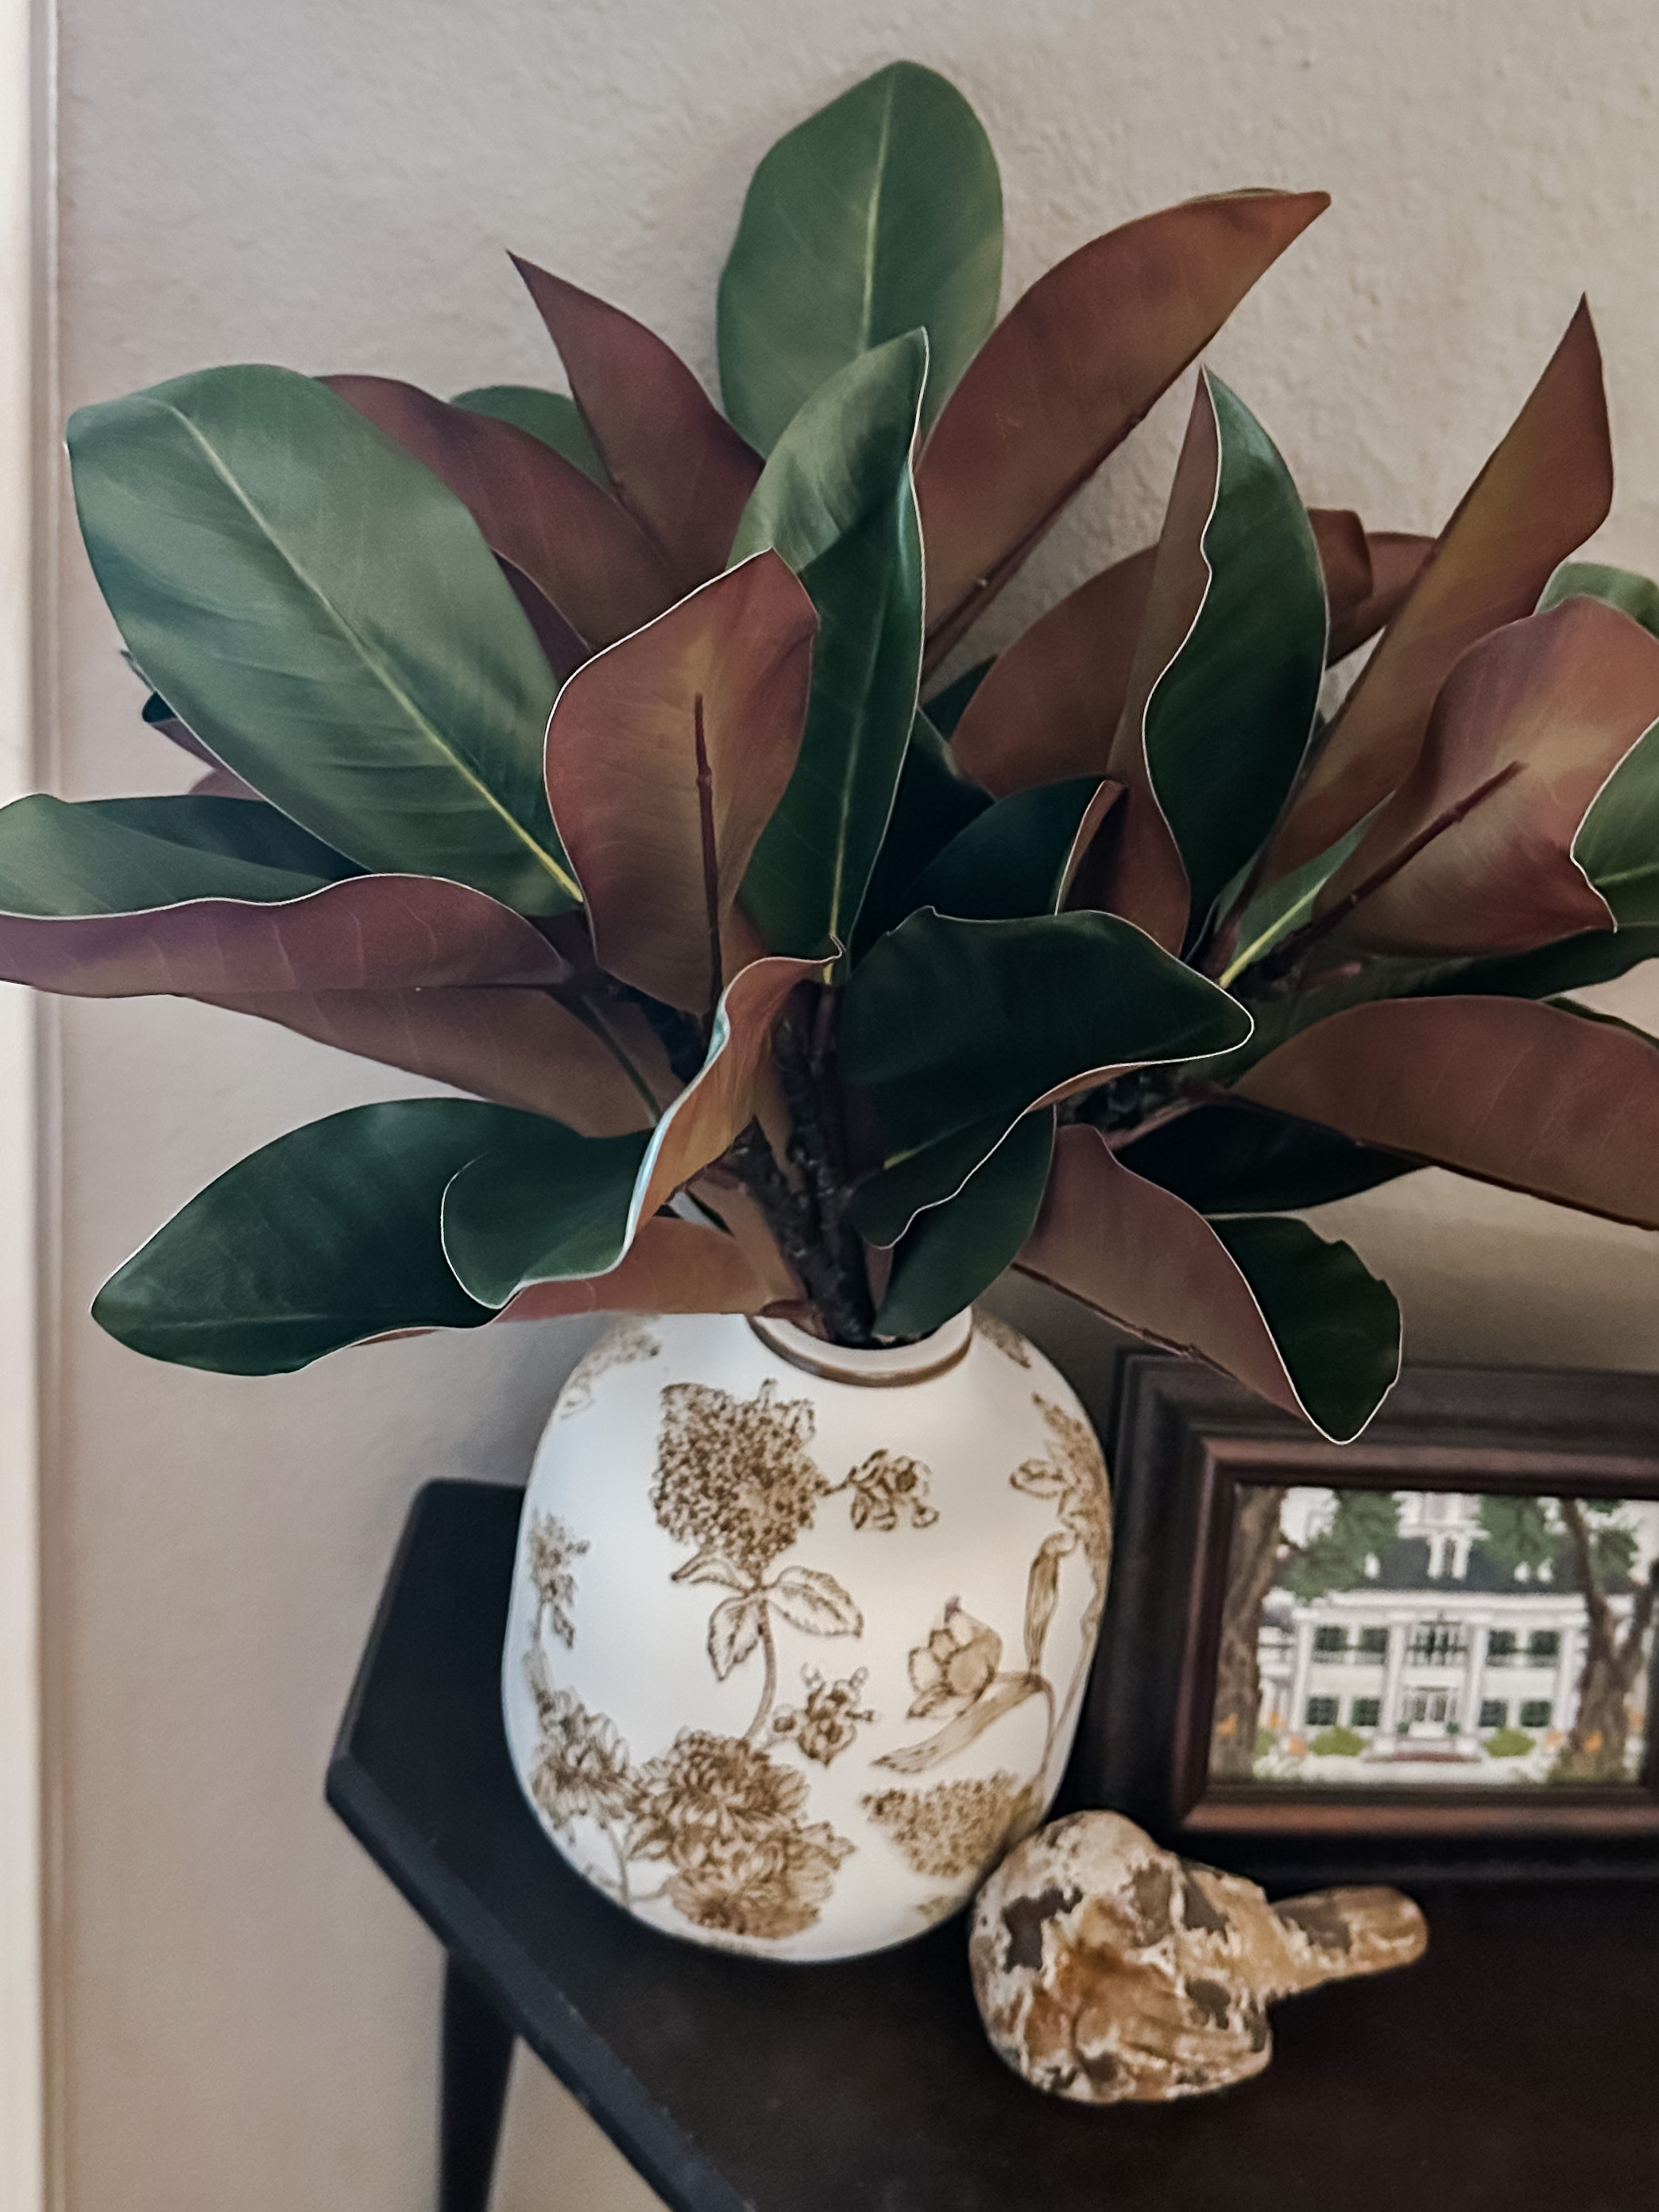
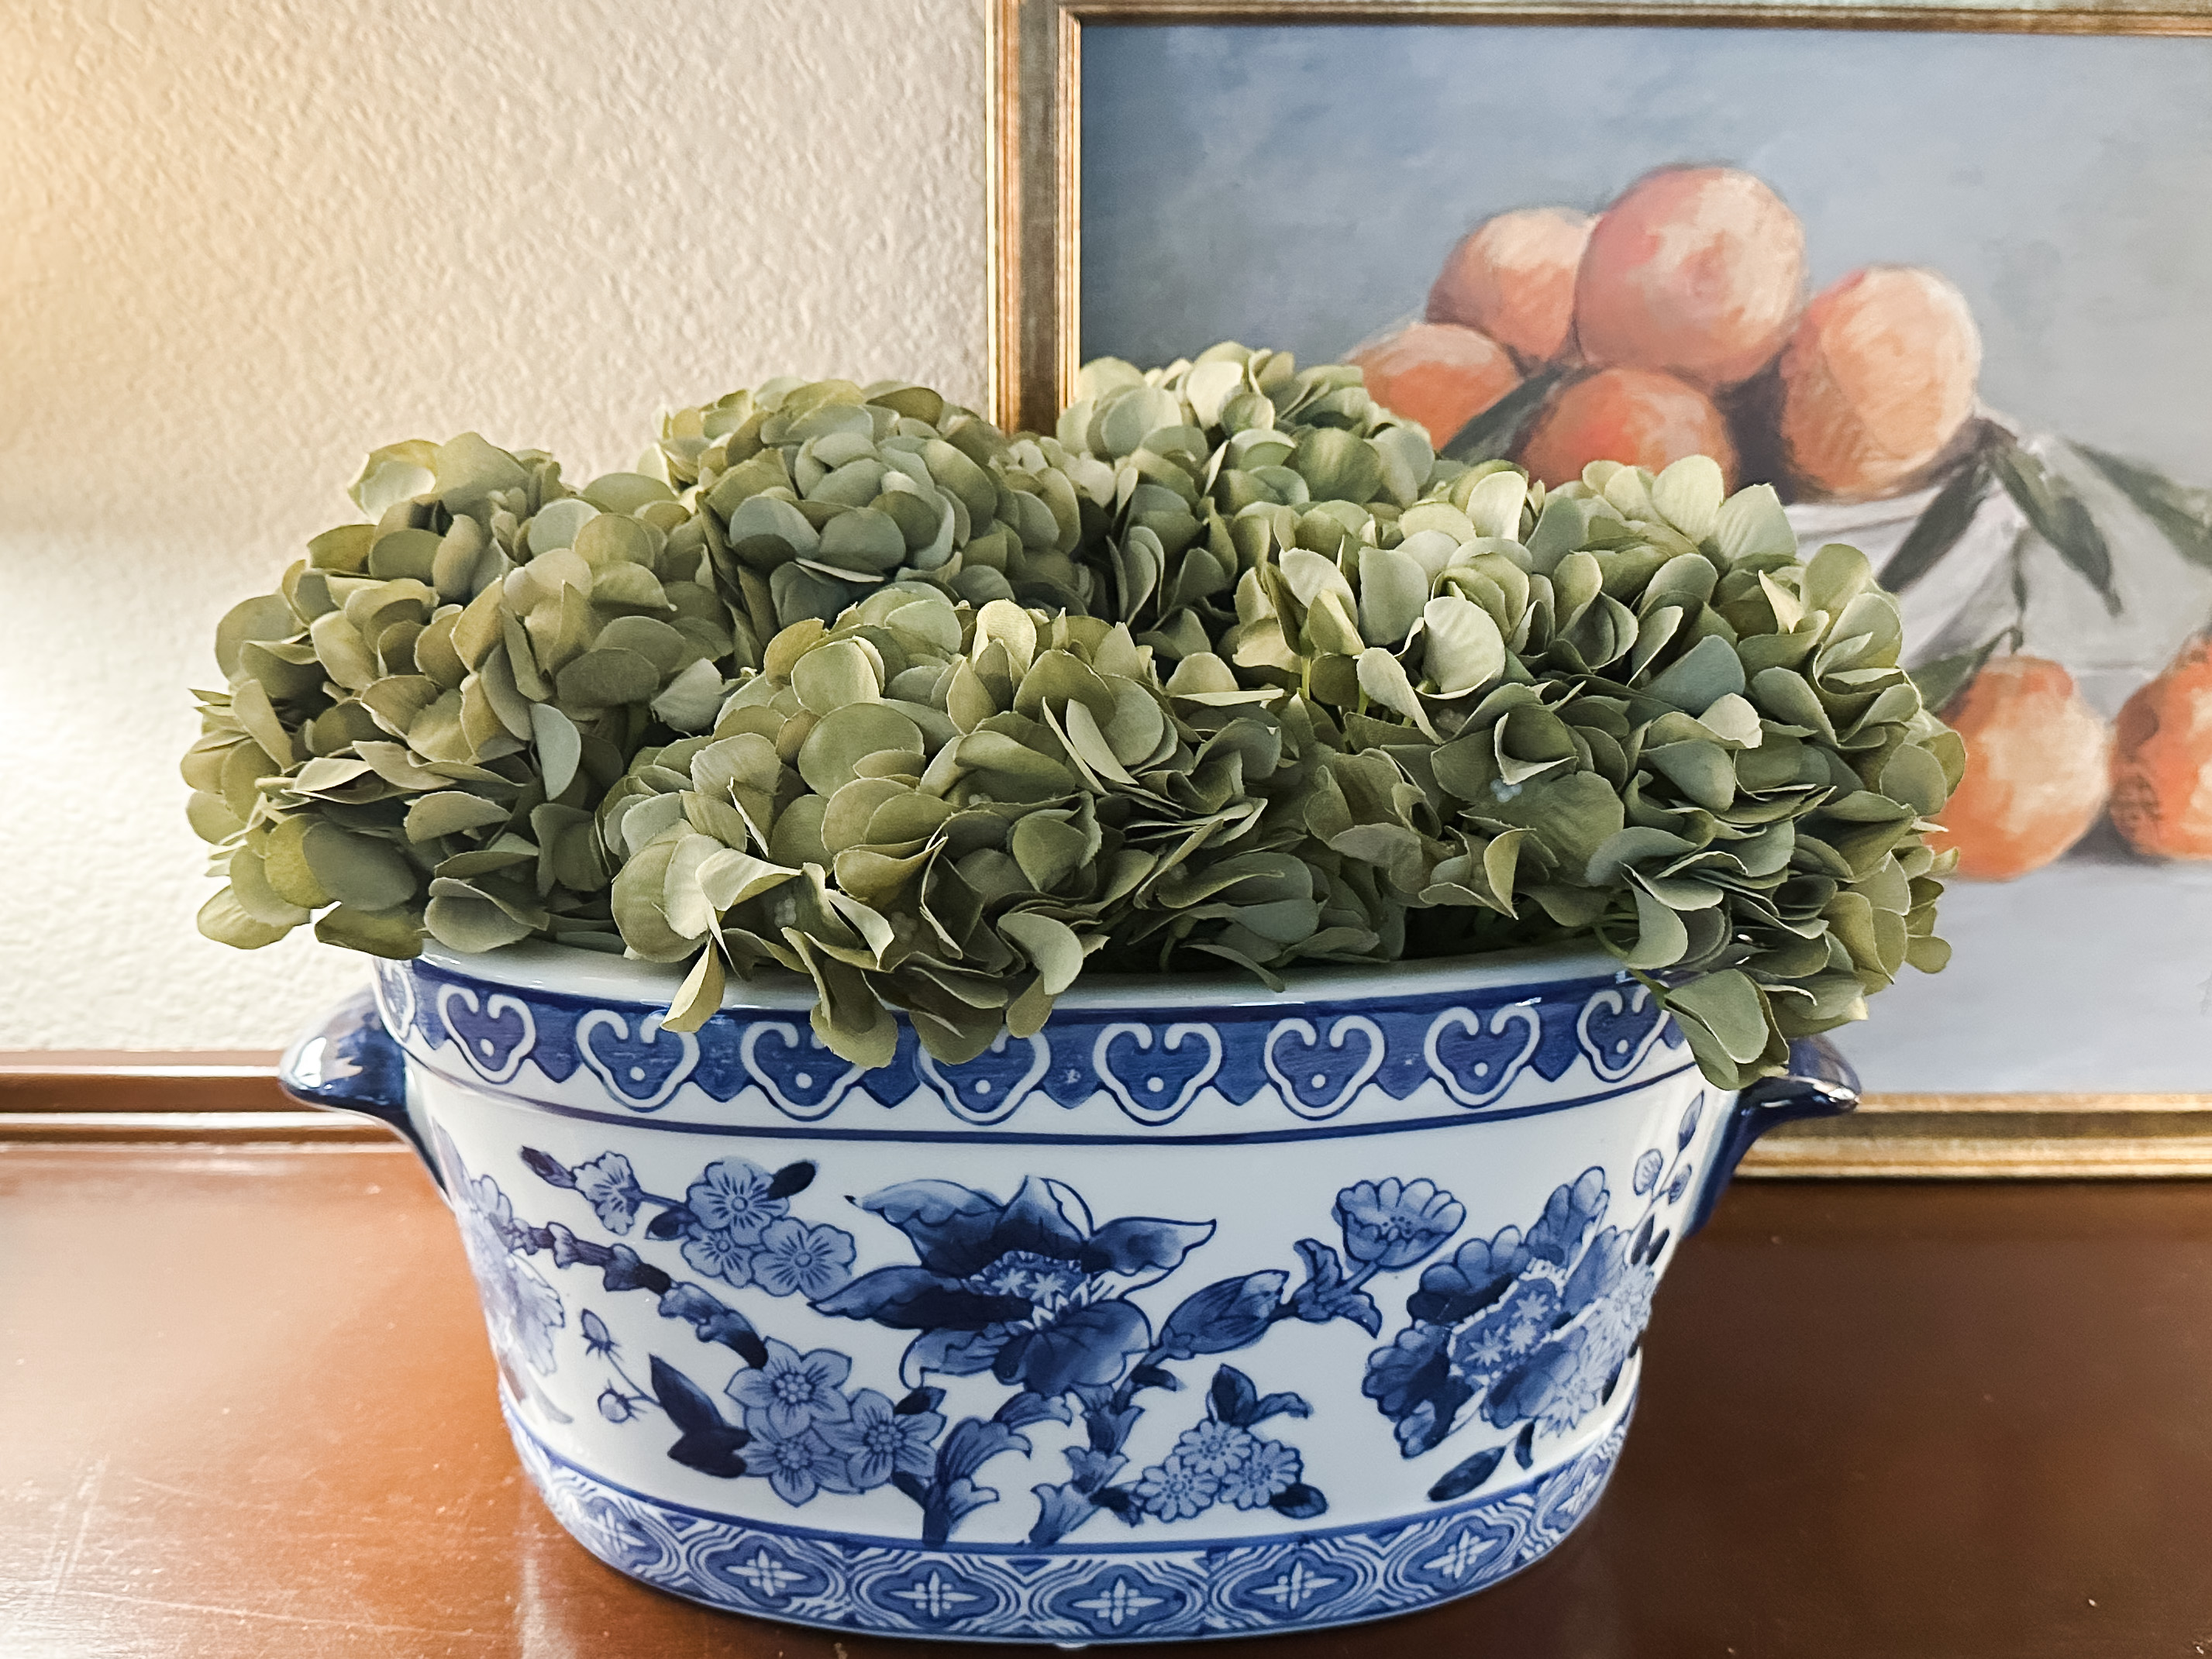
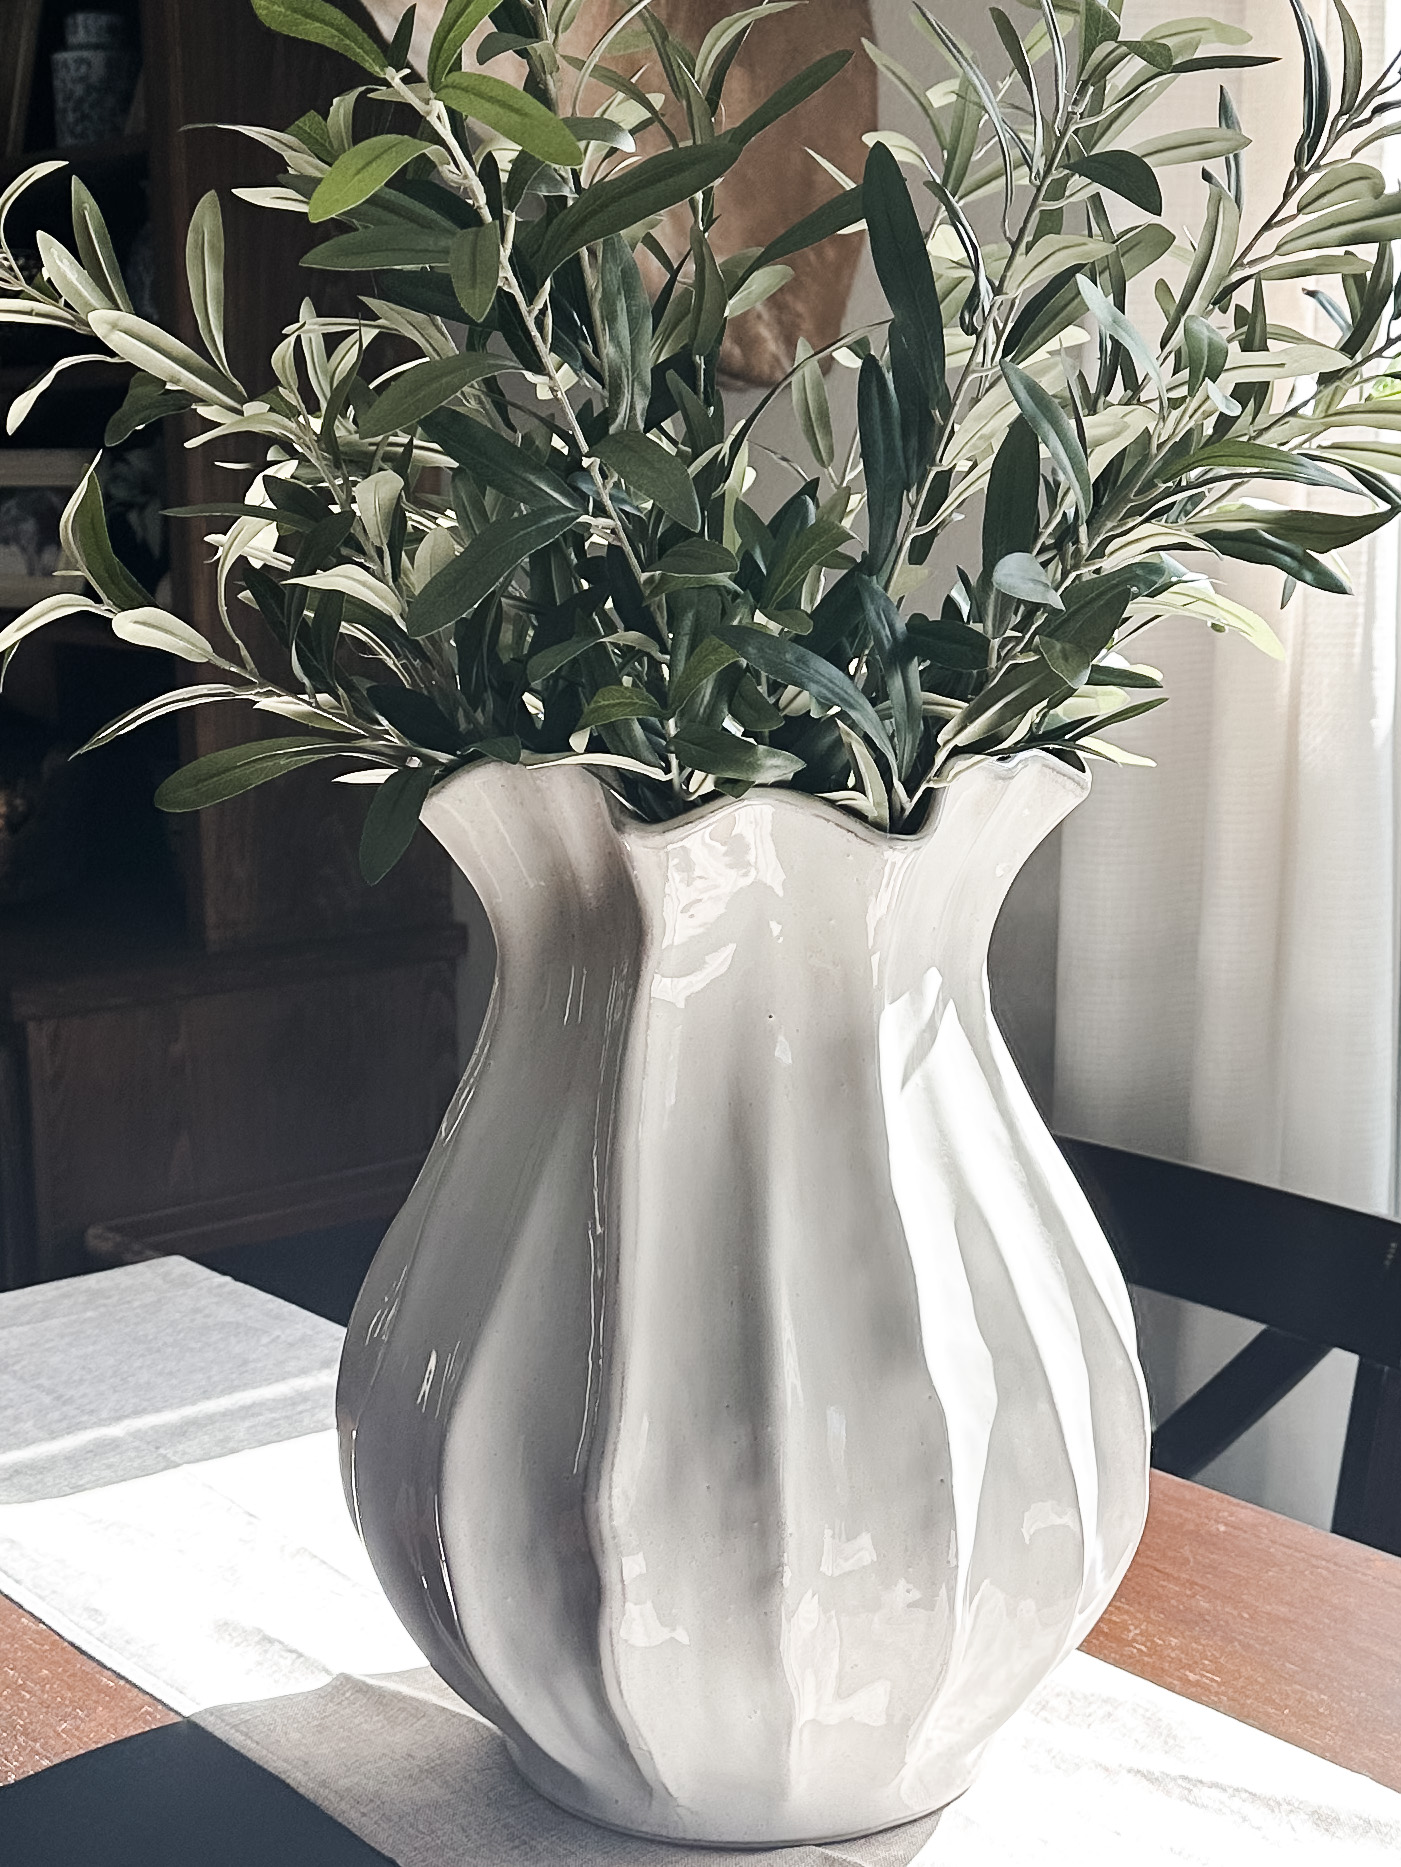
Every year after taking all of my Christmas decorations down, my house feels empty and depressing, which is the perfect time to do a little “house refresh!” Usually I just change a few little things, like this year I added some new throw pillows to my couch and some new greenery here and there…

But I decided to do a little extra in my home office this year because that’s the only room in the house that I can make “girly” since I’m the only one that uses it.

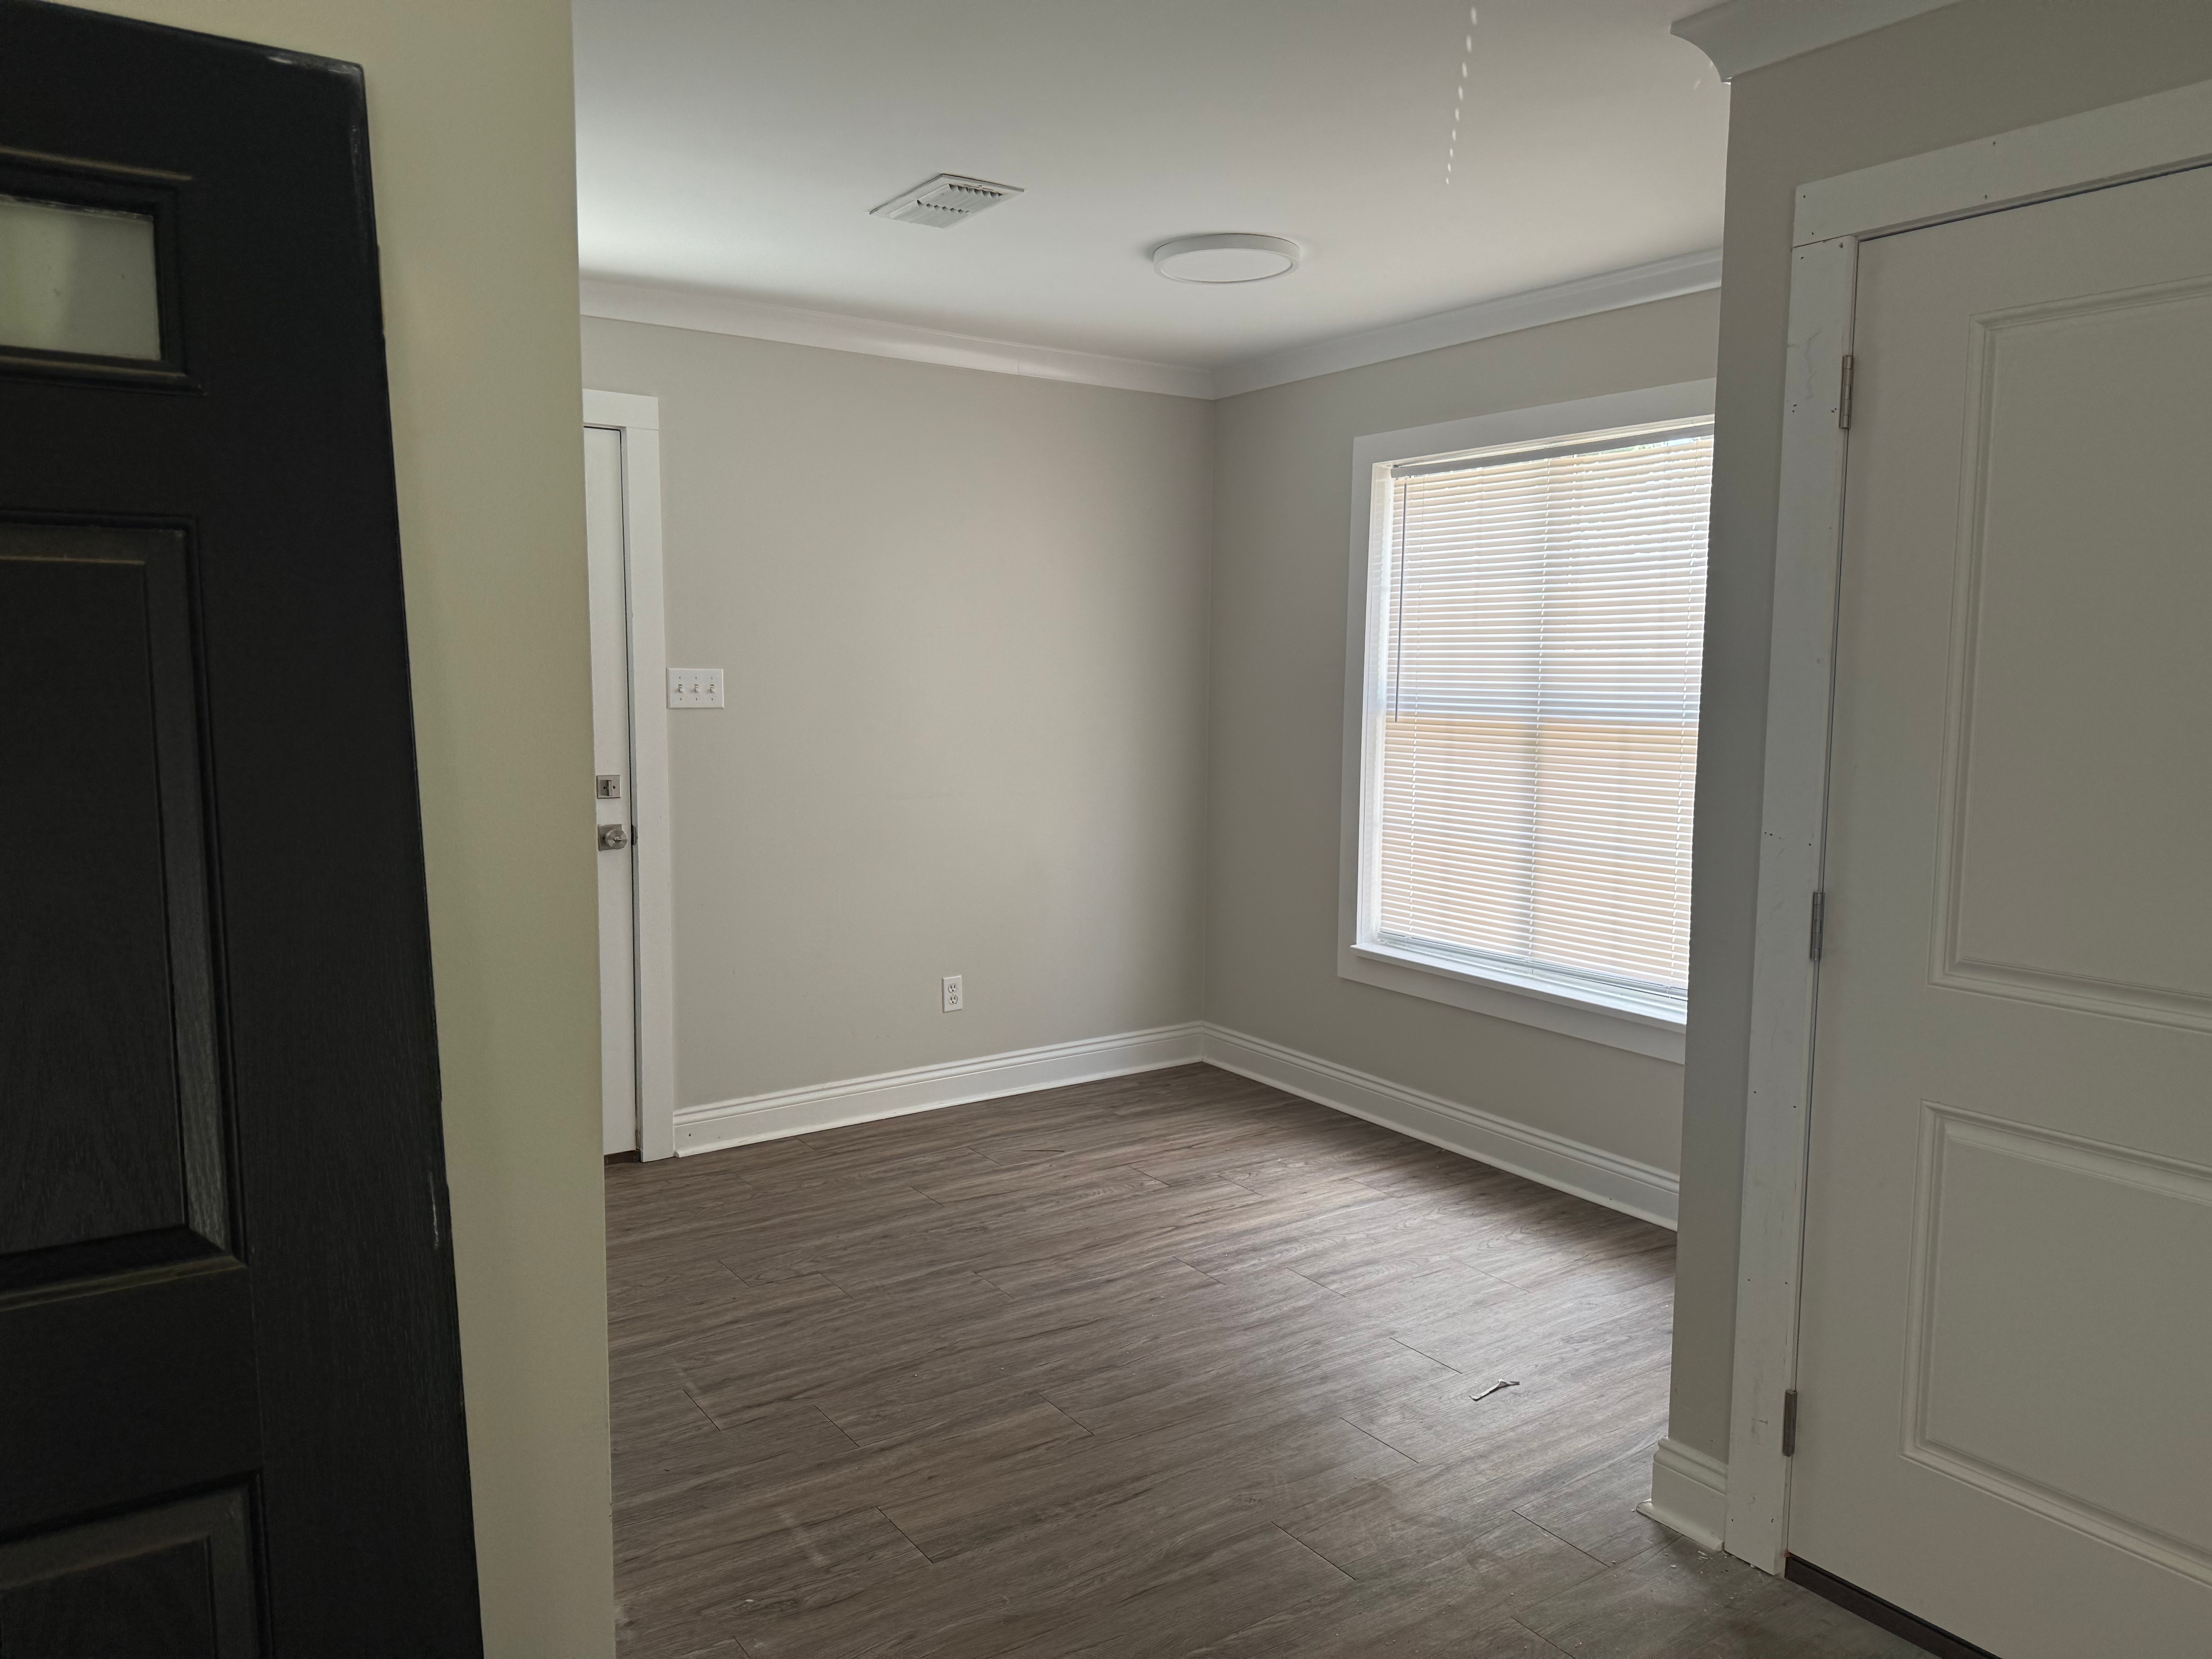
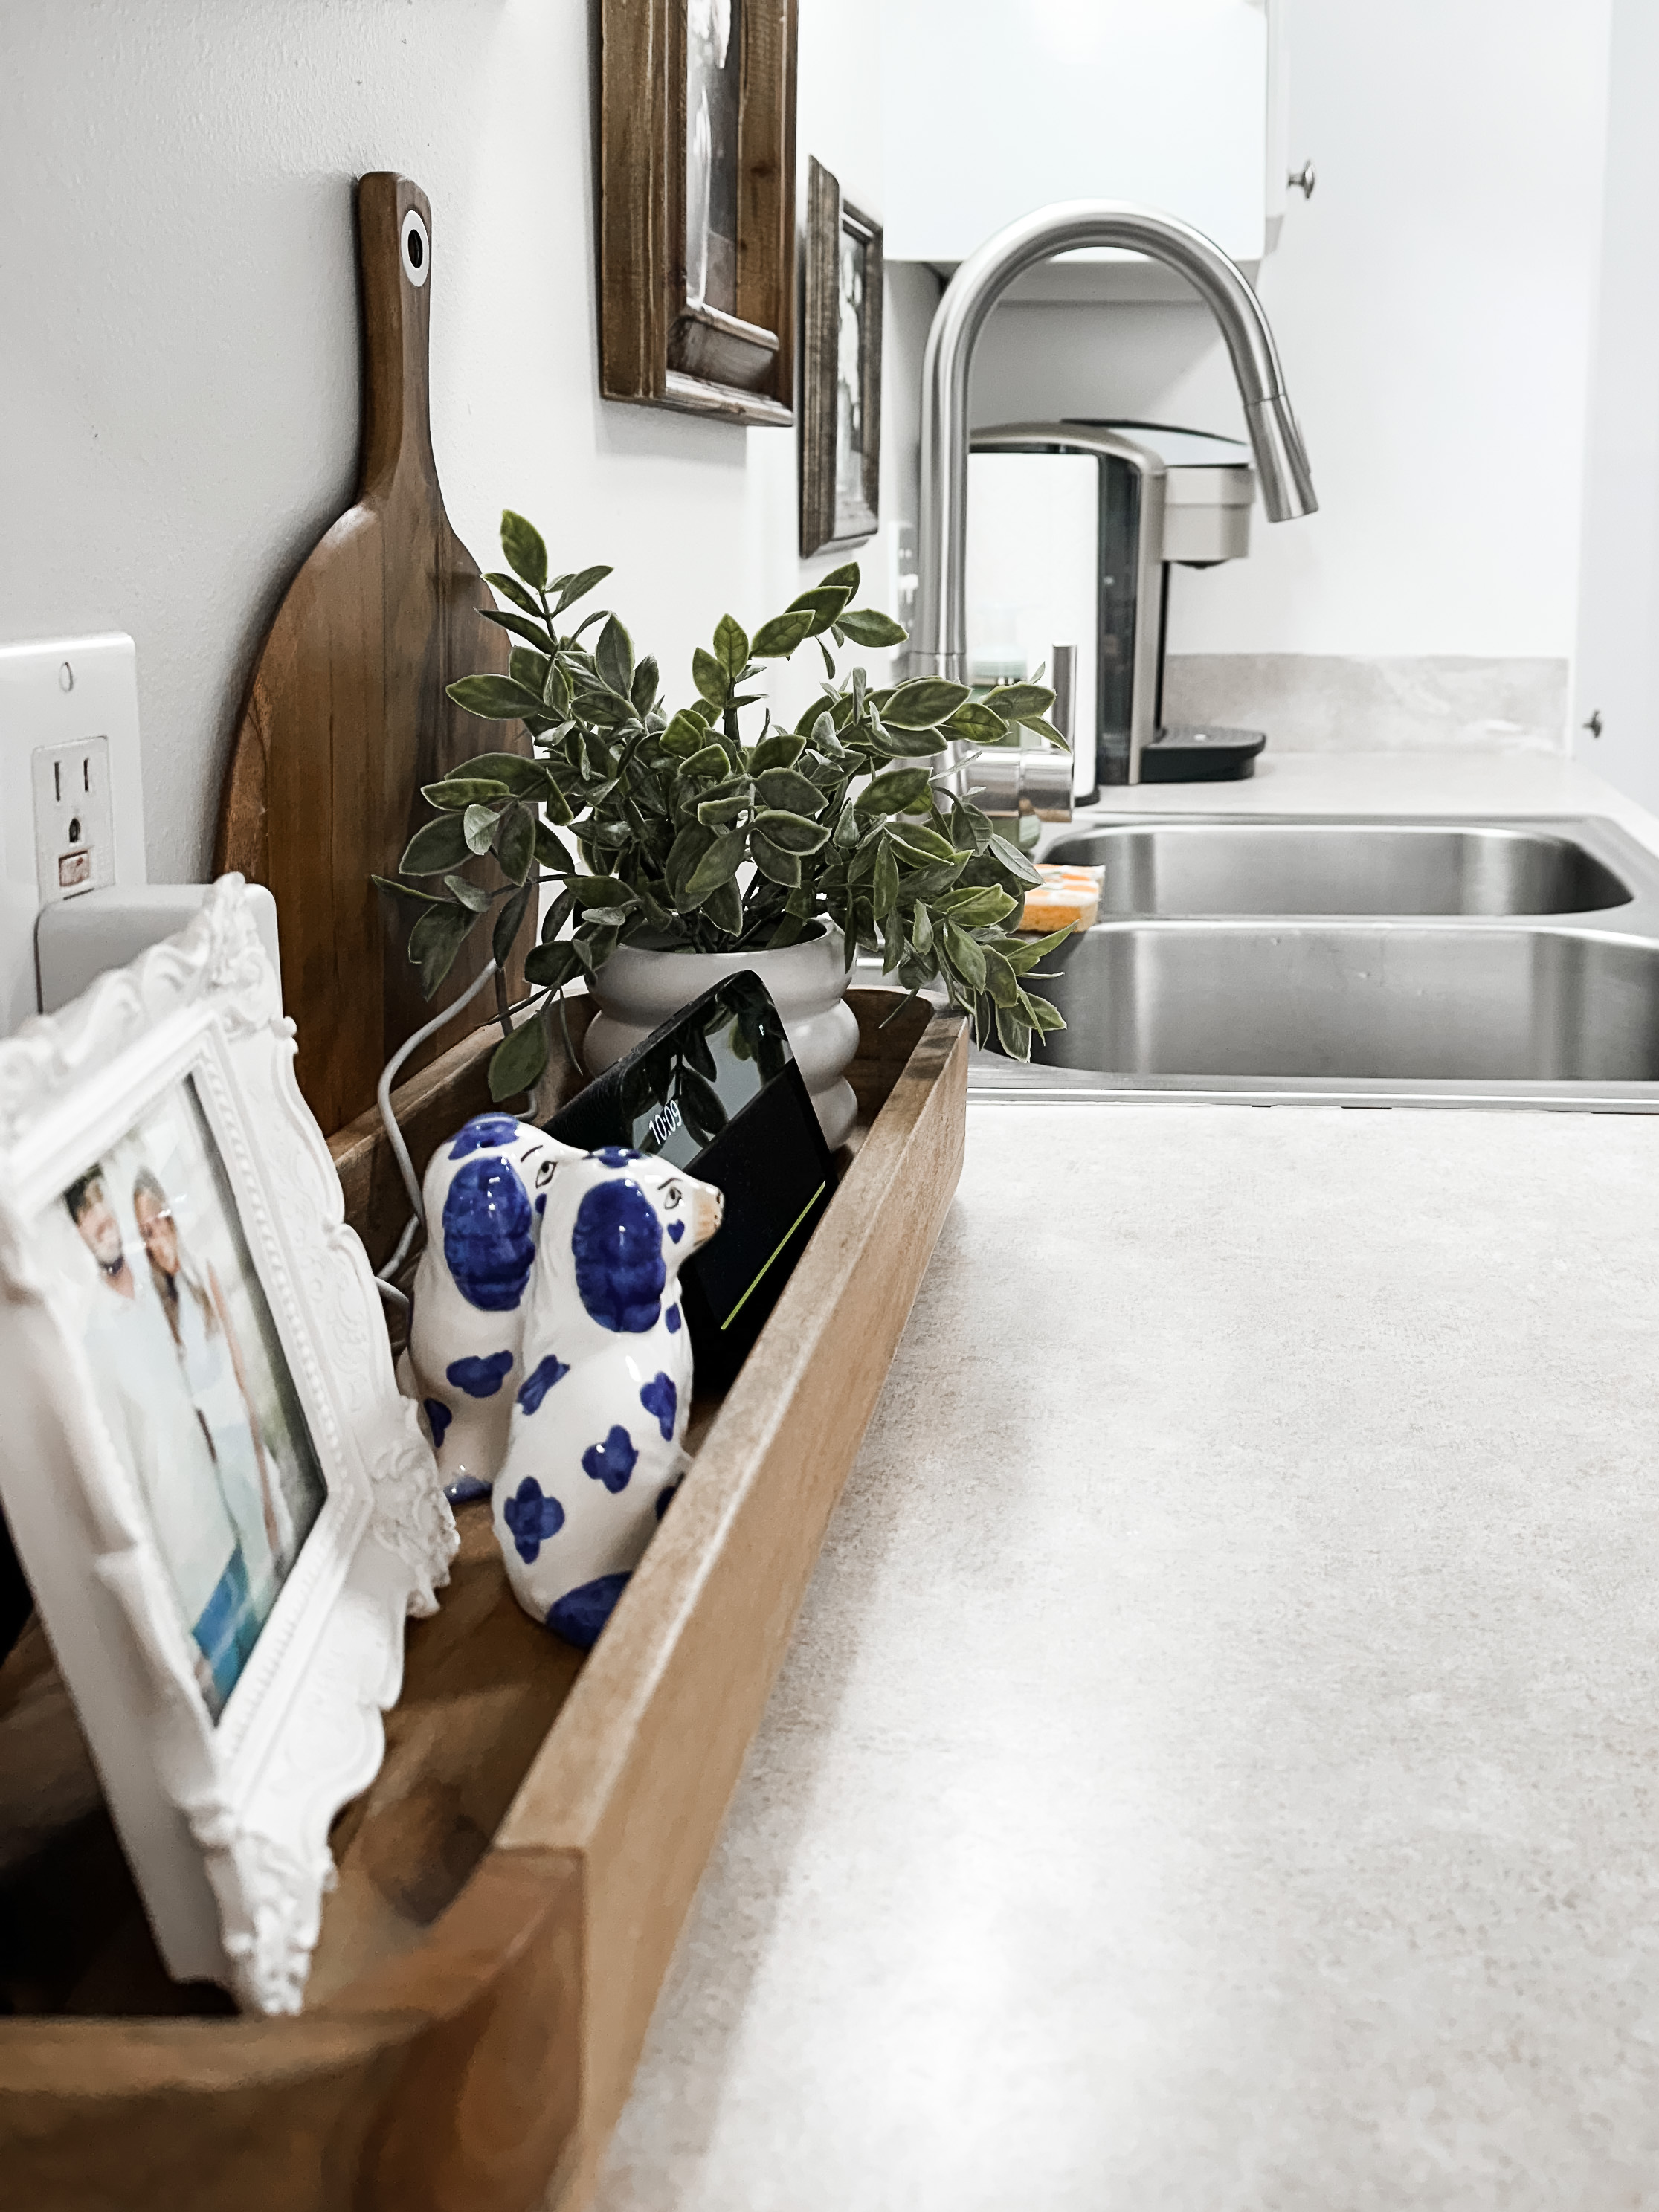
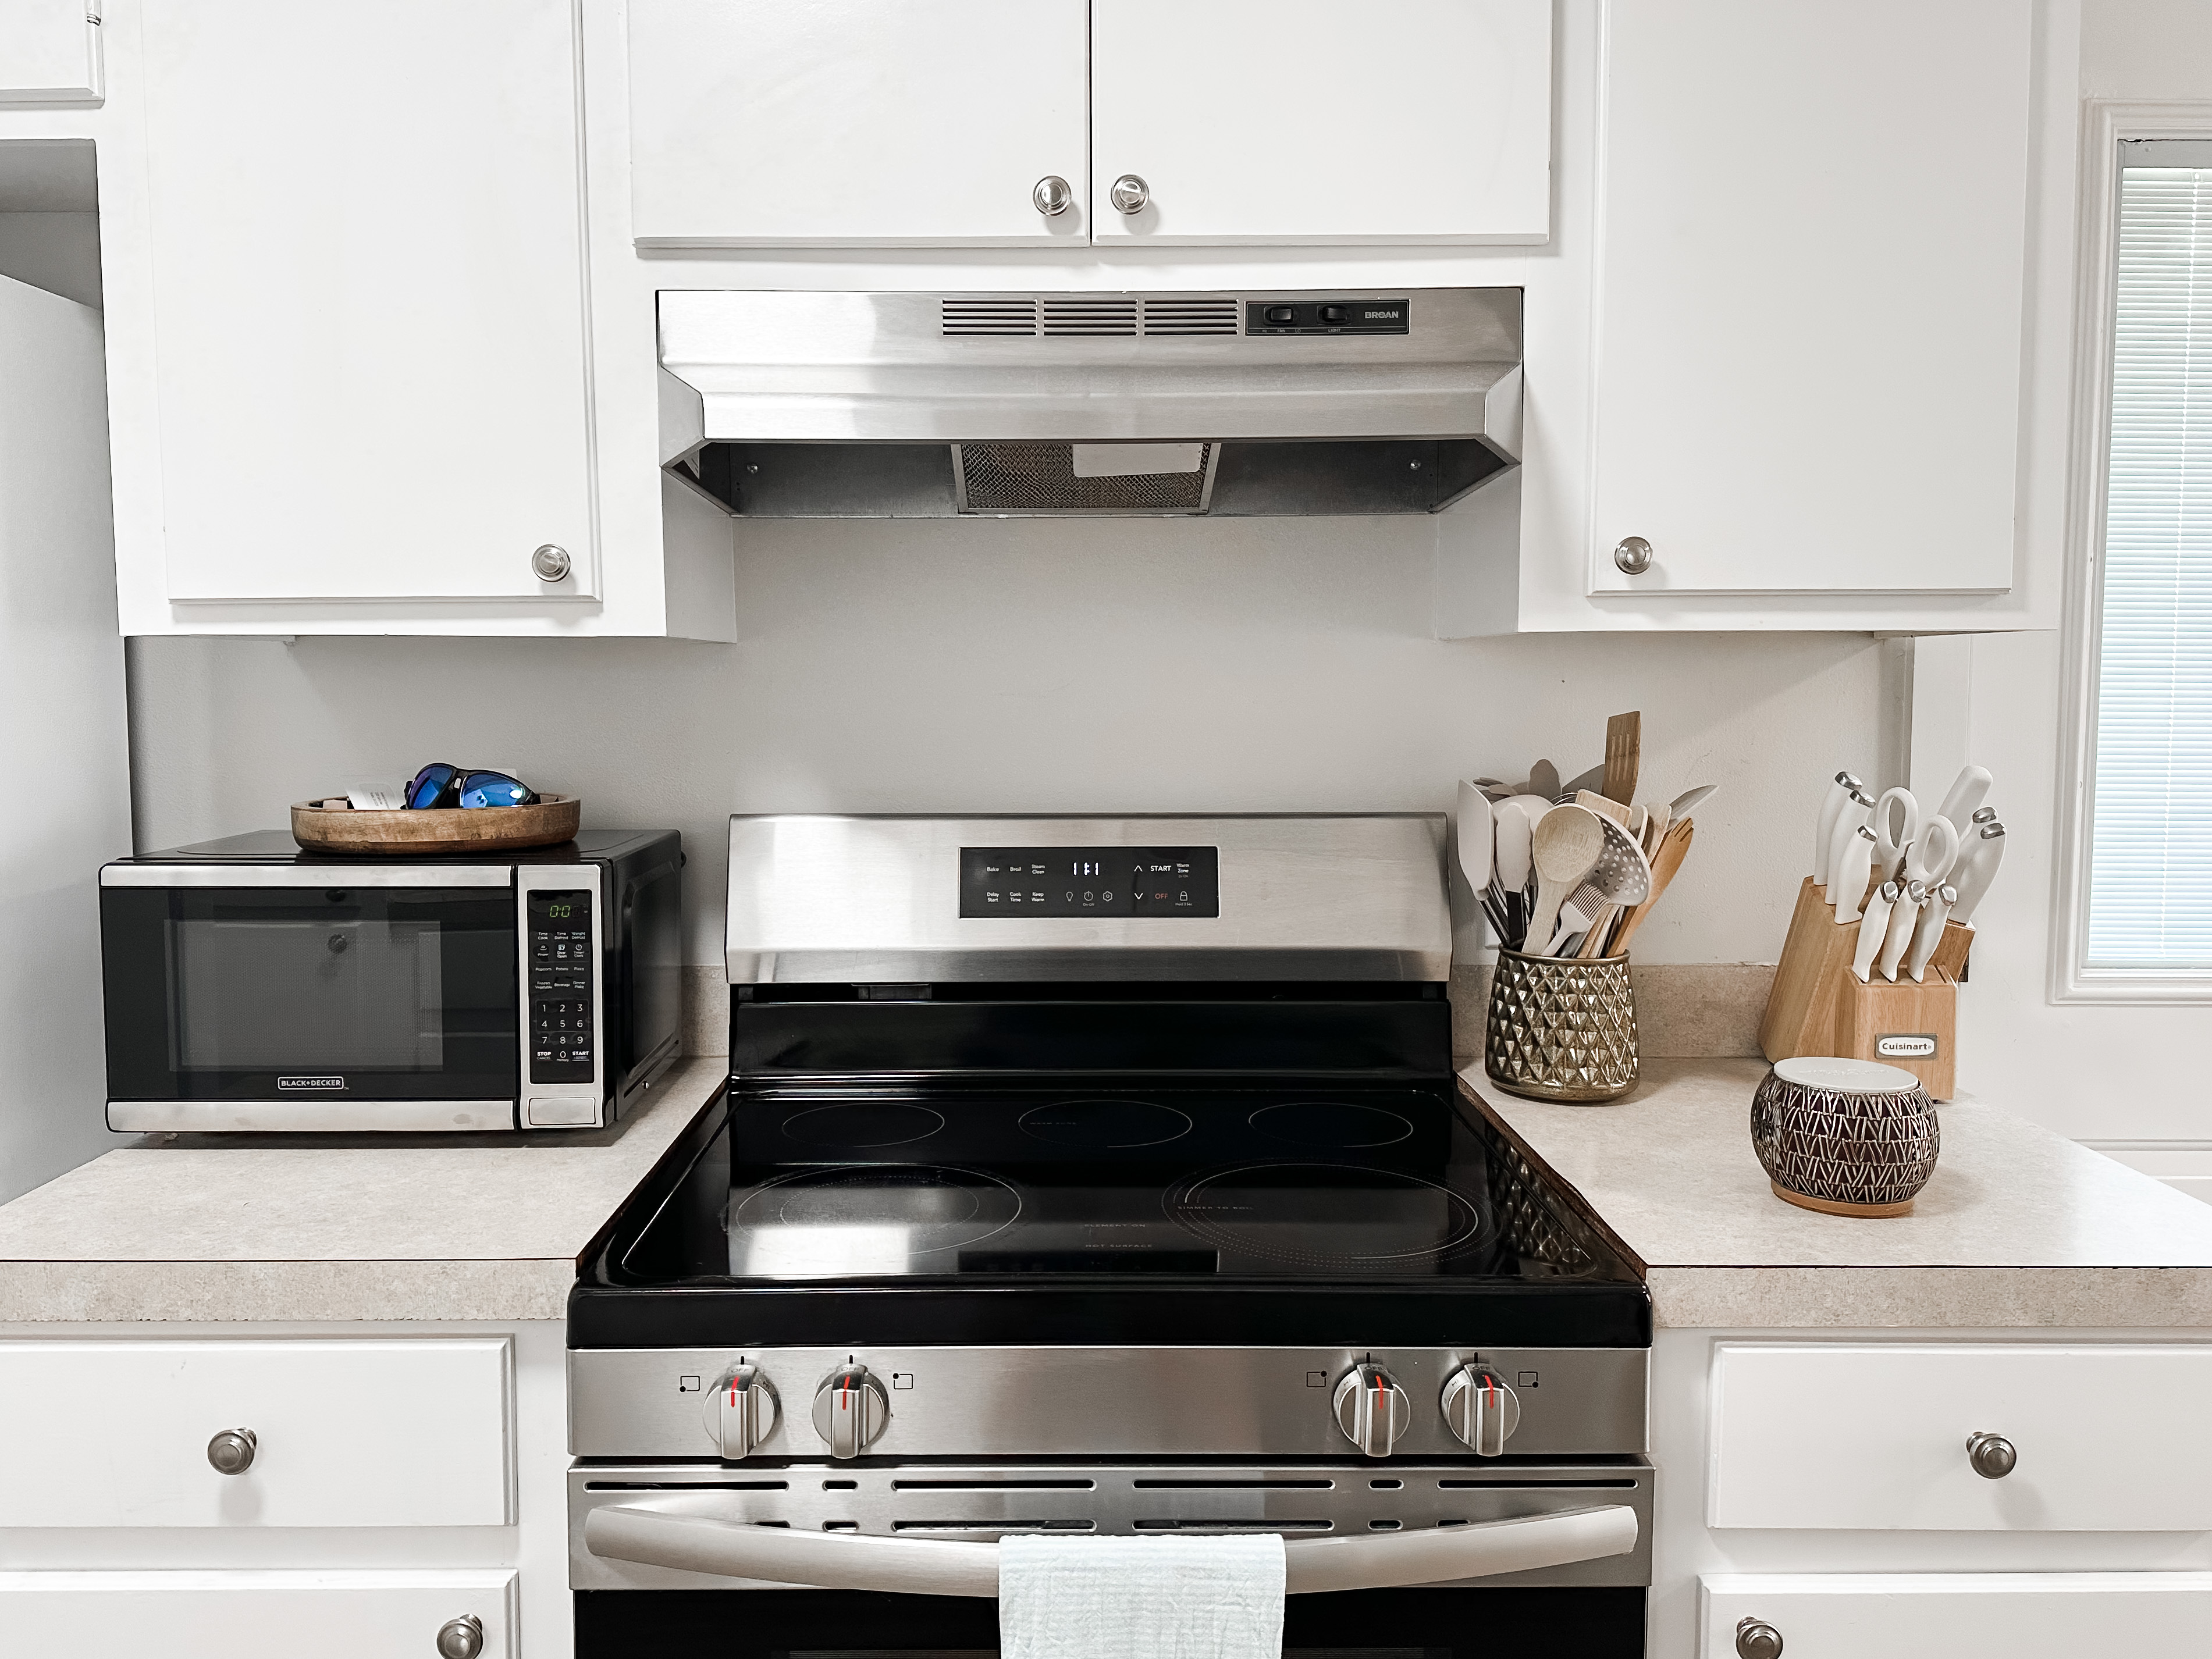
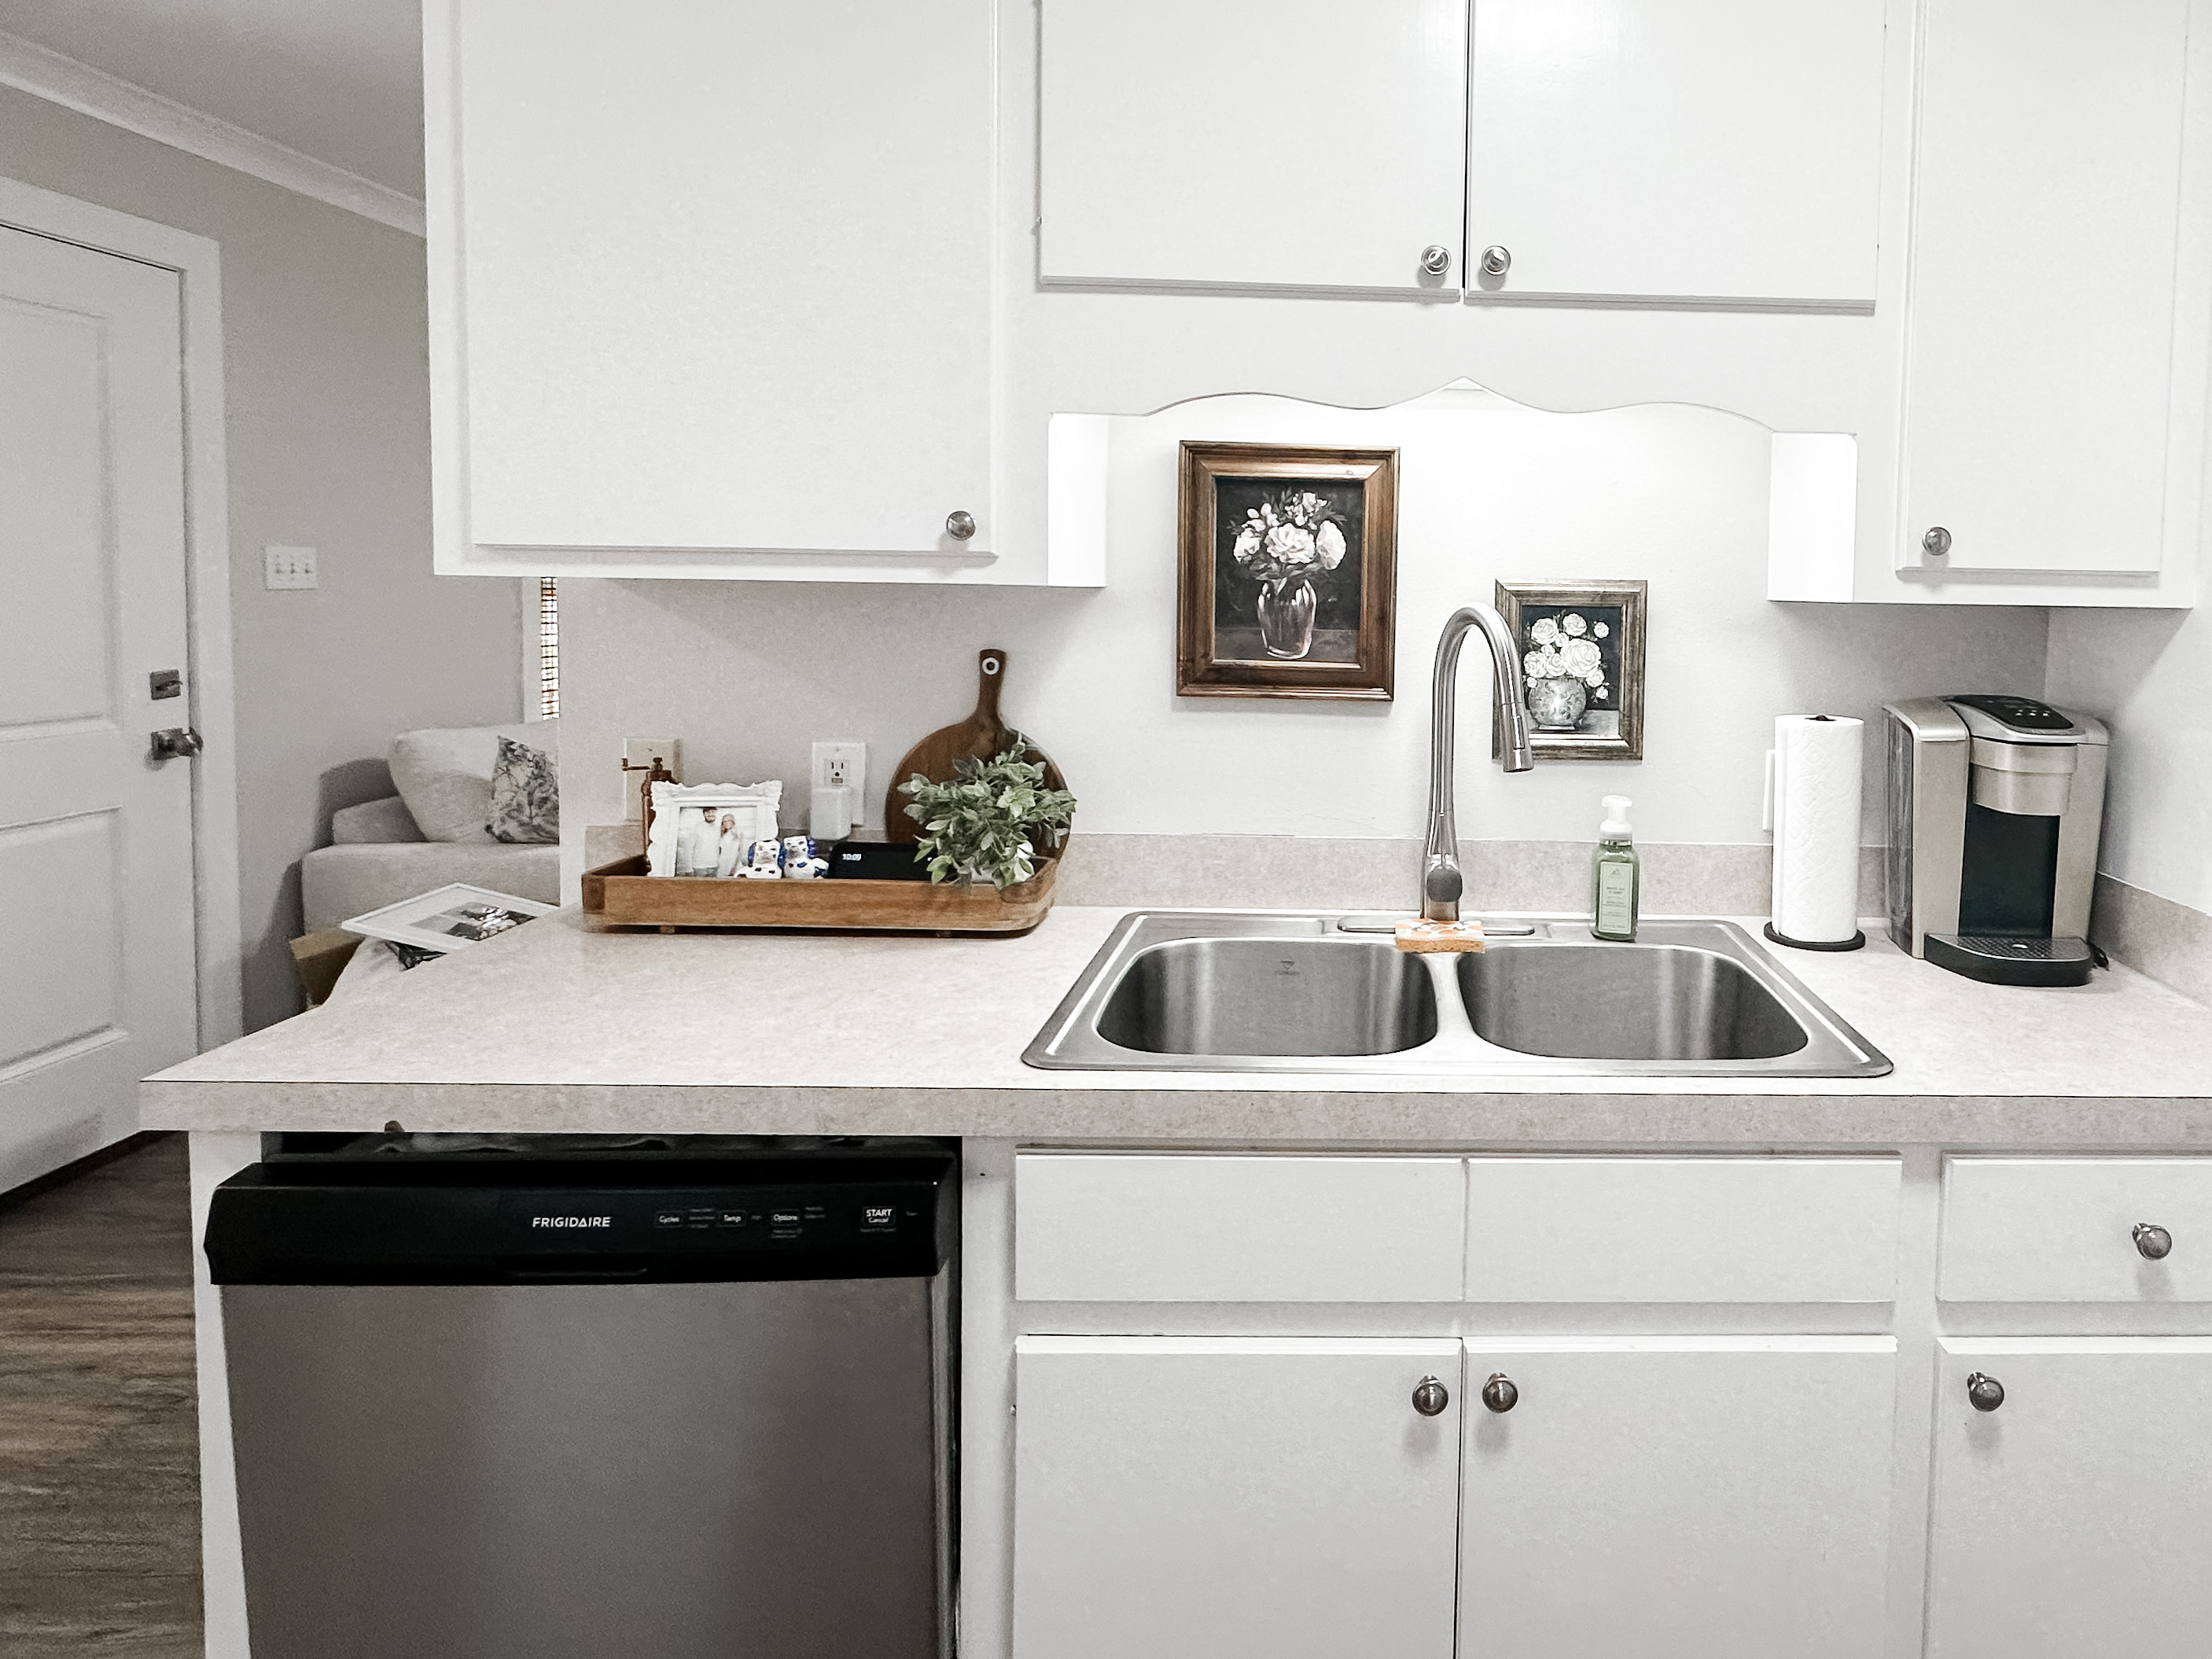
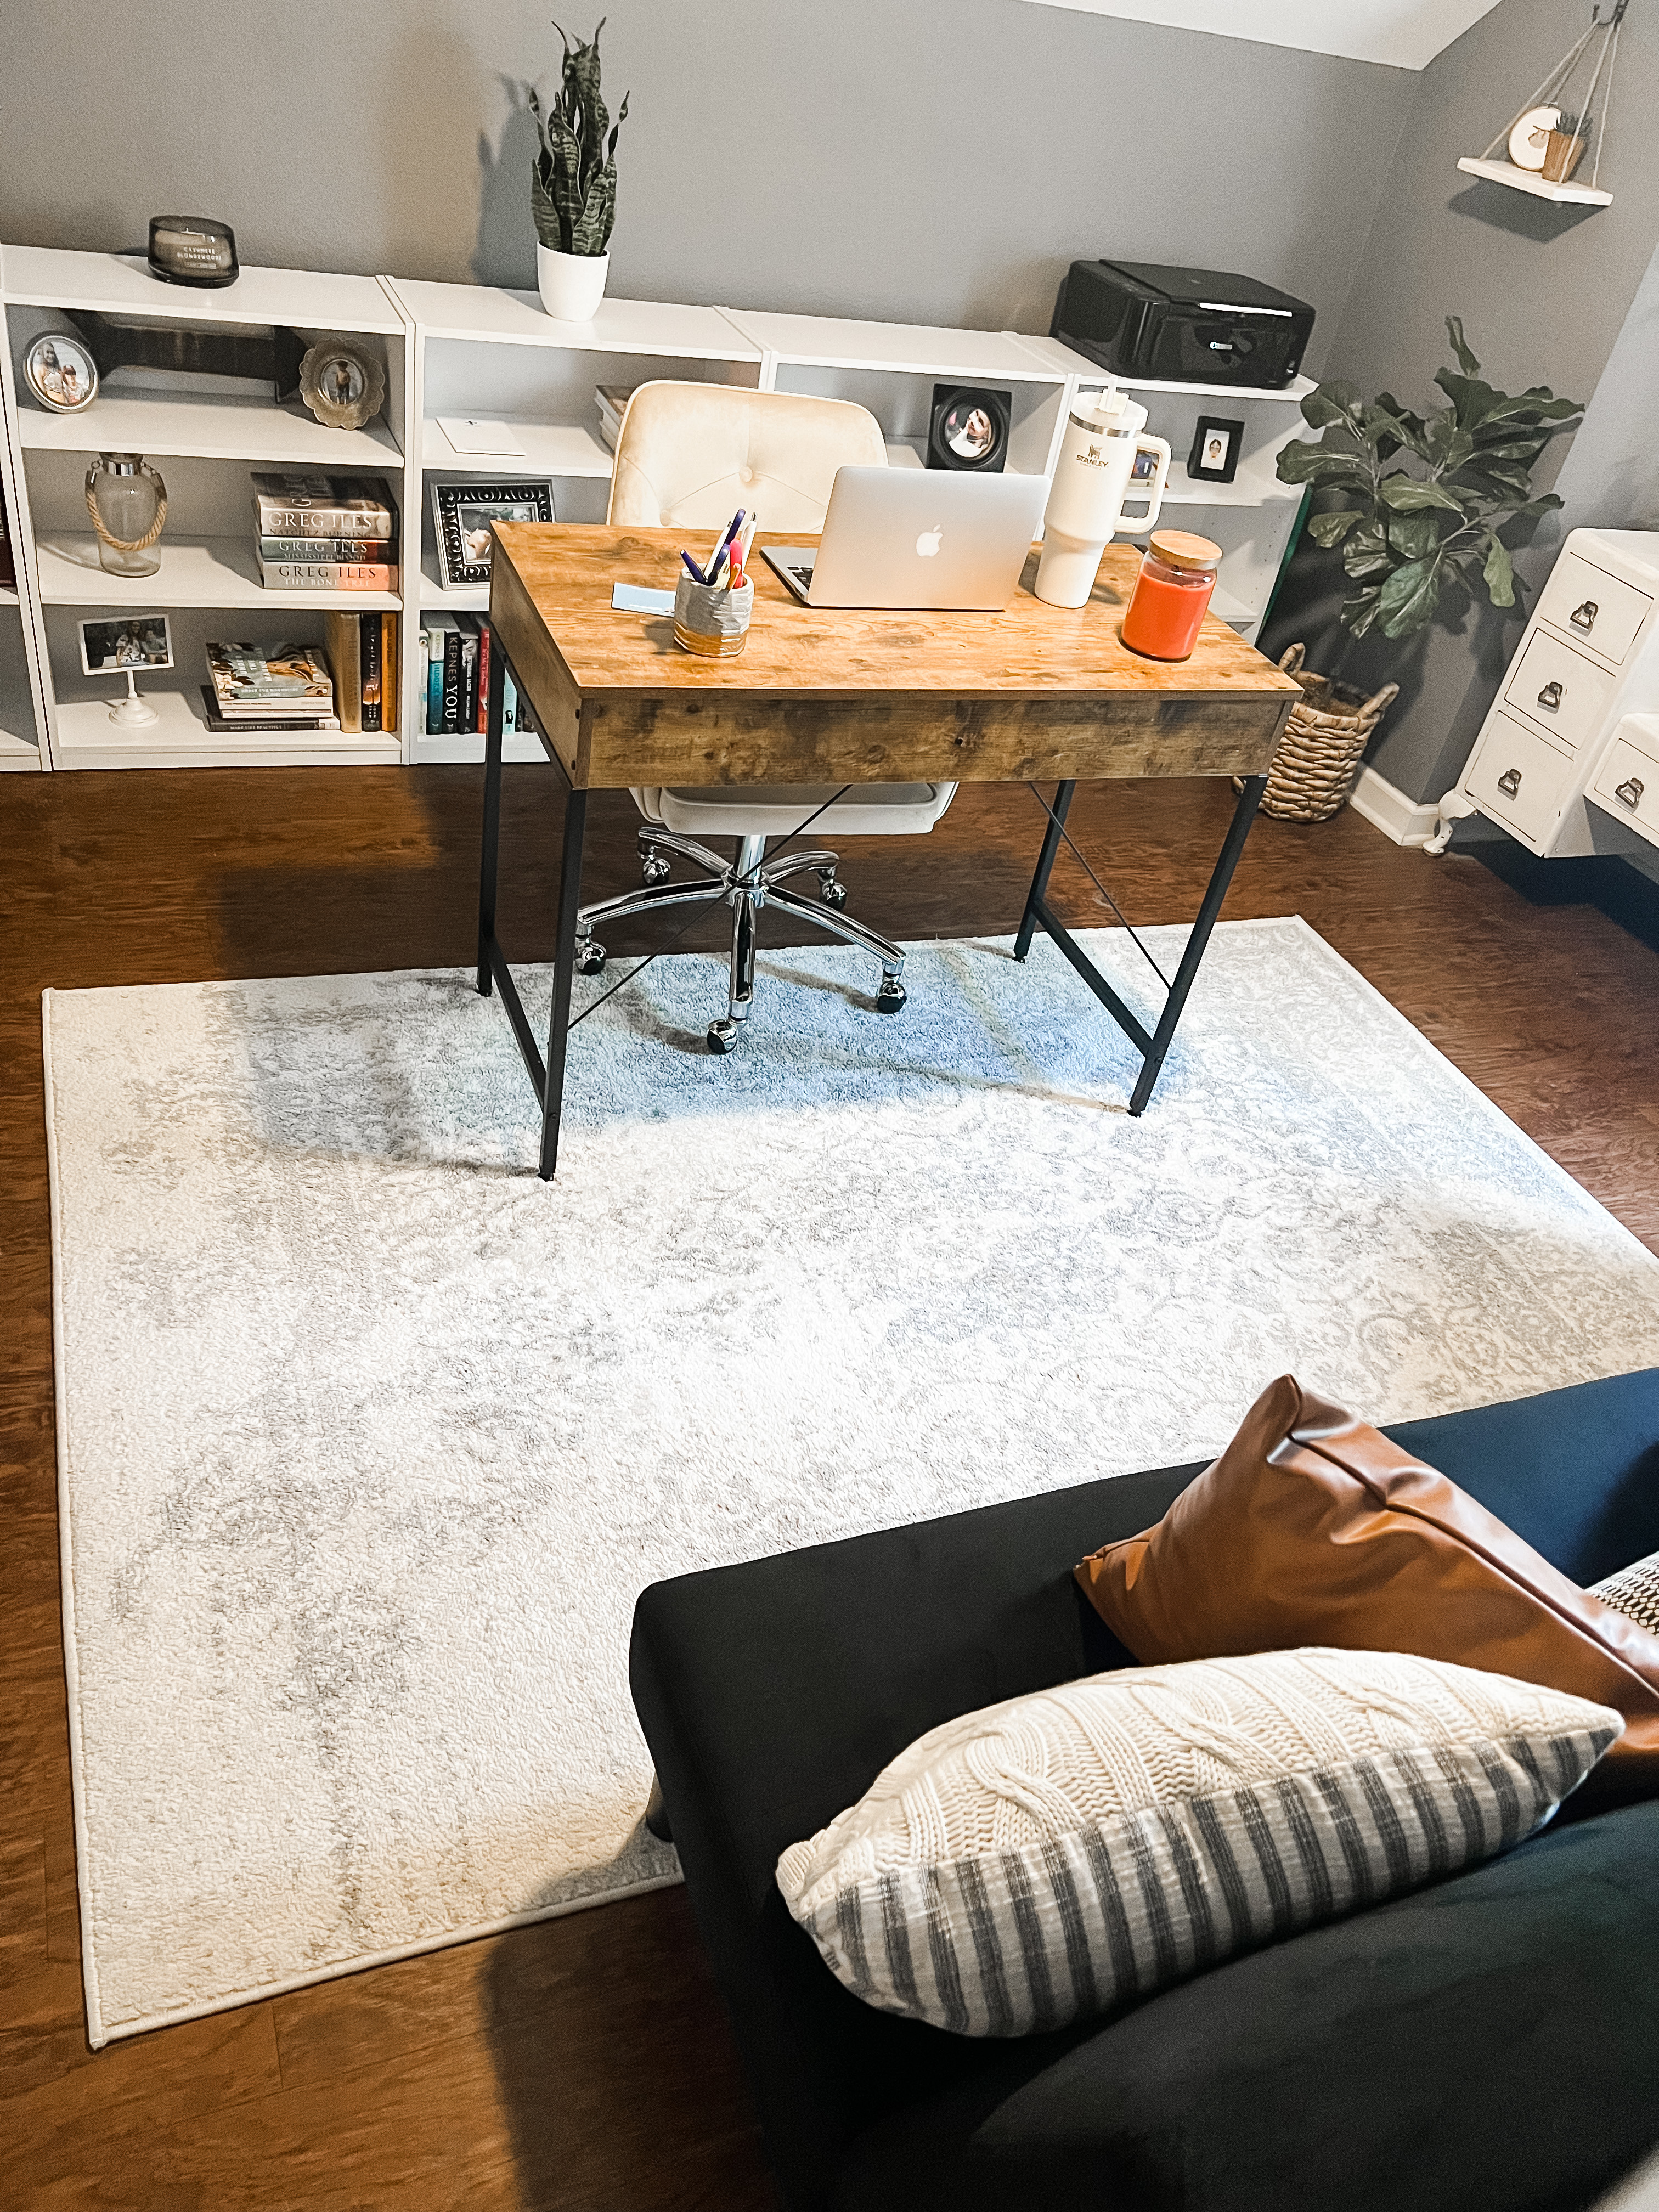
When my daughter moved out after she finished college, I turned her bedroom into my home office, but honestly I’ve been just using it for storage lately, so I wanted to cozy it up so I would actually want to spend time in there. I’m a home health nurse, which means I do a TON of computer charting at home, which was why I originally wanted a home office. But I usually just end up doing my computer work in the kitchen while simultaneously doing all the things we wives and mothers have to get done like laundry, cooking, washing dishes, cleaning house, etc.

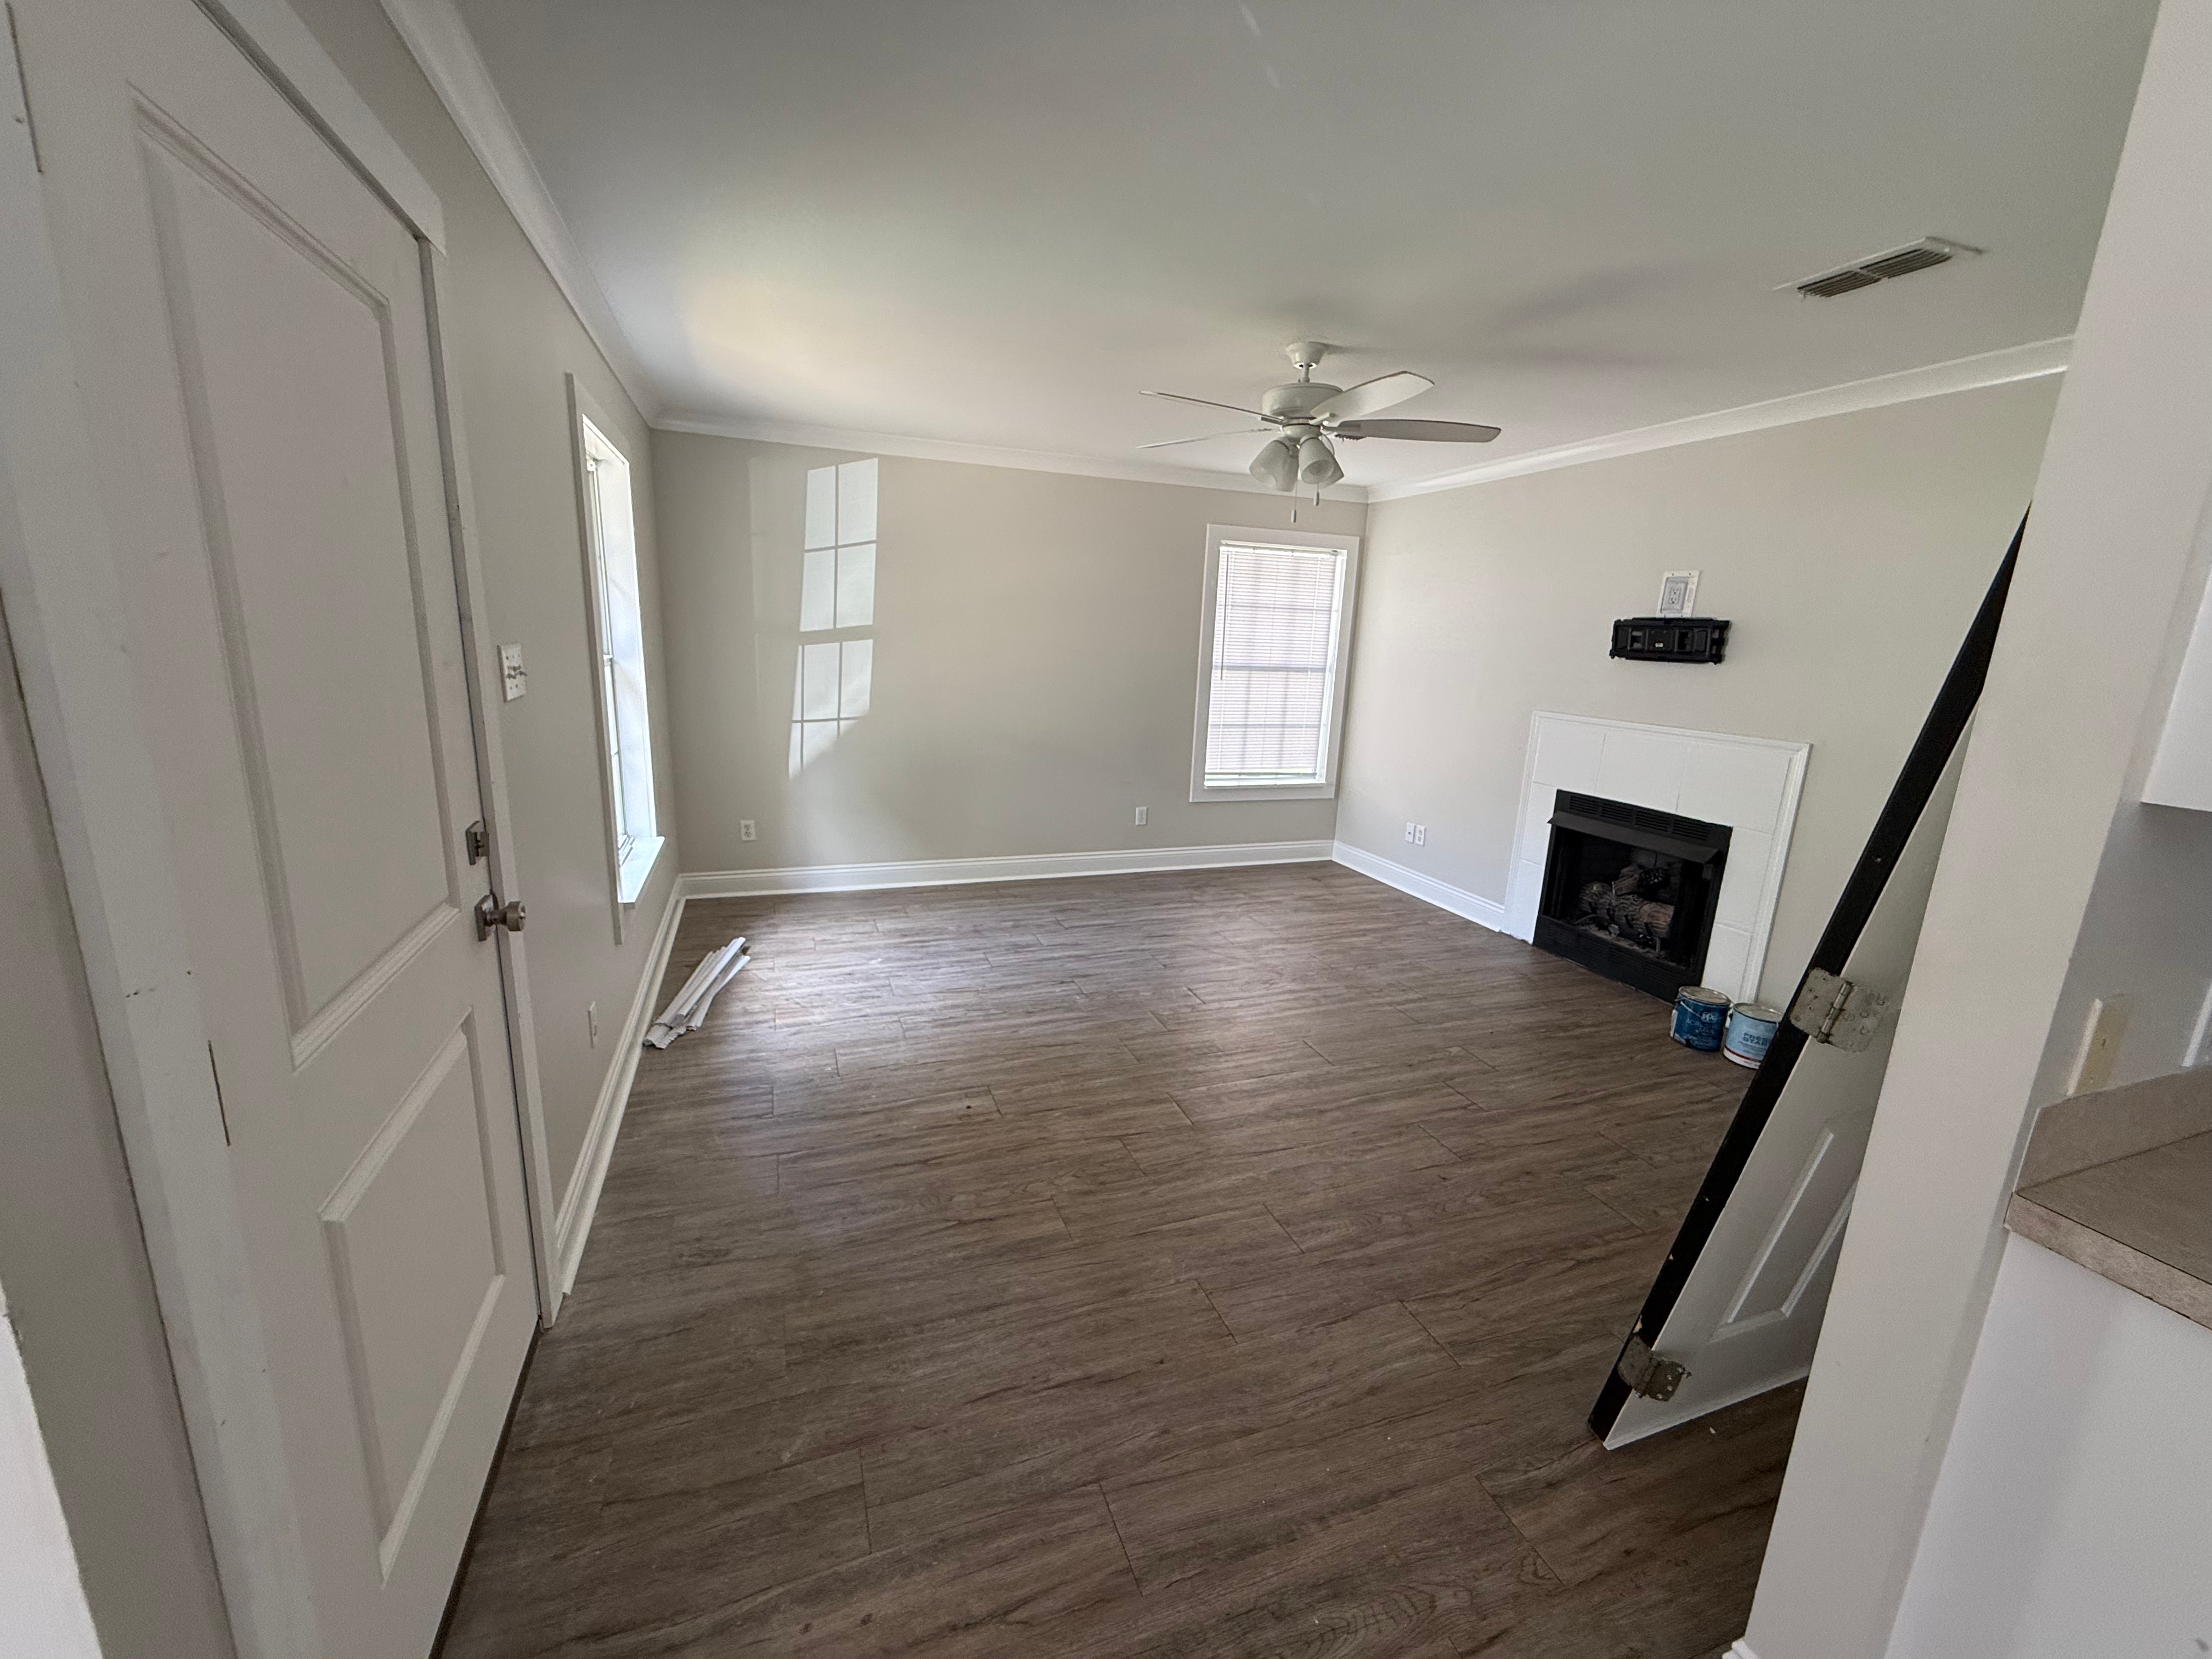
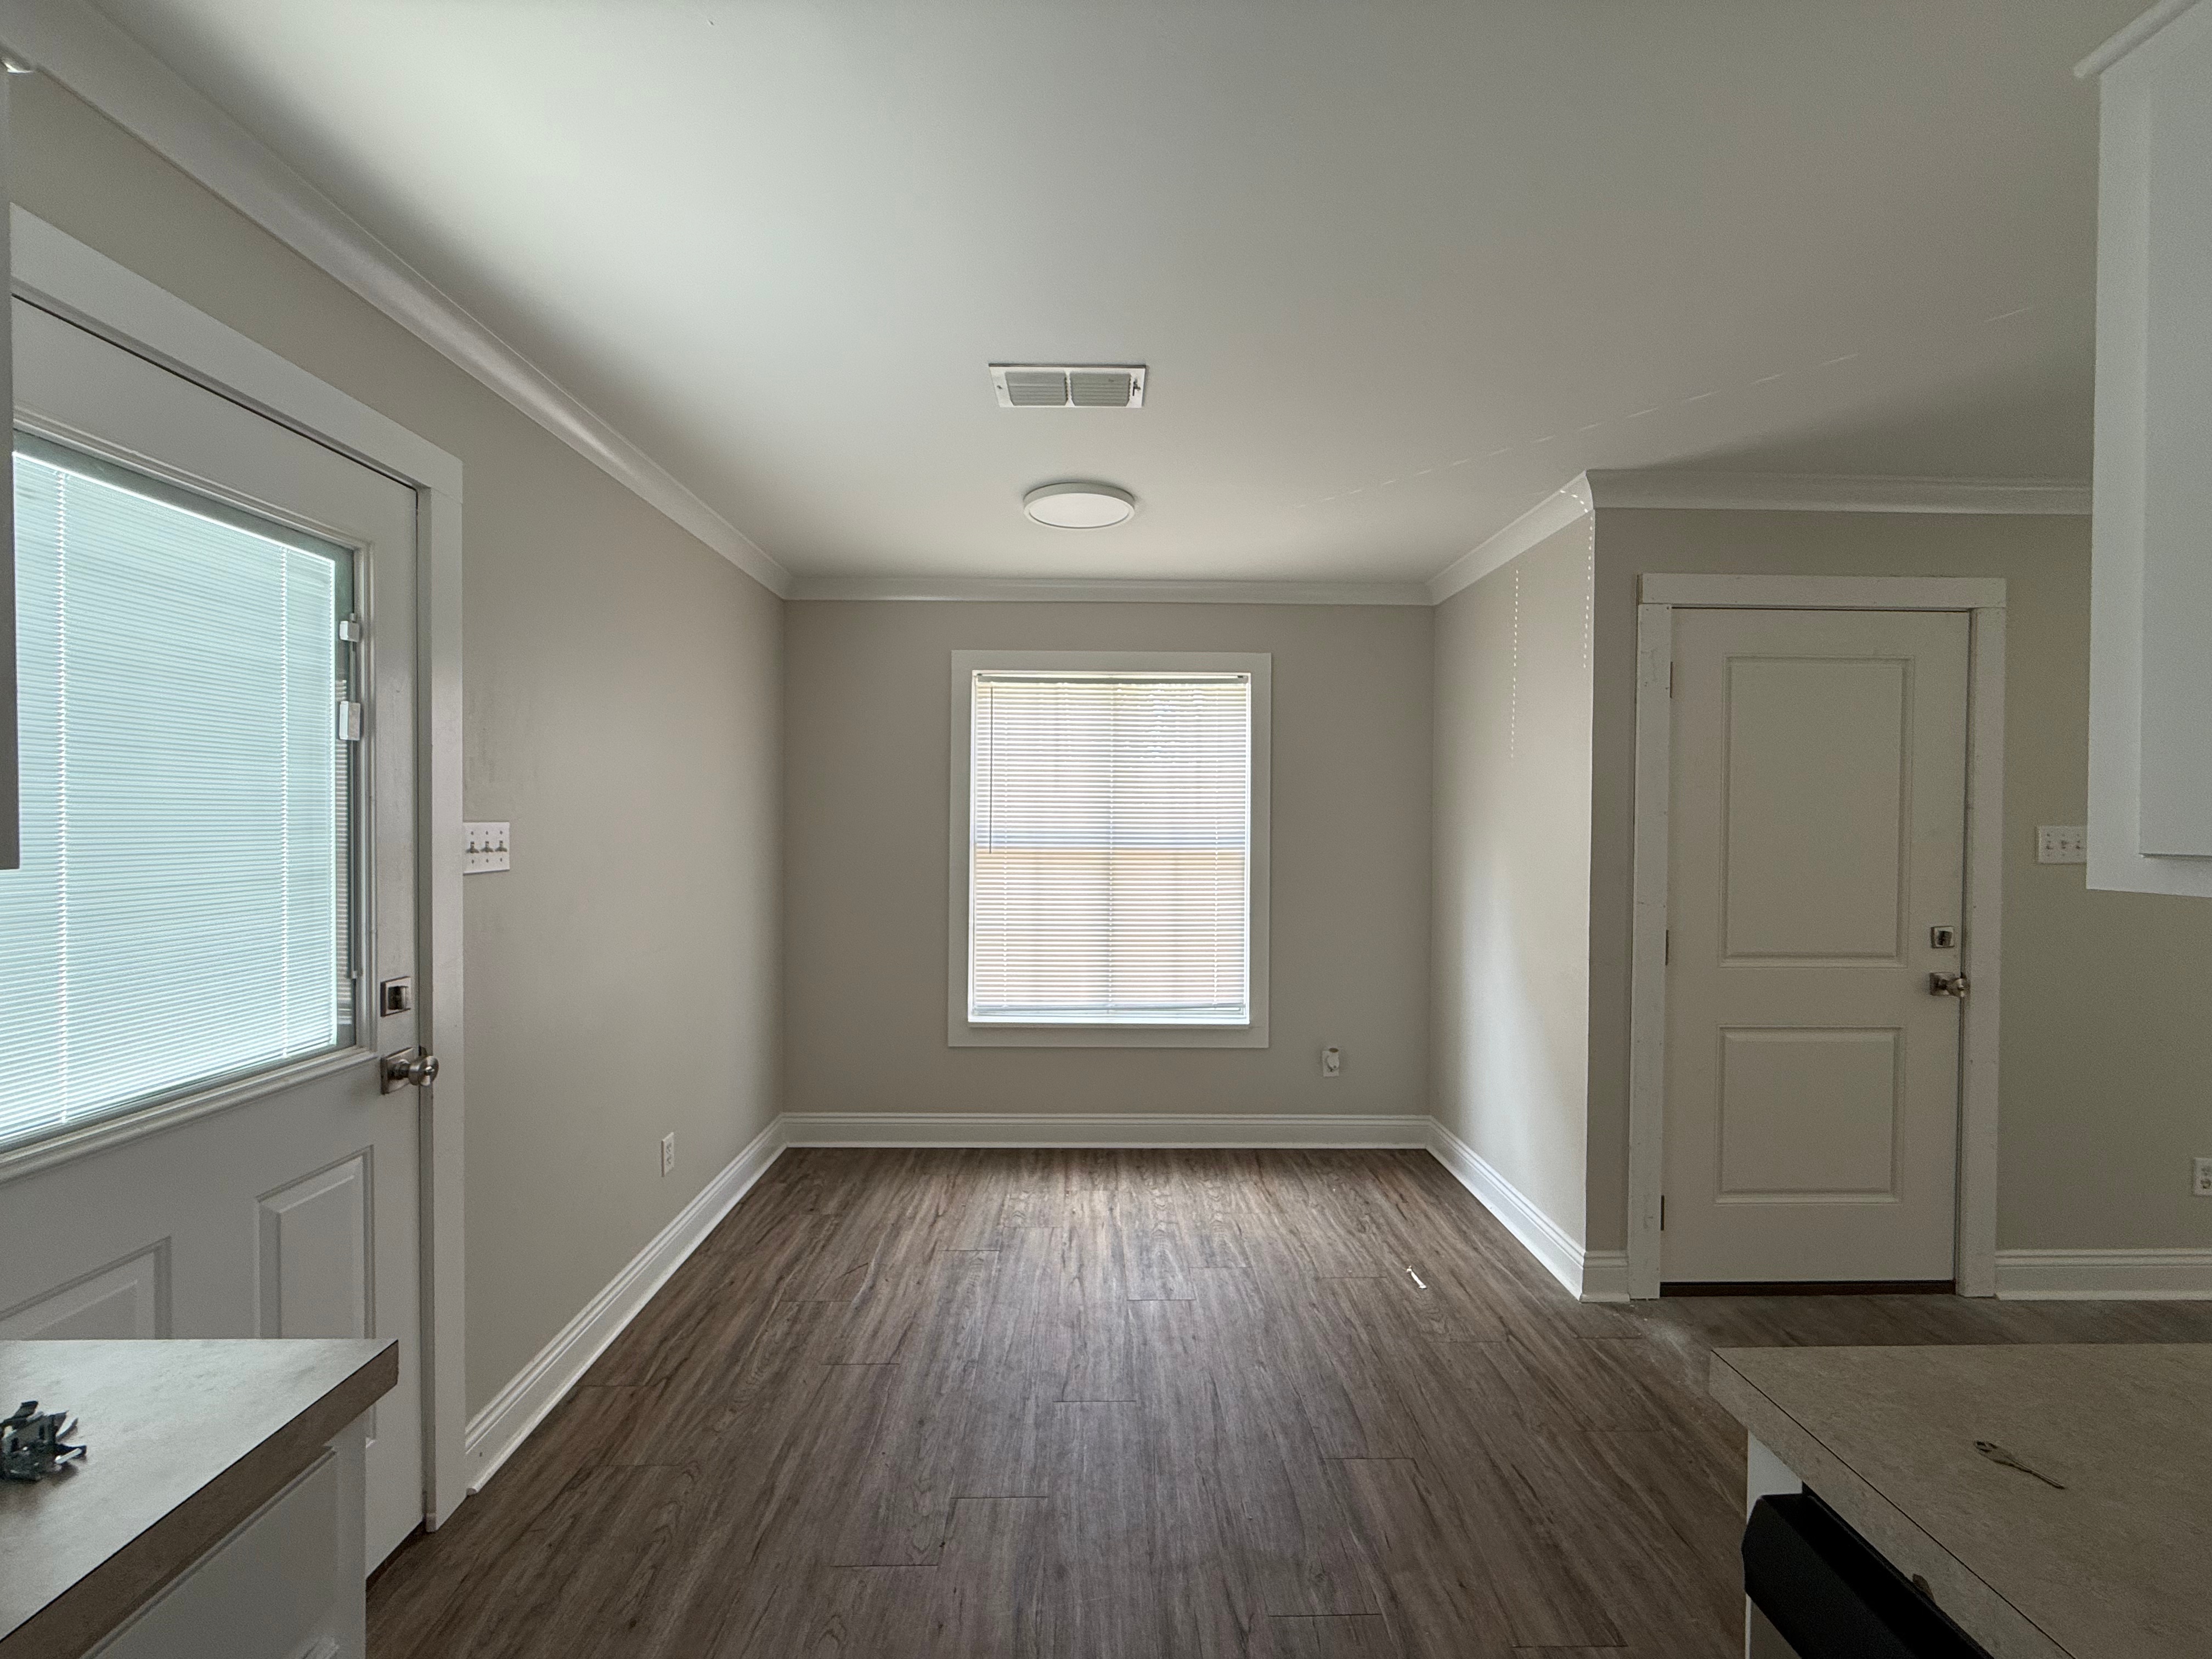
The main area I wanted to focus on was the wall facing my desk, it just felt so empty…

I never used the tv so it was just collecting dust, and the wall was just plain boring to look at while I sat at the desk facing it. I’ve always loved the eclectic interiors of homes in New Orleans, and that was the vibe I wanted to go for, but I was also on a tight budget from buying Christmas presents.

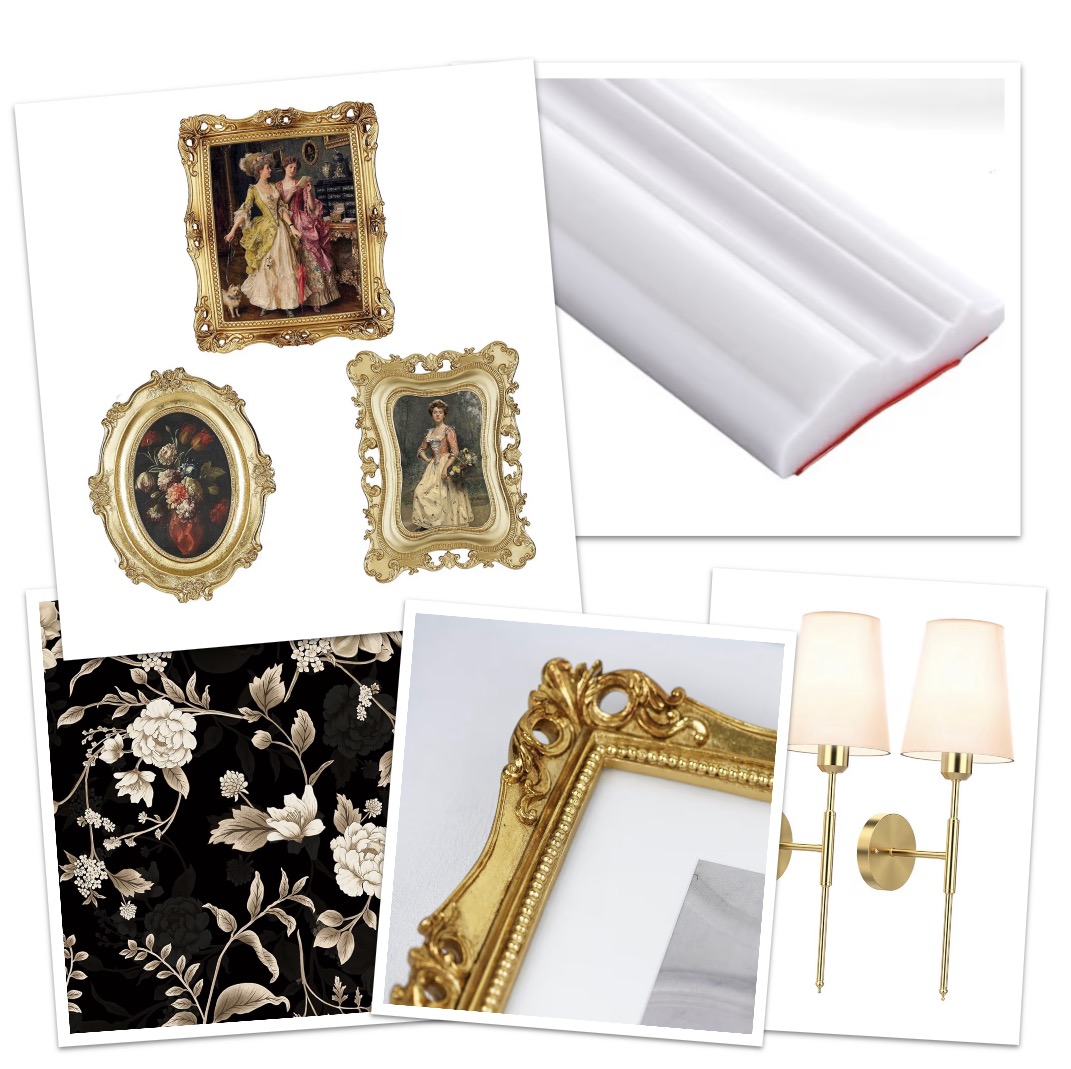
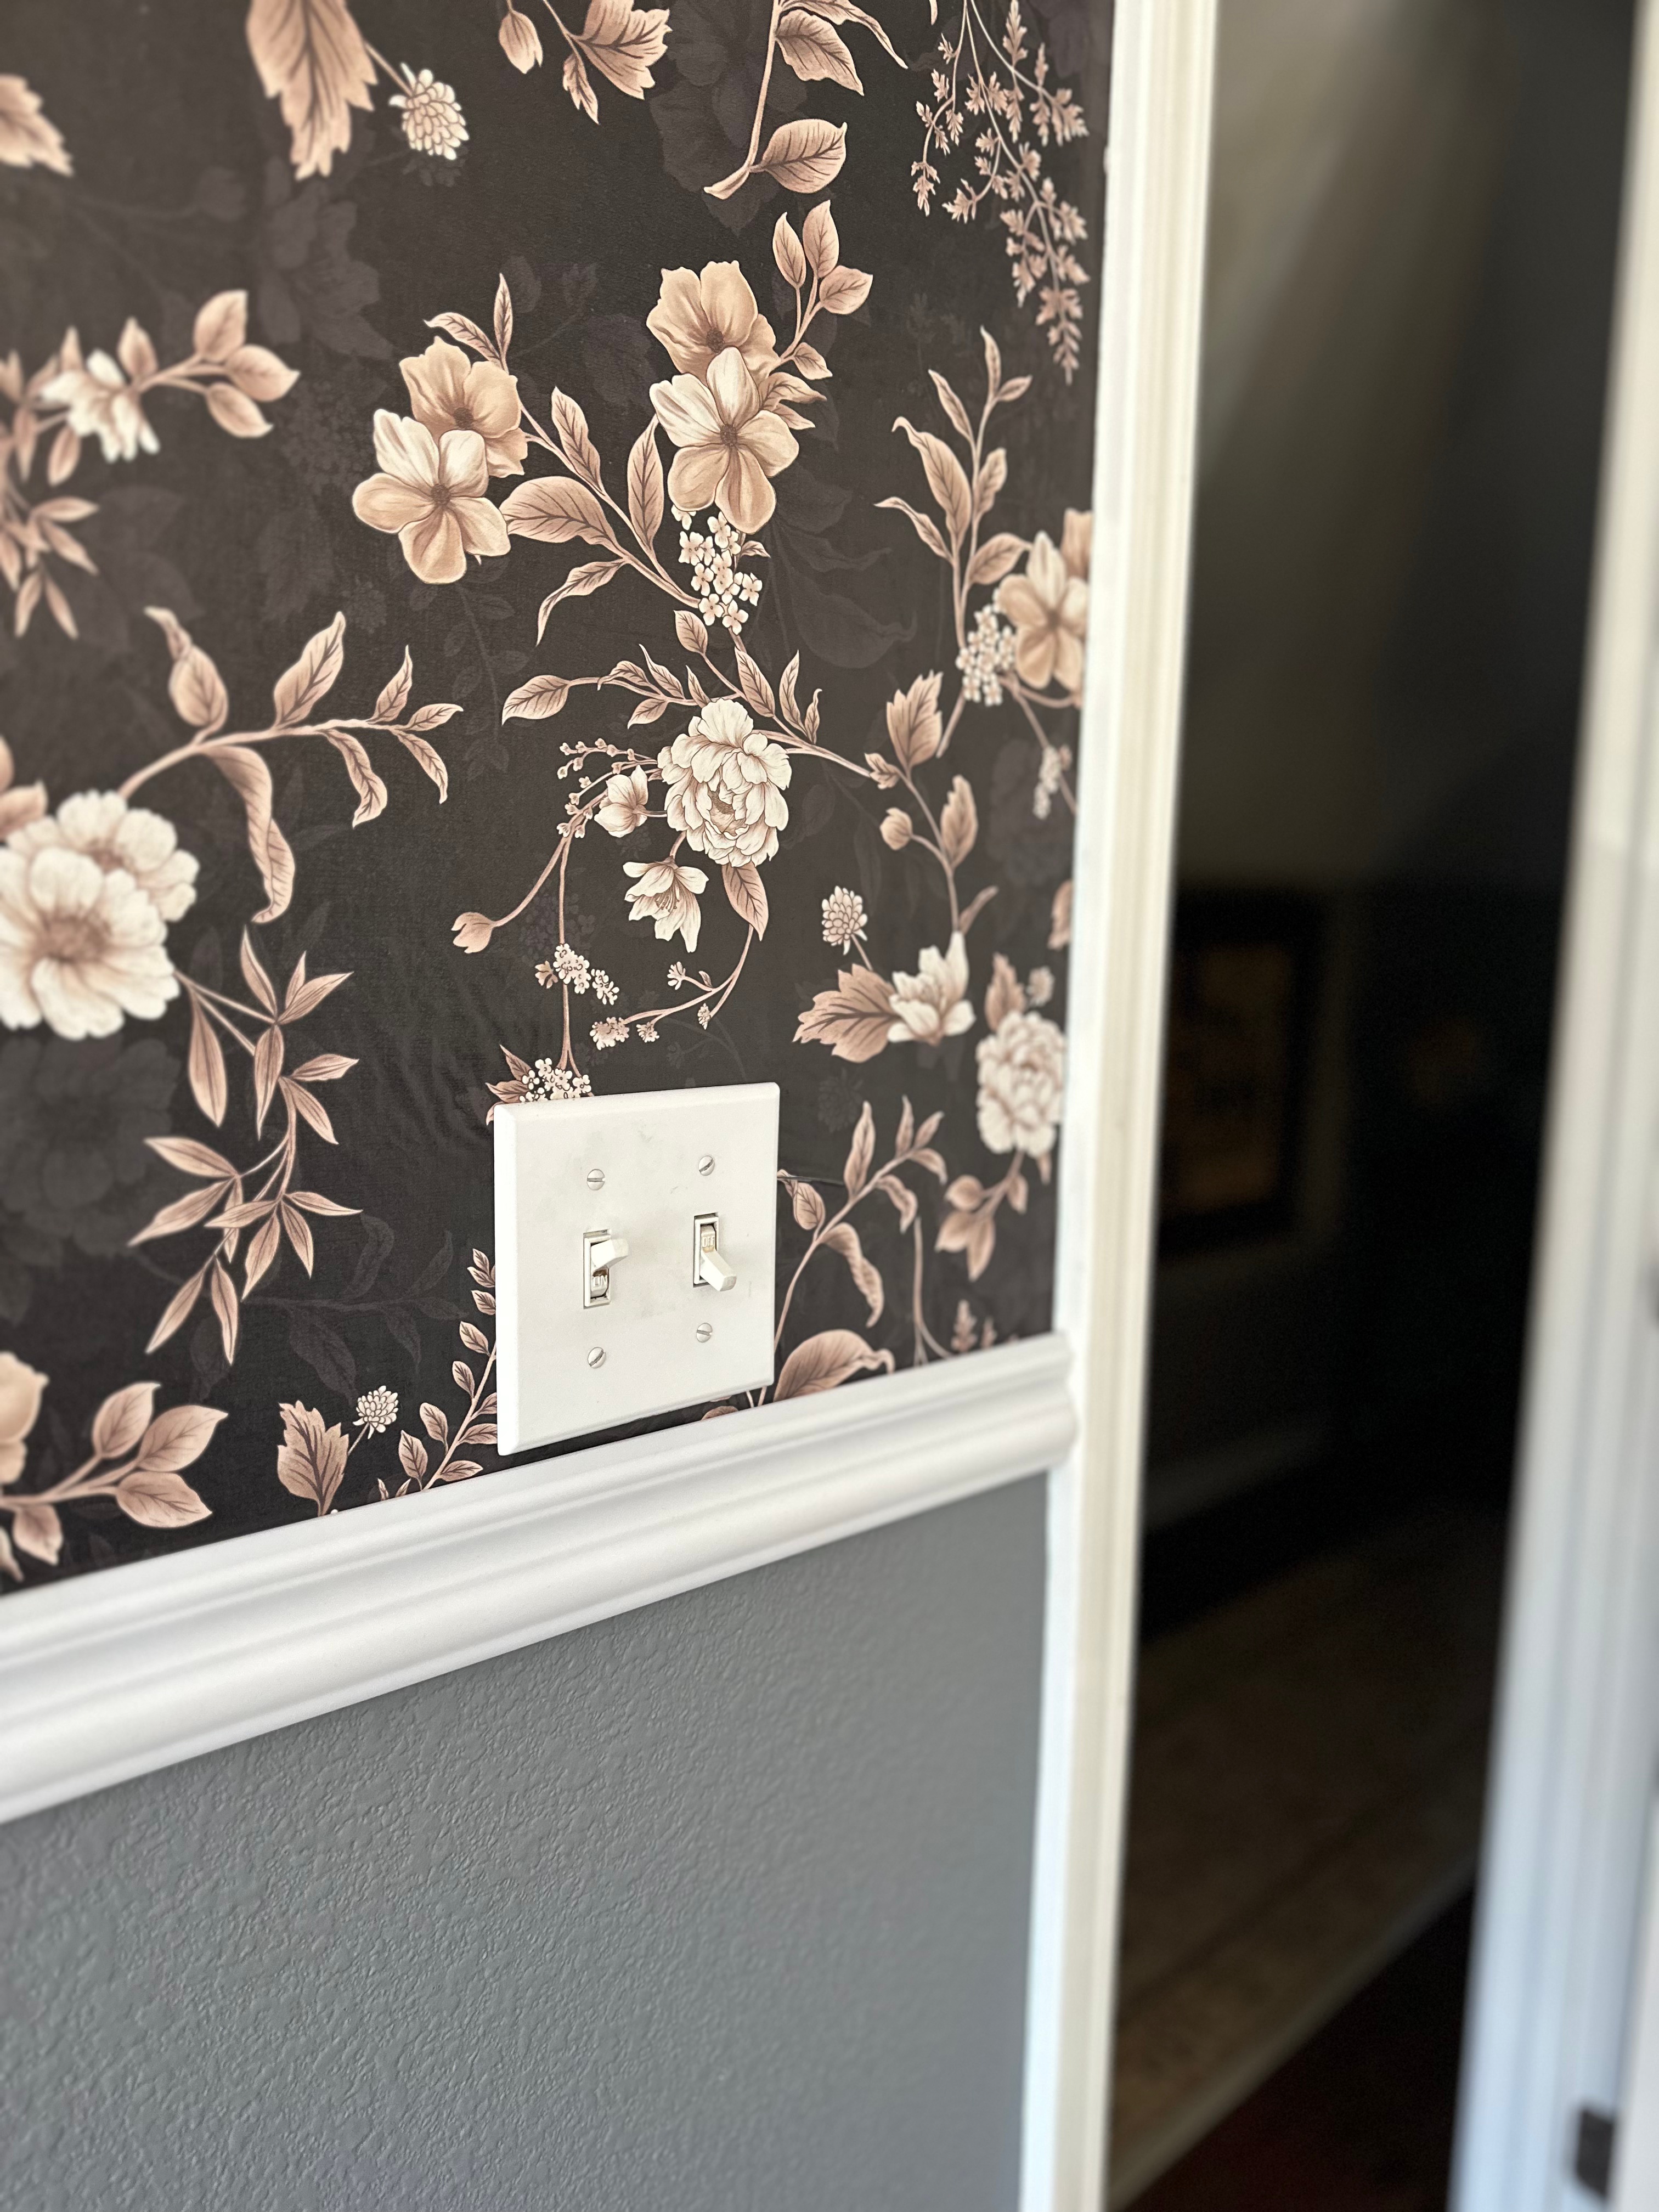
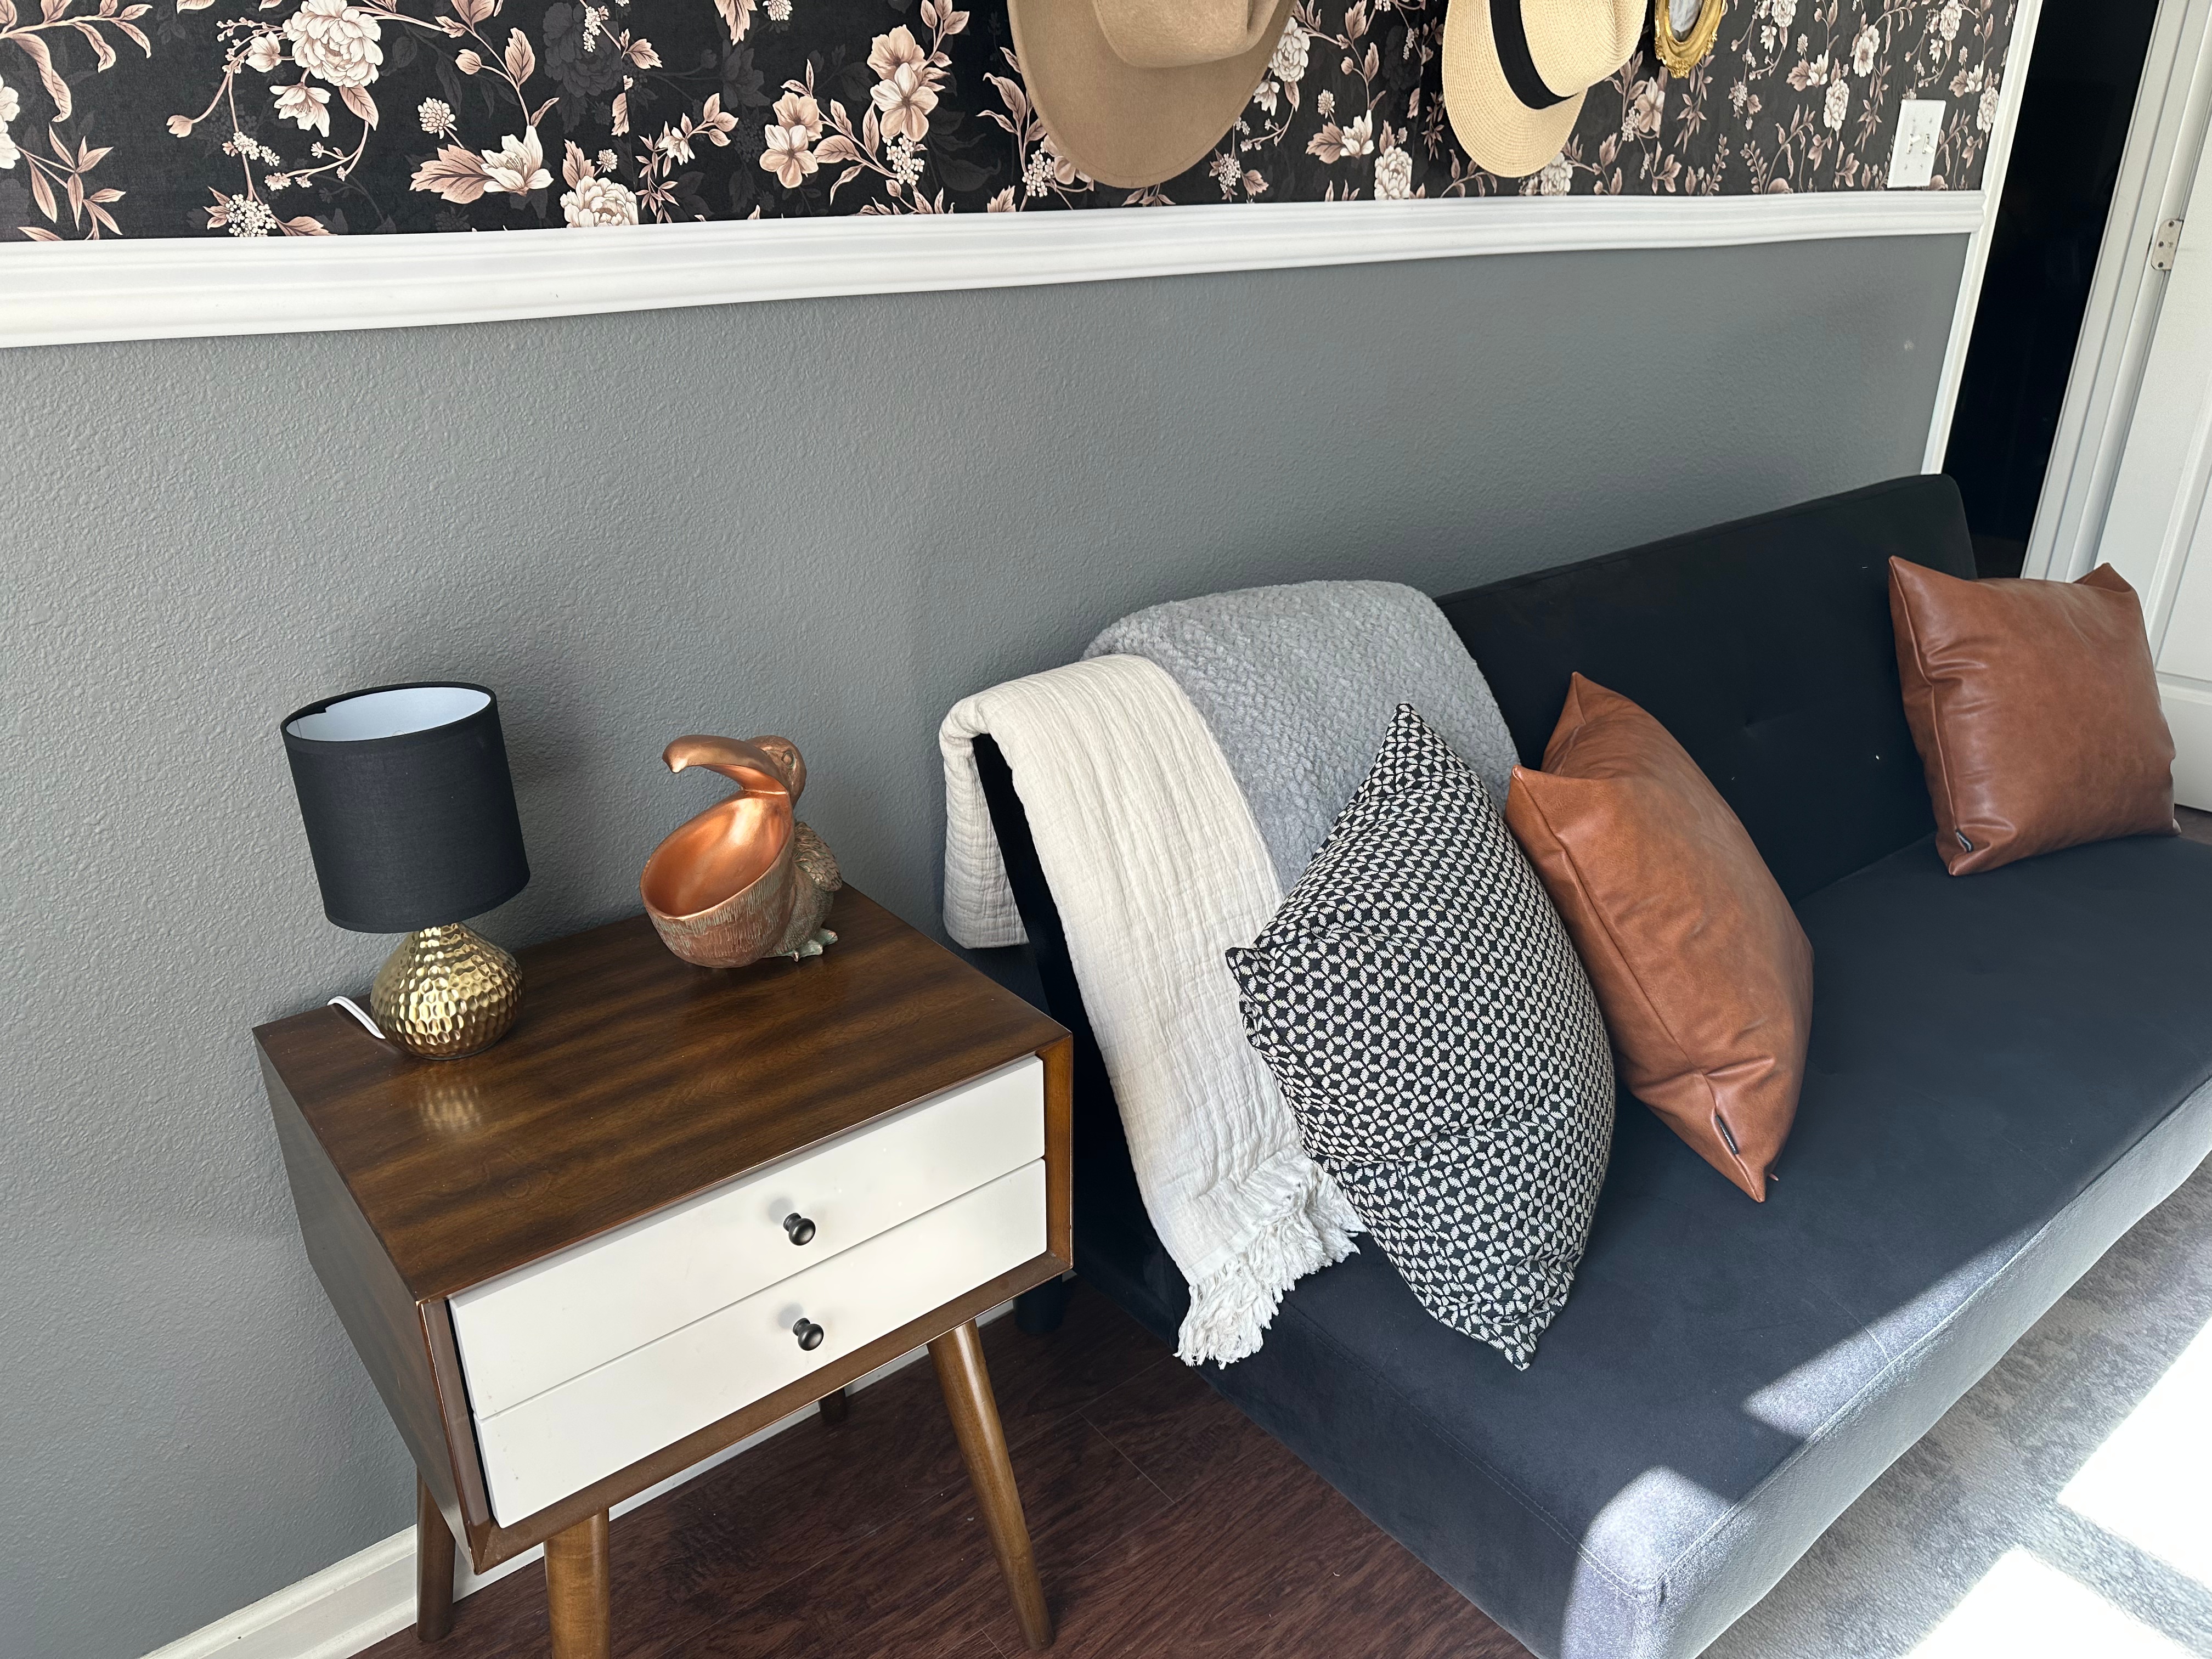
I looked around on Amazon and found some beautiful peel-and-stick wallpaper that was only $9 a roll, and the black background on it would match the black futon I have in there to use if anyone ever spends the night. I wanted a chair rail to separate the wallpaper above from the painted walls below, and I happened to find a peel-and-stick one of those as well on Amazon, which was perfect because I wouldn’t have to enlist any help cutting one to fit.

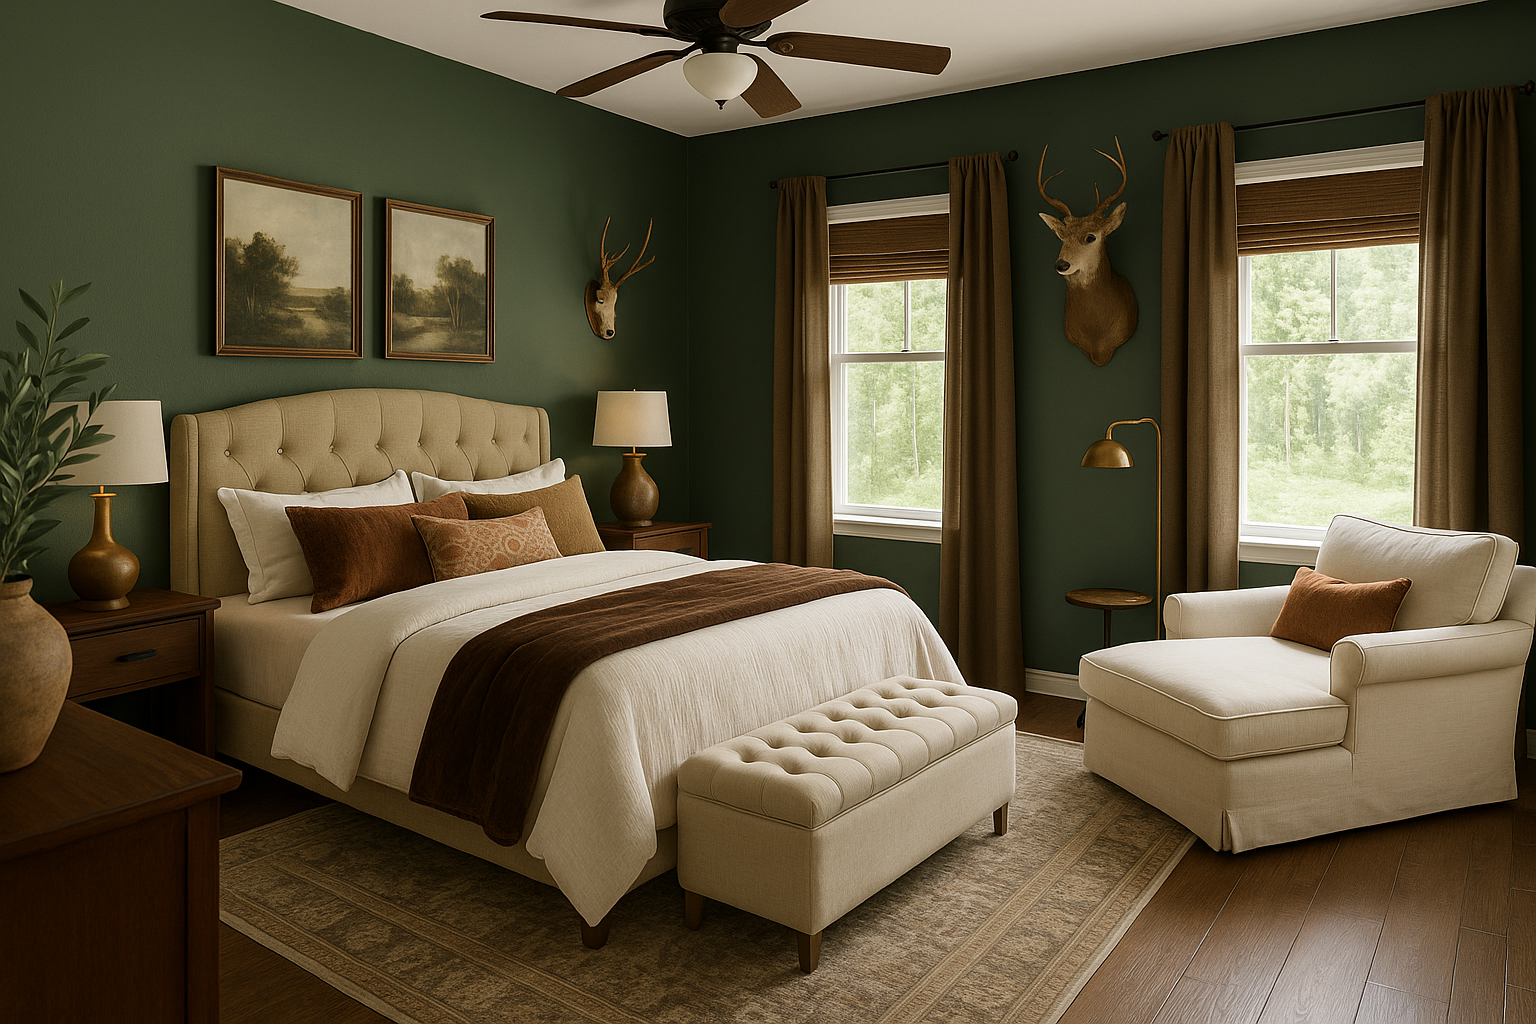
I also had a few gold accessories and picture frames stored away that I wasn’t using anywhere, and decided to use them to make a gallery wall over the wallpaper. I came up with this “vision board” to make my office wall go from boring to exciting:

I started by measuring off where I wanted the chair rail to go, then hung the peel-and-stick wallpaper down to that spot. However, it was not sticking to my wall like I hoped it would. Our walls have a slight texture to them, and it looked like that was the problem.

I wanted to give up already, but then I found some adhesive spray online that had really good reviews to help this type of wallpaper stick to textured walls…

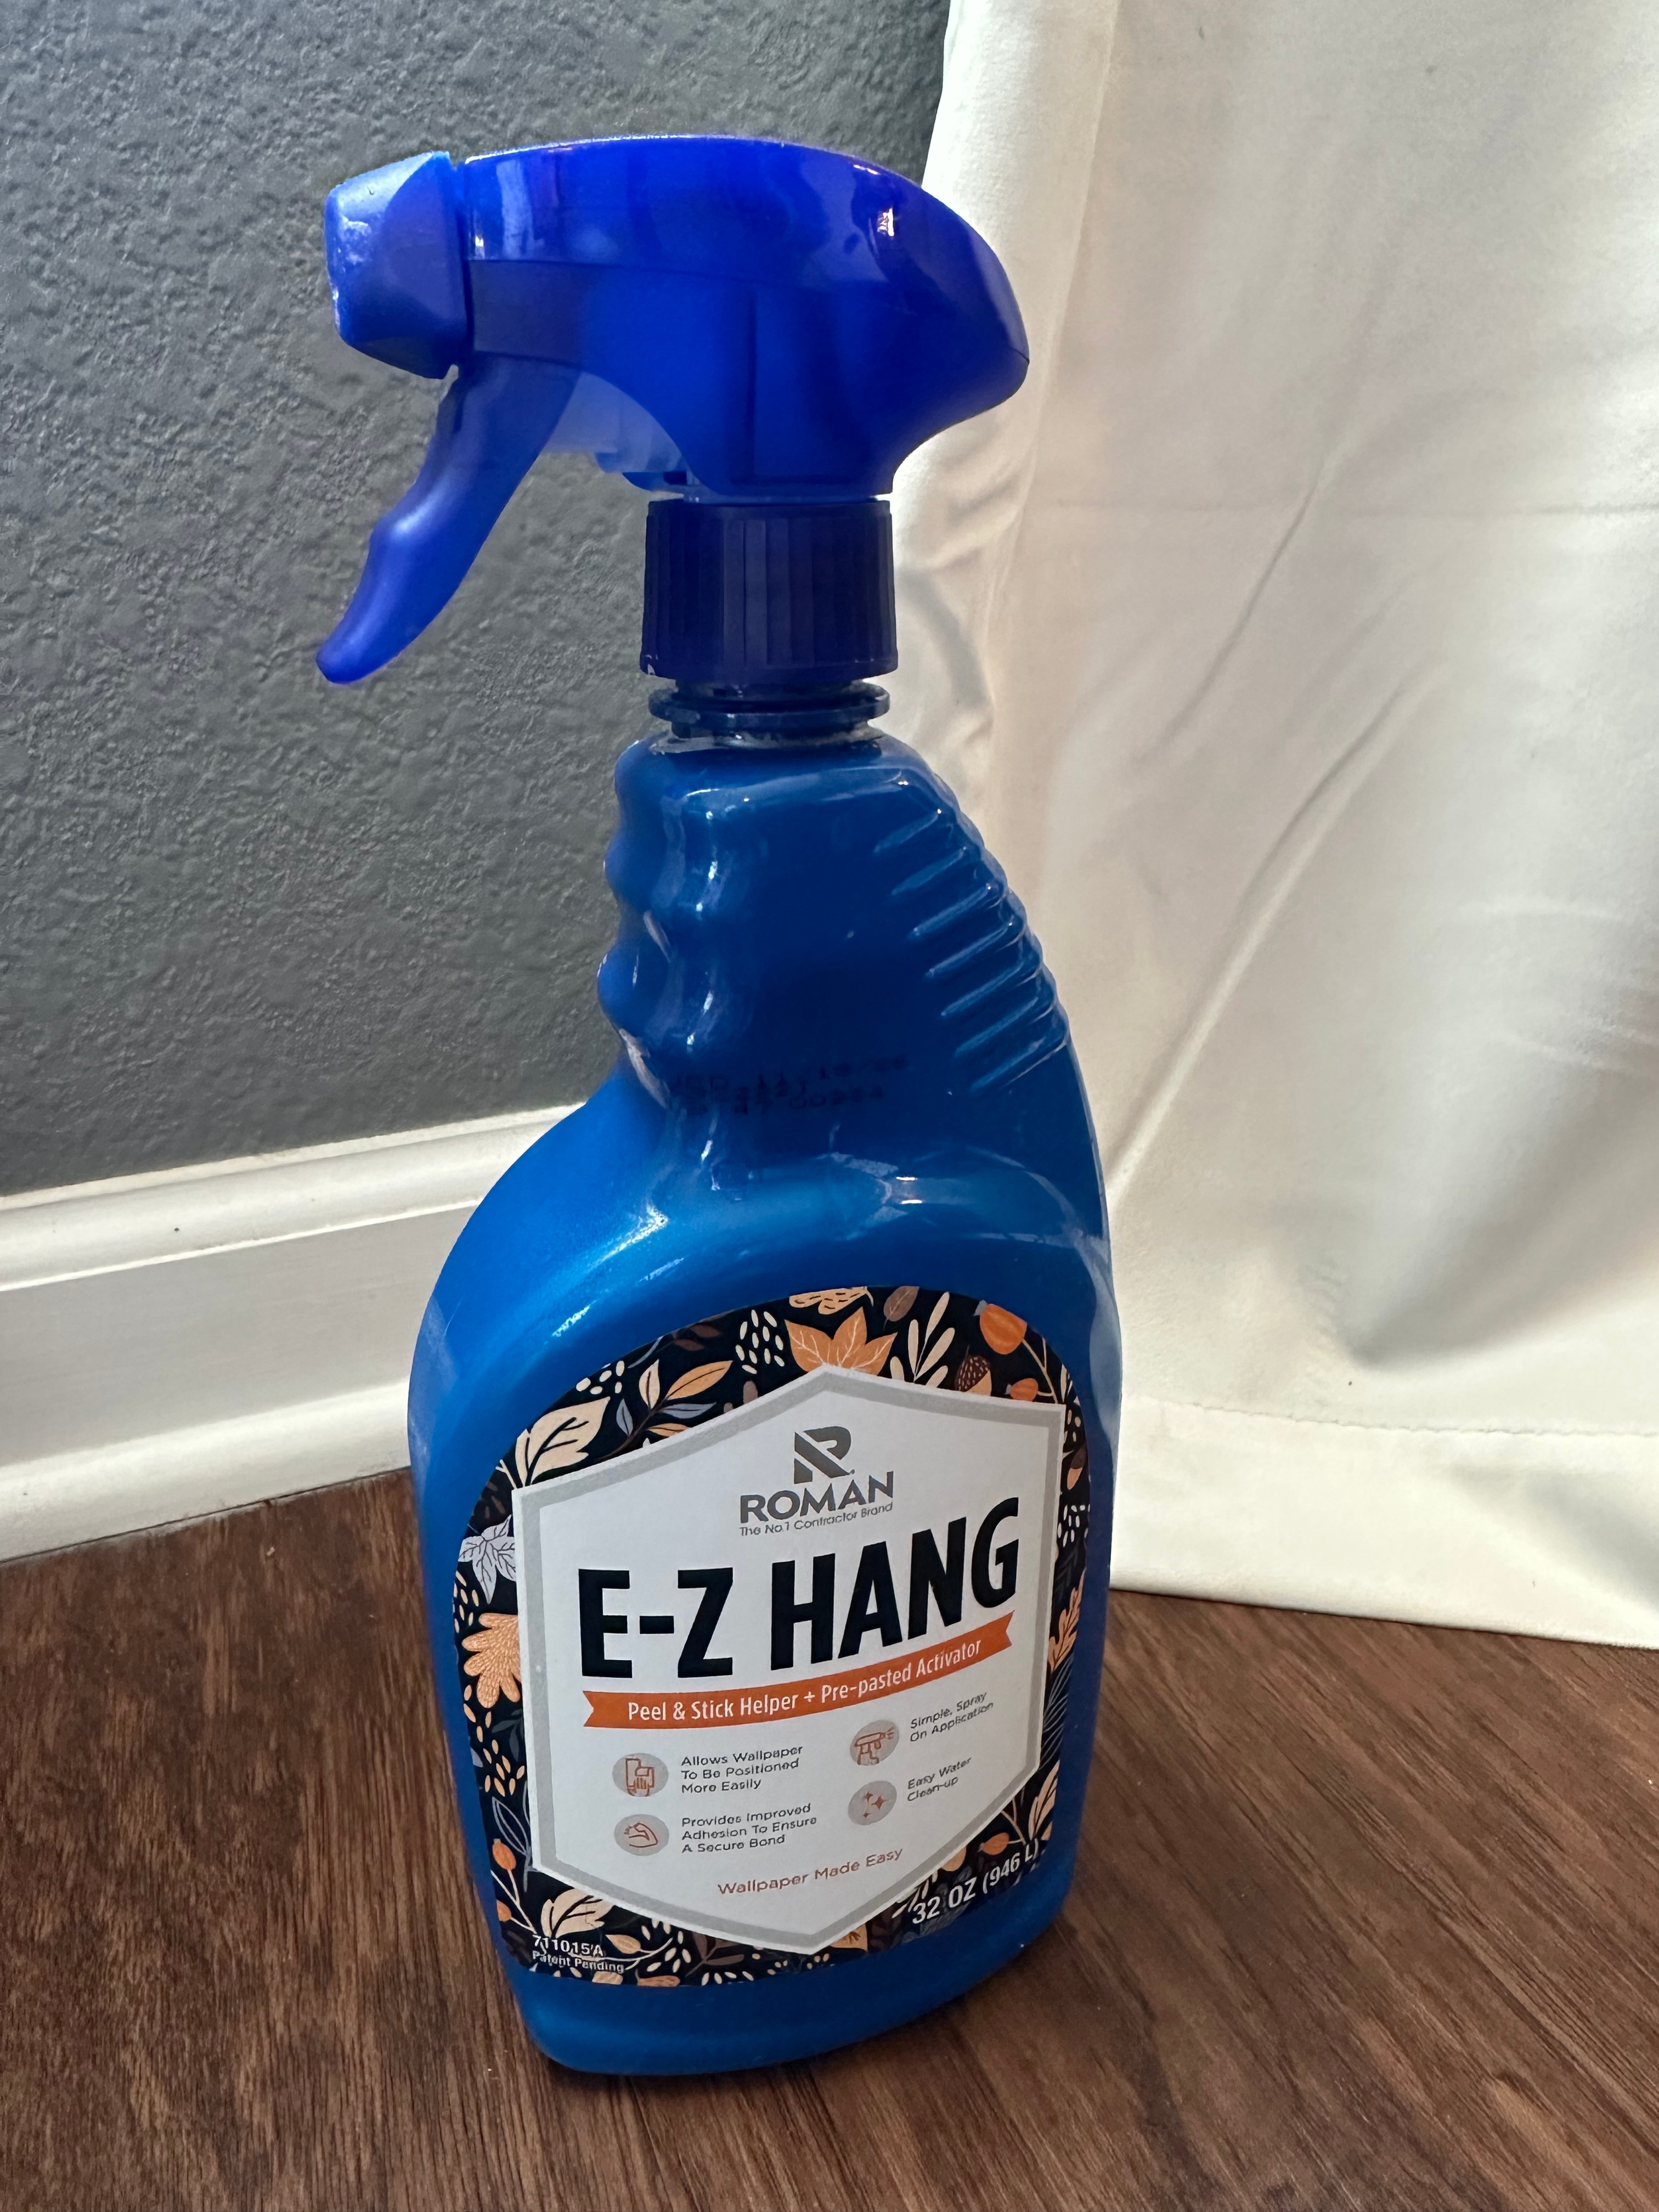
This stuff worked great, and then I was on a roll! Before long, I had the wallpaper and chair rail up!

I realize that I did not line up the edges of the wallpaper to match, but first of all I’m not a professional, and second of all I really didn’t care to go to that much trouble when I was going to hang the gold accents on top of it, so please don’t judge me!

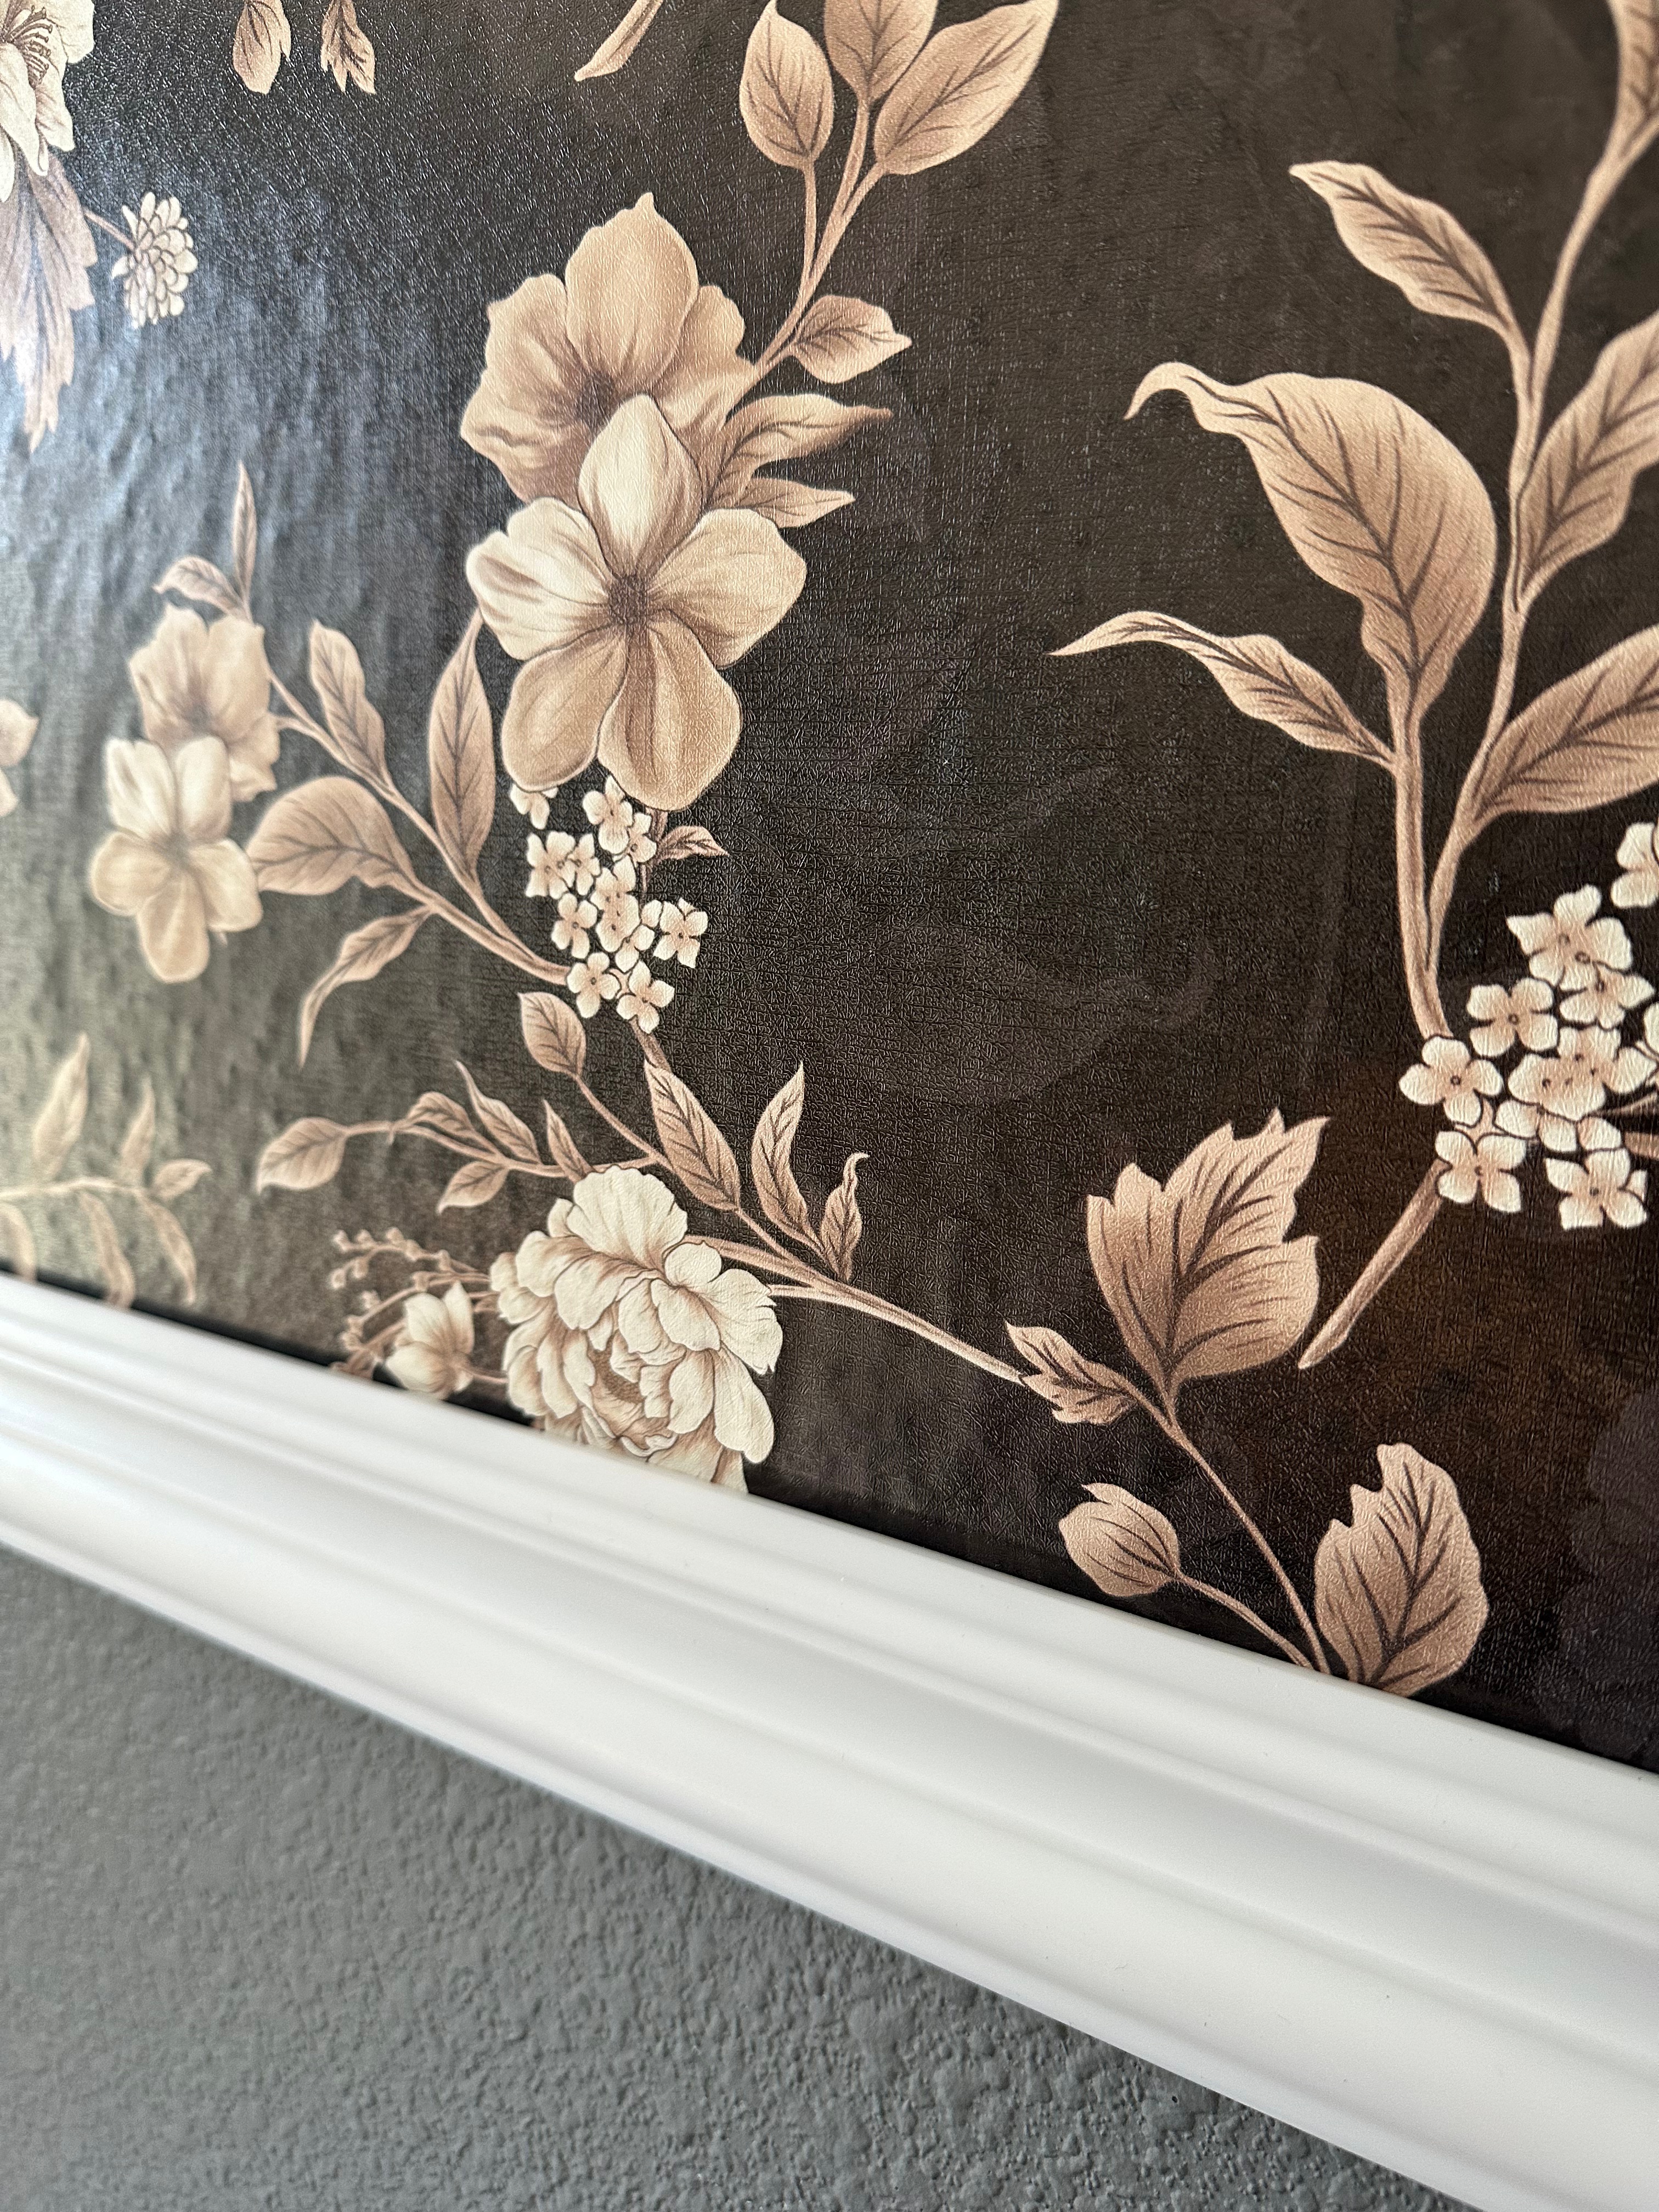
And after all the trouble of getting the wallpaper to actually stick, the last thing I was concerned about at that point was matching the edges up.

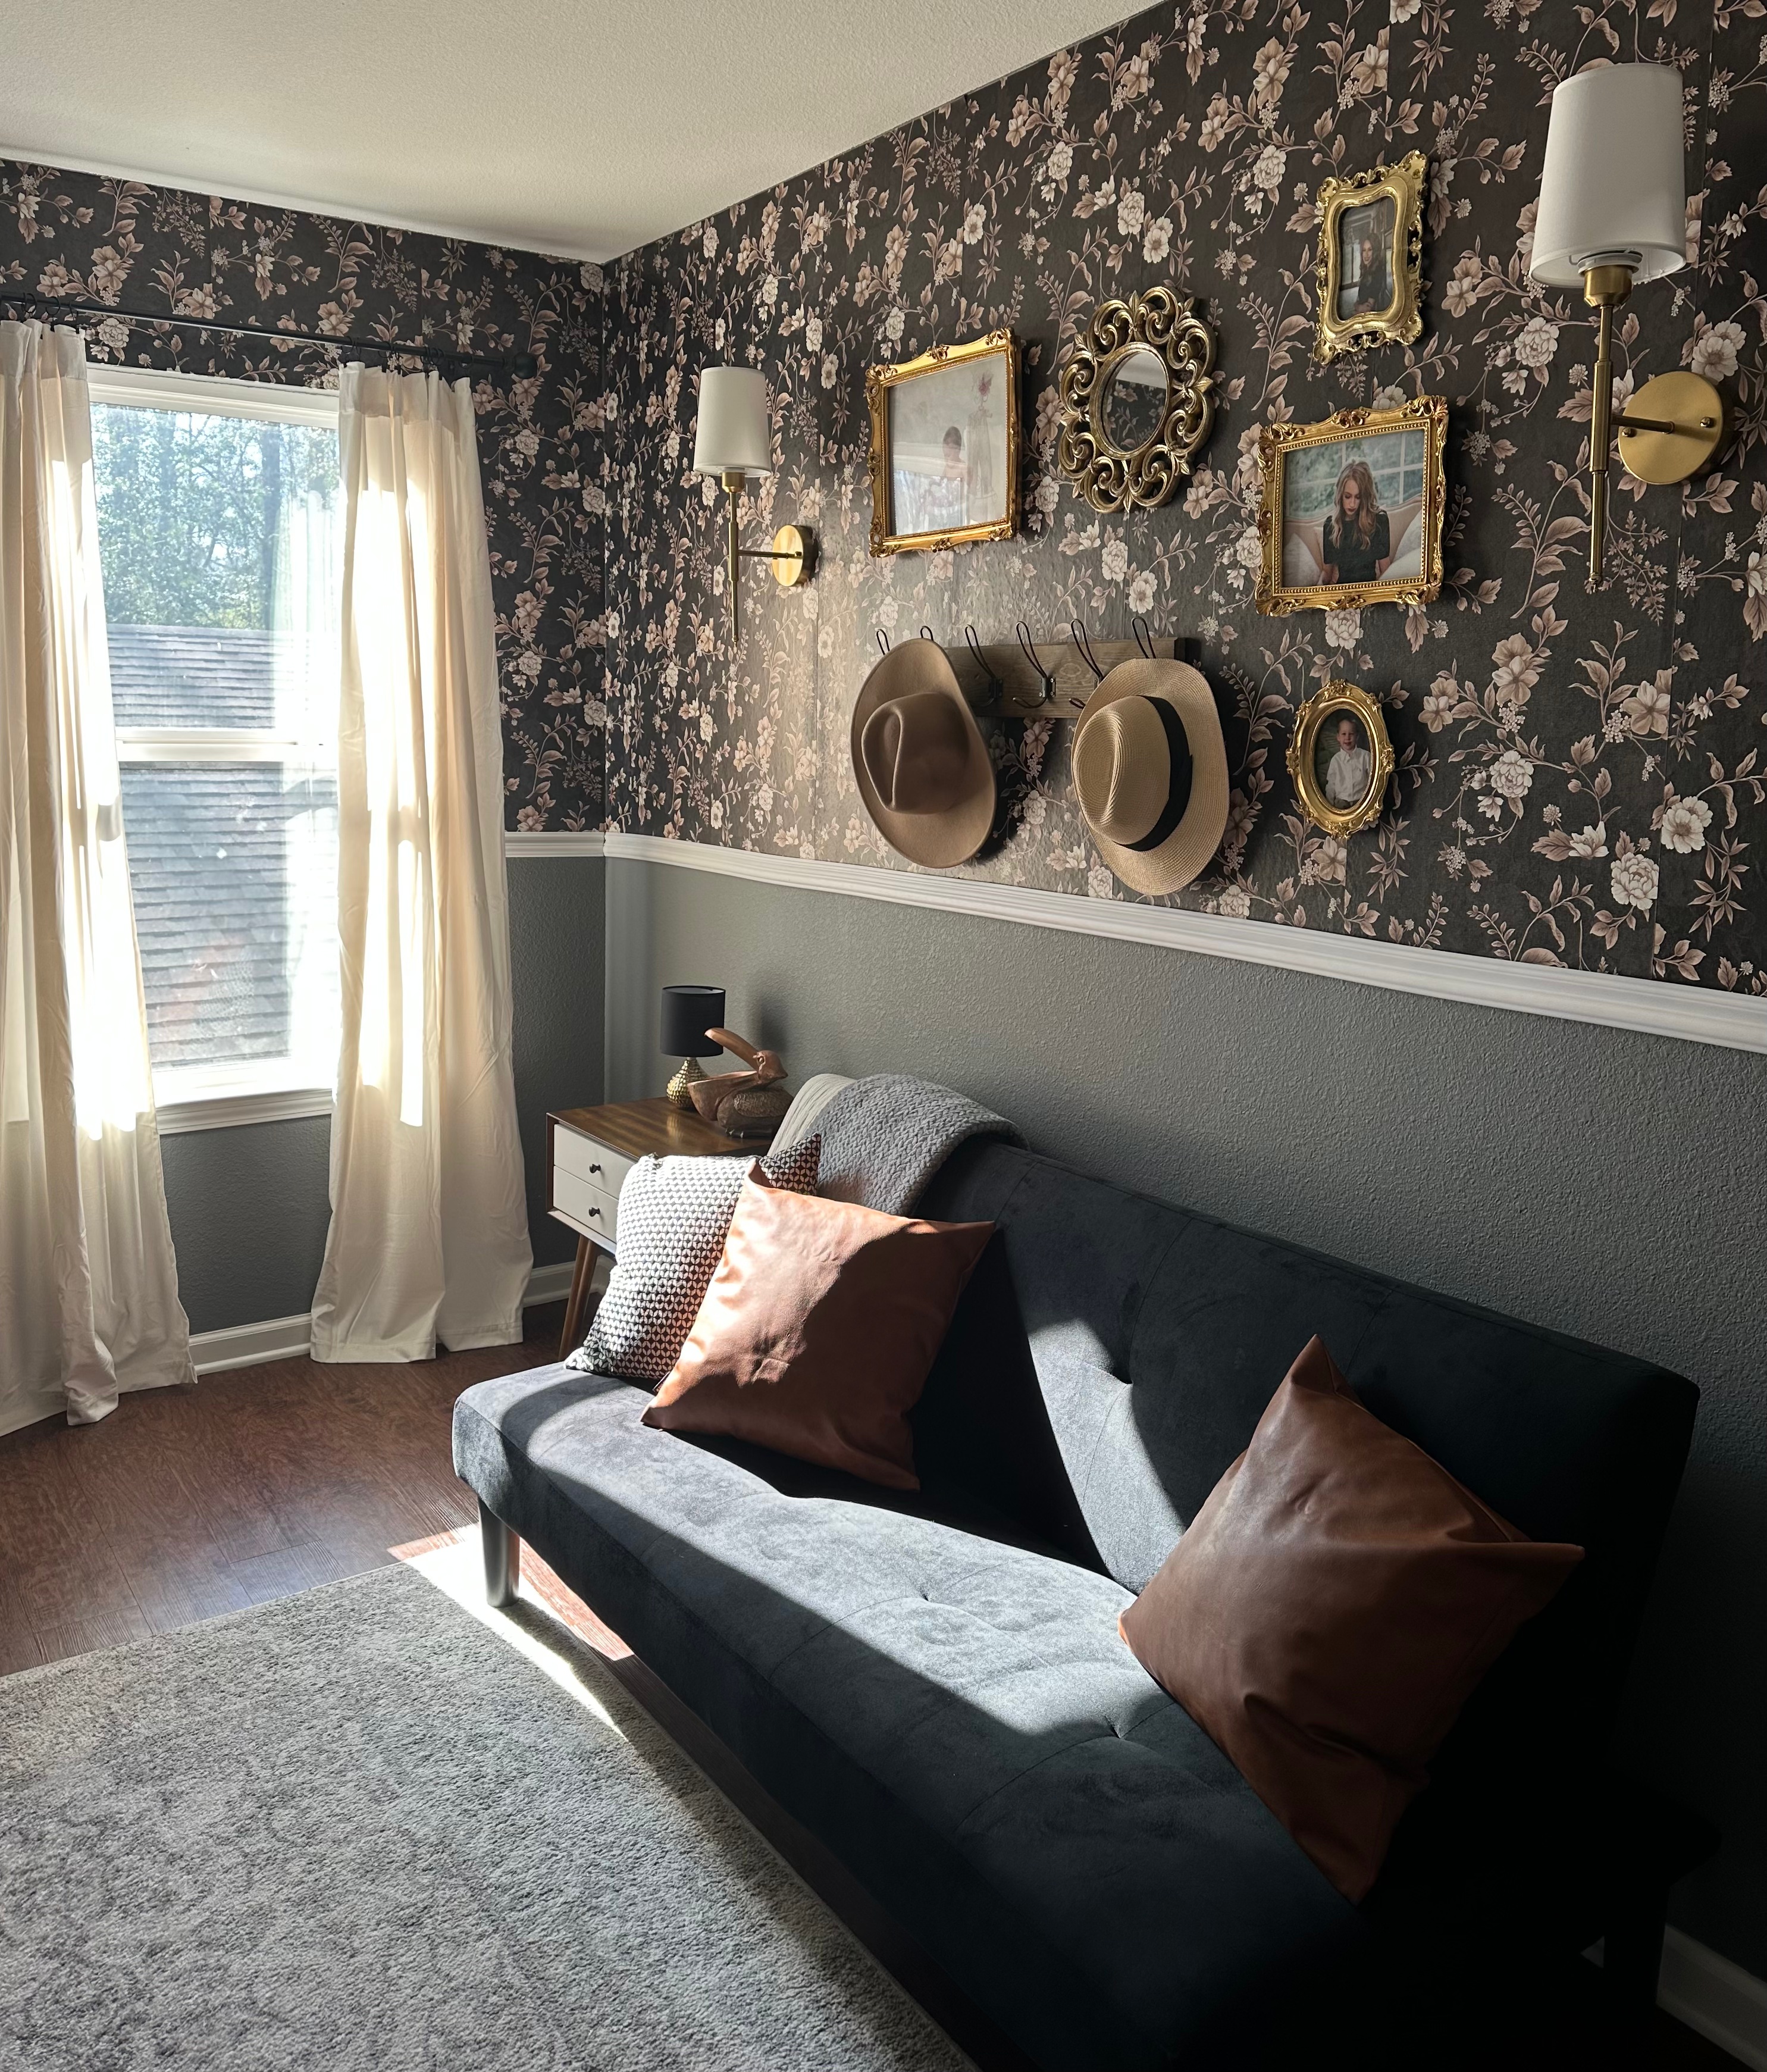
After getting the wallpaper and chair rail up, it was time to accessorize! I got the battery operated wall sconces and the little gold table lamp from Amazon, but everything else I either had lying around the house or was already in my office somewhere.

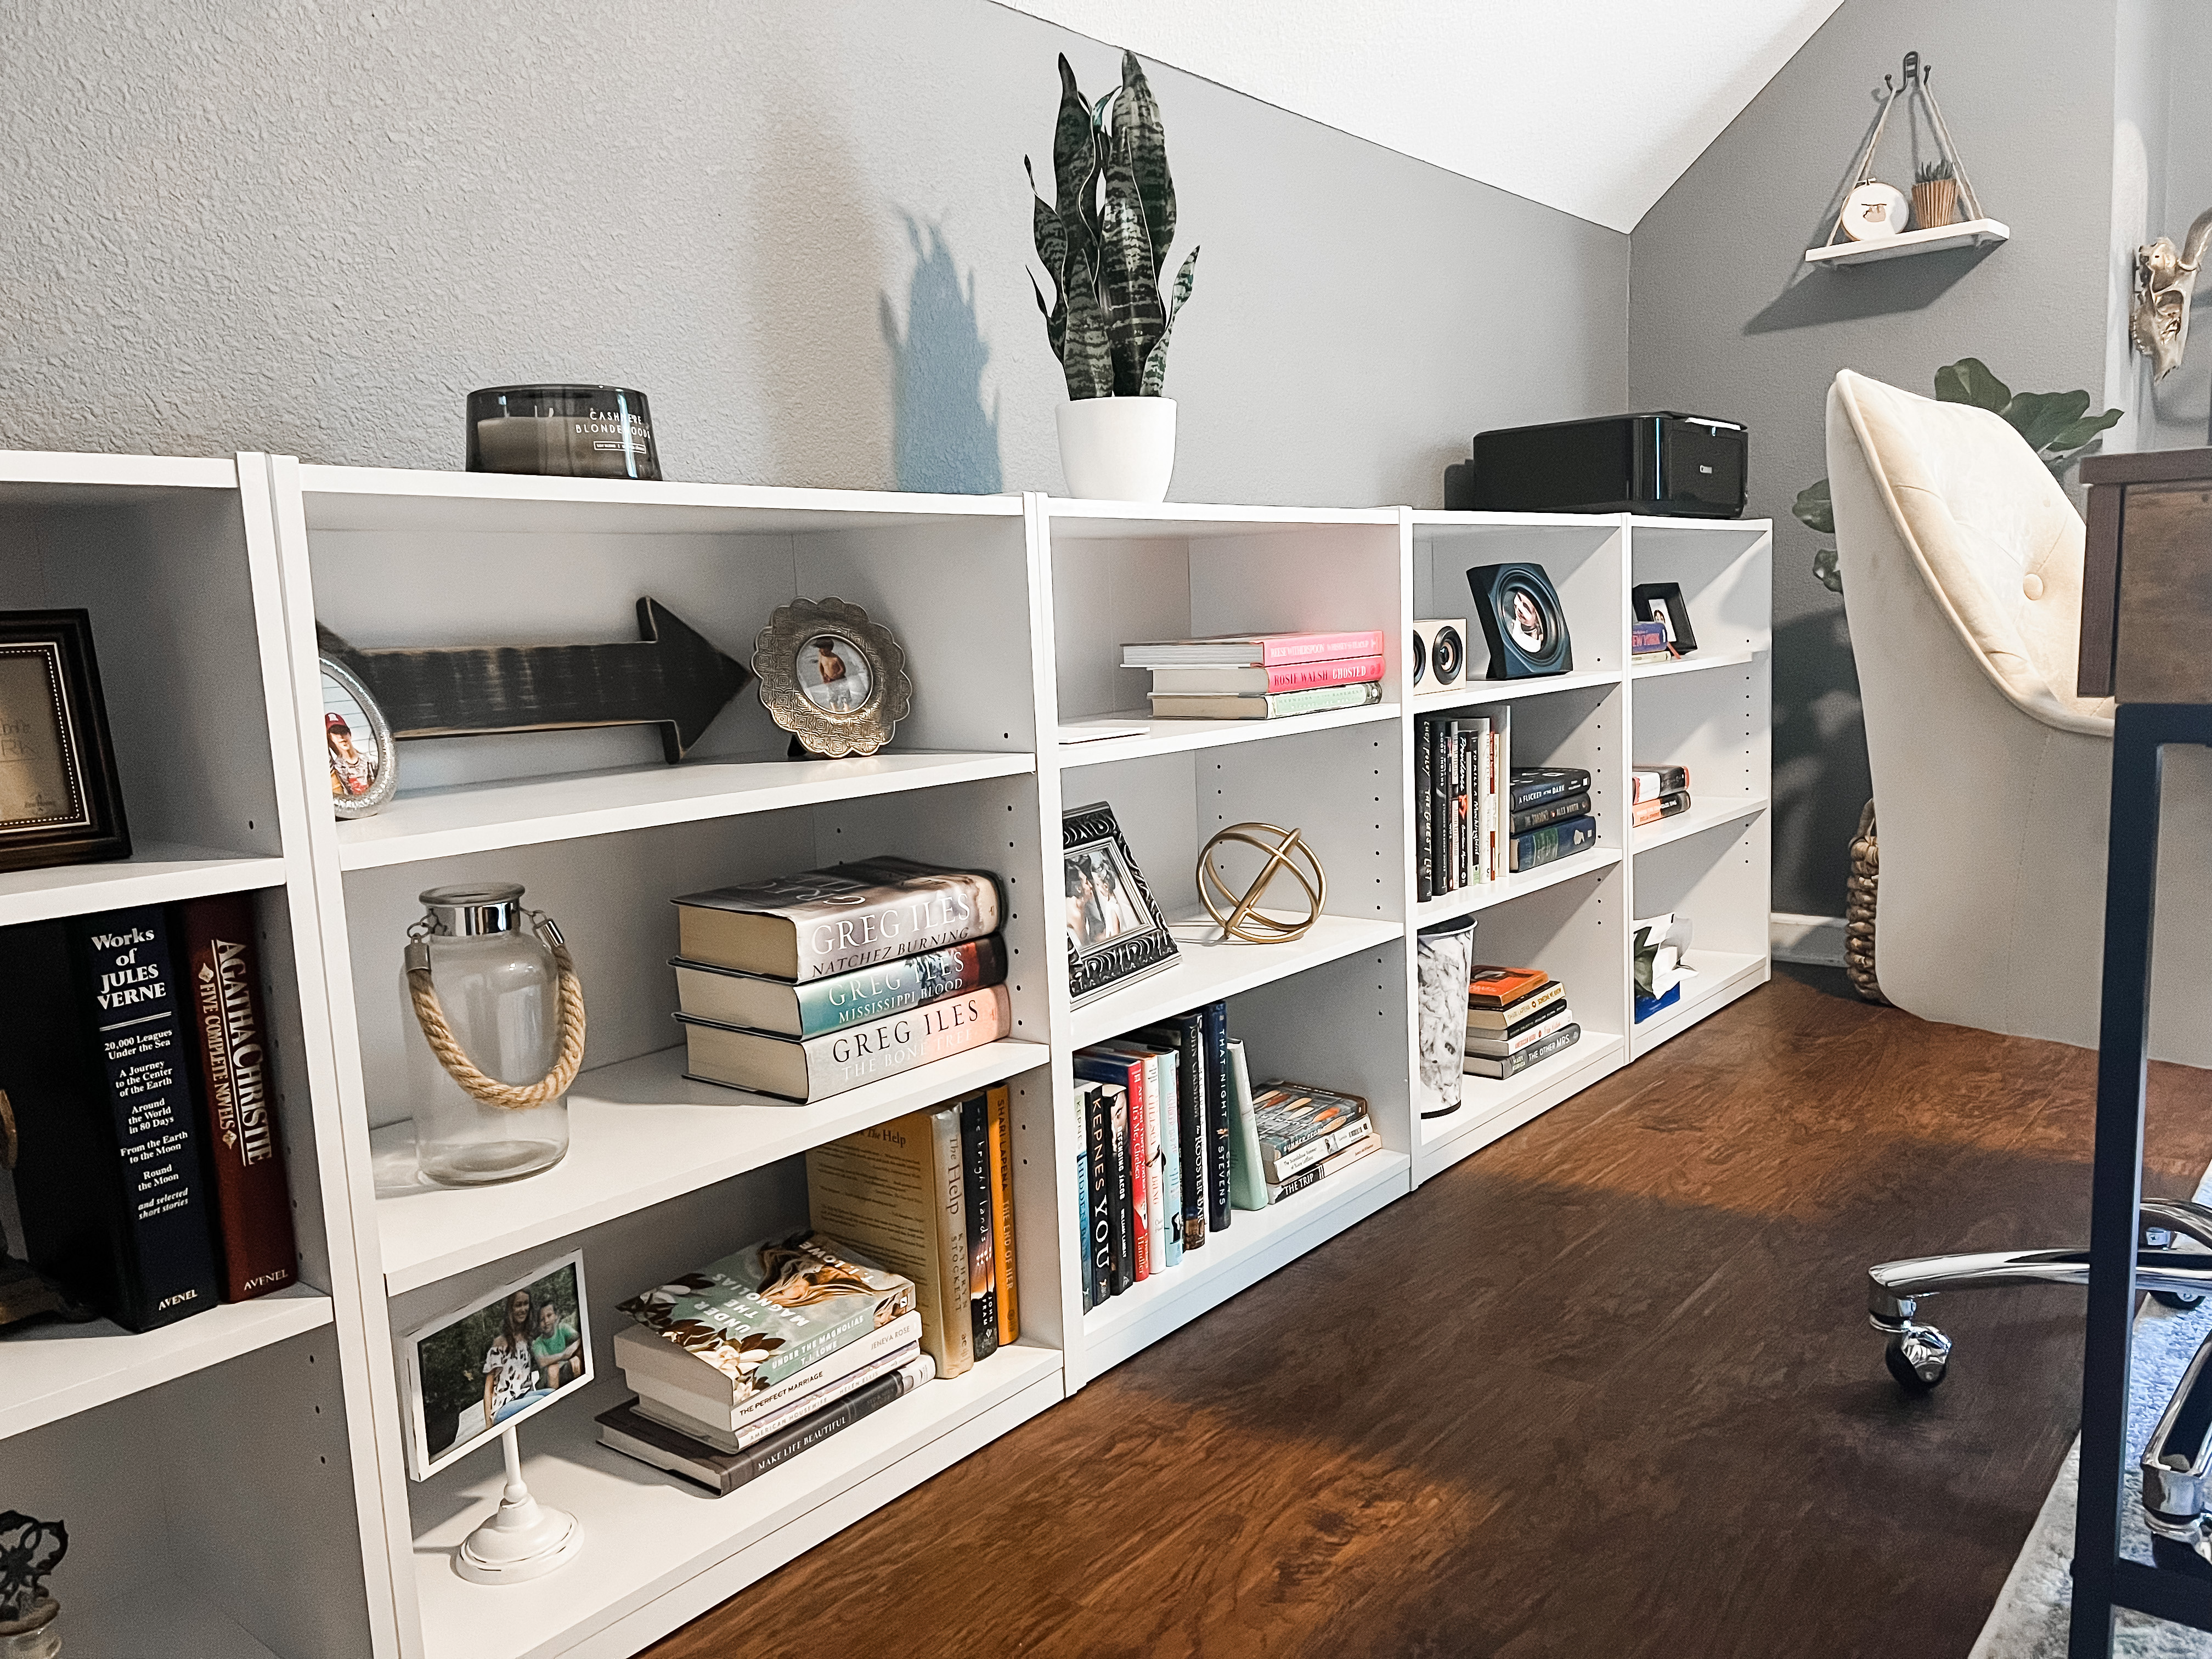
The opposite wall that my desk backs up to is where I store my books, computer printer, and a bunch of little trinkets and pictures, and I did not change that wall at all.

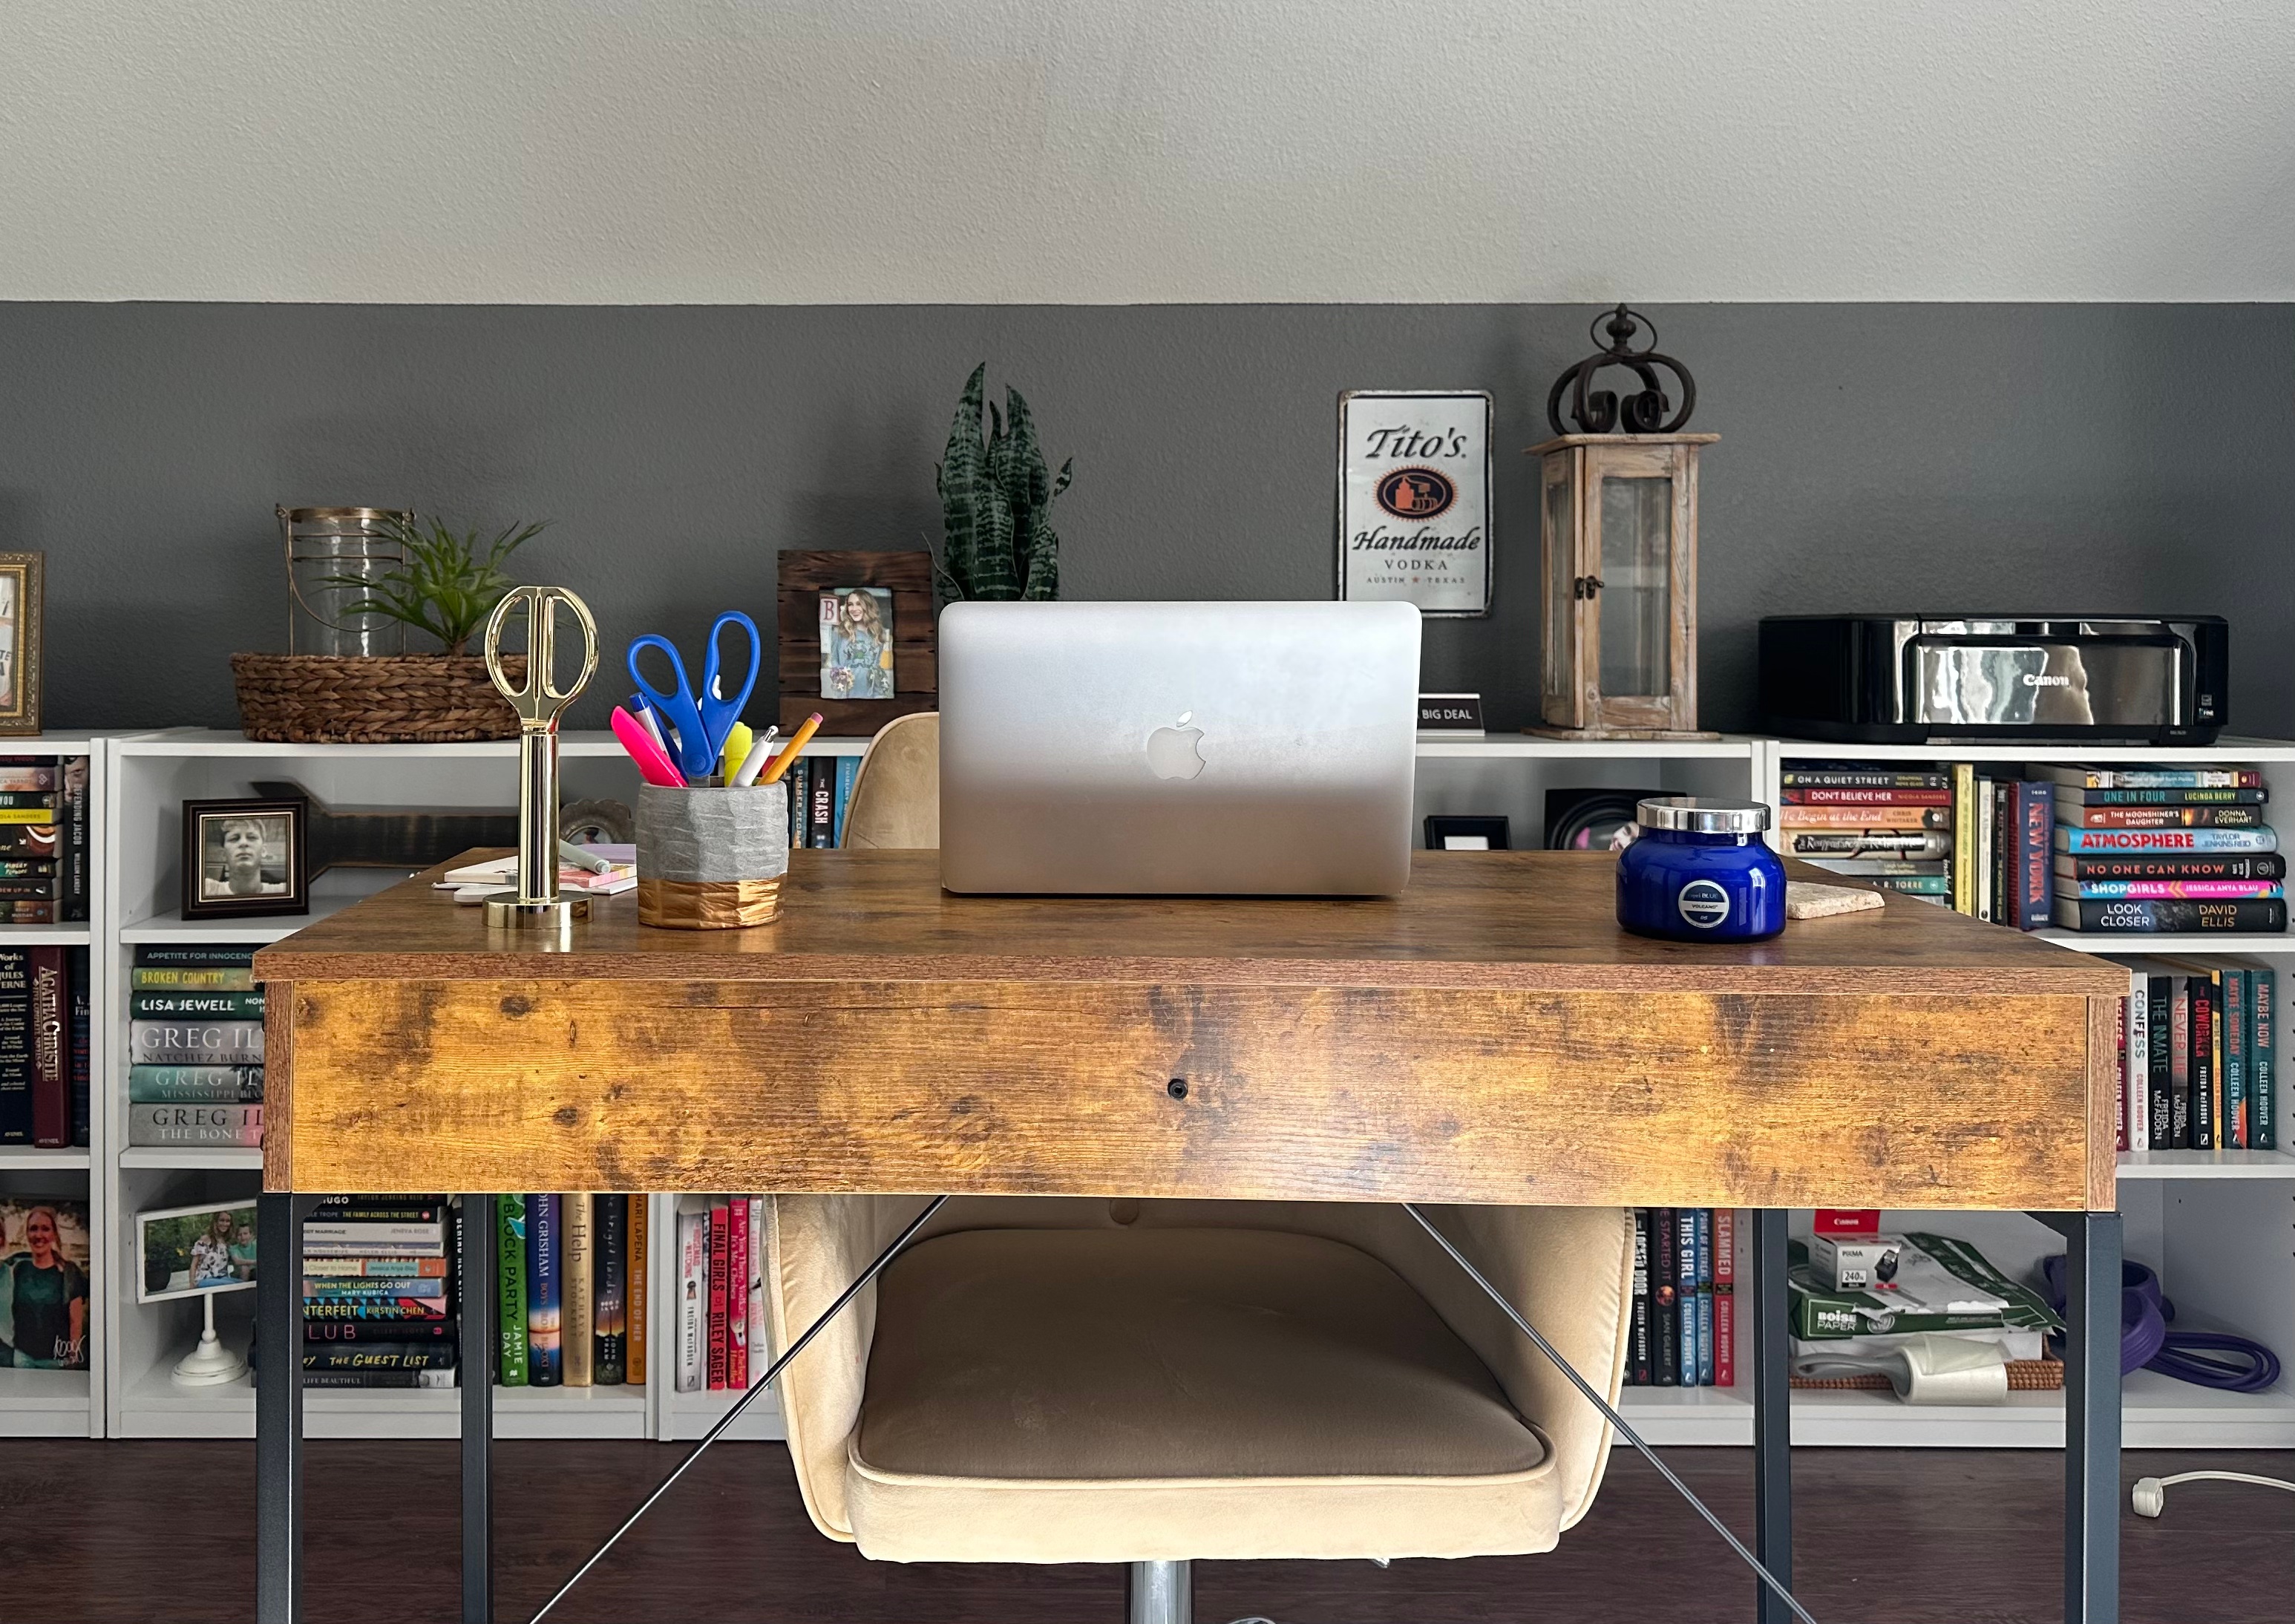
The view from the window up here is nothing more than the roof of our carport, but the view I have now from my desk actually makes me want to stay in my little home office a lot more!

I only spent about $100 total on this office “refresh,” including the table lamp, wall sconces, wallpaper and chair rail, and the adhesive spray, but the difference it made is priceless to me!

Thanks y’all!

-Nikki

Allyson’s New House

My daughter Allyson graduated from Louisiana Tech over a year ago, and has been living in her same college apartment since then. Recently she decided it was time for new place, and found the cutest house to rent in town. As a bonus, the owners are someone we know, which made the decision even easier. And since I absolutely love decorating, this blank canvas was a dream for me!

Since this is a rent house, most things cannot be changed, but the owners picked an awesome neutral paint color for the walls and beautiful flooring, so it was a perfect starting point! Let’s start with the living room…

The living area has lots of natural light from two large windows, a built-in gas fireplace, and a tv mount already installed above fireplace, so all it needed was some furniture and cozy touches! Allyson wanted to start fresh in this new place, so she sold most of her furniture and area rugs before moving, but she did keep the area rug we used in here from her old apartment. Allyson bought herself a new sectional from Ashley Furniture, and I bought the coffee table and end table from Amazon.

There was a large wall leading into the hallway that needed something big, and I happened to find a painting at Kirkland’s on major sale that matched her throw pillows exactly…

And now that you can see a sneak peak of her dining area in this picture, let’s move on to that room!

In her old apartment there was no separate dining area, only some barstools at the counter, so we had fun decorating this little nook! Again, there was already lots of natural light from the big window behind the sitting area, so all she needed was somewhere to actually sit…

This little area is right off the kitchen, and close to the front and side doors leading outside, so we didn’t want to make it feel too cluttered or block the natural pathways to the kitchen and living room. I found the perfect smaller-sized table and chair set on Amazon, and while I was adding that to my cart, I figured I needed to go ahead and add a cute round rug to go underneath it and an adorable little hutch for the back wall! (Can you tell I love Amazon?!?)

The table is small and only seats four, but it’s the perfect size for this dining area, and I was surprised at the quality since I ordered it from Amazon! It’s very sturdy, solid wood, and easy to clean! You would never guess it came from Amazon! The rug has blues and tans in it to tie into the living room colors, and the cute little arched hutch has cabinets at the bottom for extra storage.

Moving into the kitchen, it looked very small at first since it’s a galley kitchen, but once we started filling up the cabinets it is actually larger than it looks!

There is a pocket door that slides closed at the end of the kitchen to hide the laundry area, and the kitchen came with all appliances and under-cabinet lighting. Again, since this is a rent house, we couldn’t change out countertops, cabinet color, etc… But with some personal touches it turned out very cute in here!

The scalloped trim above the sink is so cute, and we hung a couple of prints she had in her old apartment above the sink to break up all the white. A few things on the counters with woods and metals also broke up all the white and gave a little more character to the room. We used trays and caddies in some spots to keep the counters uncluttered and organized, so she would have plenty of counter space still open.

Another thing I love about this house is how you can see down the hall into her bedroom…

Looking from the cozy living room down the hall, you can peep a warm and inviting place to sleep!

This room was larger than I expected it to be, and again, lots of natural light come in from two windows and a door leading onto a cute little back patio…

This was another blank canvas, and since it was a new place, Allyson decided to ditch her bed she’d had since high school, and bought herself a new bed with headboard attached and two large nightstands from guess where… Amazon!

These nightstands are so much prettier in person too! What we thought were a rattan front to the drawers in the online picture is actually a gold overlay! Allyson found the area rug at Lowe’s and also got all new bedding from Amazon, including the brown velvet throw pillow covers.

The dresser is an antique that I found years ago at a local antique store, and we added the mirror on top from WalMart…

The bathrooms are both the same size, and again, since it’s a rent house, not much we could change. Just some new shower curtains made a huge difference though.

Also peep the bathroom print that ChatGPT made me of her two cats, ha ha!

There is another bathroom and two extra bedrooms, but I’ll end it on maybe my favorite room of the house. We call it her “glam room” since it’s the room she gets ready in. With smaller closets and smaller bathrooms, it helped to have an extra room devoted to just clothes, hair, and makeup. A vanity with built-in plugs for hair appliances and plenty of storage for all of her makeup, a comfy oversized chair to get ready in, a full length mirror, and a fun rug that came from her old apartment bedroom…

The little cabinet under the window is actually the cat’s litter box! It literally amazed me when I saw it, because growing up we kept our litter box on the floor in the laundry room with some old newspapers underneath it. With this cabinet, the cat walks into the opening on the right, then goes through a little door into the litter box behind the cabinet doors. You just open the cabinet doors to empty it, and it looks like a piece of furniture instead of a litter box! Keeps everything hidden, including any smells!

I hope you enjoyed this little tour as much as we enjoyed decorating the place. Allyson said she always wants to stay at home now after work and on weekends since it’s so cozy in there! And Allyson, I am SO proud of you and your accomplishments! It is so great to be your mom!

Thanks y’all!

– Nikki

1-Day Laundry Room Redo

I have always been a fan of checkered floor tile, but have never been willing to pay someone to redo our flooring. Then I discovered Chris Loves Julia FloorPops on Amazon! These are peel-and-stick tiles that look and feel like the real deal, and the colors and patterns are beautiful!

This is the original floor tile we had in our laundry room, the same tile that is in our bathrooms. It’s pretty, but also boring. Our laundry room is tiny, so there’s not a whole lot of room to make it “pop.”

Ignore my mess on the shelves and on top of washer/dryer, but here is a picture of the “during” process. These tiles were so easy to cut with a box cutter, and although it was a little more difficult to do the diamond pattern instead of plain old checkered pattern, it was worth it! The brown color matches the wood floor that meets the tiles from the hall, and the bold color and pattern makes this small laundry room much more exciting!

Again, ignore my mess on the shelves, but here is the finished product! No tools required other than a box cutter to cut the tiles to fit in corners and along baseboards. Every time I walk by my little laundry room now I’m so excited to look at the new floor! I think I’ll get a bright colored curtain for the little window next to add even more character! This project only took me a couple of hours, and I only needed three boxes of tiles to complete it, which ended up being only about $60. A small price to pay for such a transformation!

ChatGPT redecorated my bedroom

We’ve all used ChatGPT to roast our family pictures or word things so that we sound smarter than we really are, but have y’all ever tried uploading pictures of your home to see what it would look like in another style? Well that’s just what I did with our master bedroom, and as soon as I saw what the app came up with, I was in love!

So this is the “before” picture that I uploaded to the ChatGPT app. Not bad, but I was just curious what a different style would look like. The app then came up with this…

First of all, I was blown away by the green walls! I’ve always liked neutral walls, but this green looked so beautiful! Also, my husband is always complaining that our bedroom looks “too girly” and this green looked a little more masculine to me!

Second of all, we’ve never had a headboard on our bed, and I was surprised at how big of a difference a headboard made in the new picture! I immediately got to work on trying to recreate this look!

The first thing I did was order a headboard from Amazon, and I also found this print at Hobby Lobby that I fell in love with to hang above the bed. The AI-generated picture showed two prints above the bed, but I liked the look of one larger print better.

Next I got to work on picking out a wall color. I was torn between these two colors, so I got samples of each to try out on the walls.

My husband and I decided we liked the darker green better, which is “Rock Garden” by Sherwin Williams.

And how beautiful it is finished! It’s a very moody green, and contrasts so well with the lighter headboard! I kept all of my original bedding because it’s super soft and comfy, but I did get new curtains that actually touched the floor since the old ones were a little short.

I kept the rug the same as well since it already had some greens in it, so the only thing I changed out were the curtains, the paint color, and then added the headboard and print above the bed.

The green walls look beautiful in any lighting – here they are at night with lamp light…

So when you compare my finished product with ChatGPT’s original suggestion, I’d say they are pretty close to the same!

If my arms weren’t so sore from all the painting, I’d be considering painting every room in my house this color! Now on to the next project!

Thanks y’all!

– Nikki

It’s Fall, Y’all!

Well, technically the first day of Fall isn’t until September 23, but it’s been over 100 degrees here in Louisiana for what seems like forever, so we are celebrating cooler temps a little early!

When I think of Fall, I think of football, deer hunting, fall candles, sweaters, and of course pumpkins and mums everywhere!

Now I can’t keep a mum alive to save my life, so this year I went with something different for my front porch planters. Do not sleep on your local dollar stores, y’all! Most everything I decorated with this year came from Dollar General, Dollar Tree, and Five Below!

These plastic stacking pumpkins are only $5 at Dollar Tree! And while they are cute as is…

…They are even cuter with a little spray paint!

I used some sticks laying around in my yard to keep them from blowing away from my planters after I’d spray painted them…

And the finished project is simple, cute, and won’t die in a week like mums would!

You can also find a variety of sizes and colors of fabric pumpkins at Dollar Tree for $3 each…

The smaller blue and white ones came from Amazon, but the larger ones are all from Dollar Tree.

I used the rest of the Dollar Tree fabric pumpkins I had as a “seat” for my skeleton, which was only $5 at Five Below! This little guy has been relocating all around the house the past couple of weeks, but finally settled by the fireplace ha ha!

I’ve also been seeing these cute little glass pumpkins filled with candy, and I happened to come across this plastic one at Dollar General for only $1!

Filled with candy corn and mixed in with other decorations, it’s perfect! And only $1!!!

Finally I used the rest of my little Amazon pumpkins to fill this candle holder I already had…

…and set out the rest of my yoga skellies in front. (They also came from Amazon a couple years ago.)

So don’t sleep on dollar stores when it comes to Fall decorating! You can find little treasures everywhere if you look hard enough!

Thanks y’all!

-Nikki

Mimi’s Bathroom Redo

For Christmas this year, I gave my mother-in-law a “new” bathroom! Last year I remodeled her bedroom for Christmas, so it was only fitting that I continued the tradition this year!

Mimi’s bathroom is BIG, but was very plain before I got a hold of it. Lots of sterile white countertops and white floors, and nothing on the walls or windows. It just didn’t feel very inviting to her.

The first thing I did was add a rug to break up all the sterile looking tile, which softened the room and added a little color.

I also recovered her vanity bench with this blue and white striped fabric, which gave more texture and color than the beige fabric that was on it before.

Next I tackled the countertop. Before, she had what she needed on the countertop, but it was begging for some more color to contrast with the white.

A pretty tray, a patterned hand towel instead of the solid navy one, a candle, a new hand soap that matched better… All of these things were very inexpensive but made a big impact on the look of the bathroom.

I also got her some new sink faucets that are more modern than these that came with the house, but they are still waiting to be installed. Changing out these faucets and knobs will also make a huge difference!

Next came the bathtub area, which had a ton of potential, but seemed very empty…

For the bathtub area, I added a basket to hold her shampoo and soap bottles, layered a towel that matched the one by the sink over the navy one she already had hanging, hung a picture on the wall that matched the new color scheme, and added a valance made of the same material used to recover the bench. These small touches made the bathtub area look much more inviting.

So with just a few inexpensive touches which added more color and texture to the room, Mimi’s bathroom was transformed into the oasis she deserves! I can’t wait to see the new sink faucets and knobs when they get put in!

If your bathroom is missing something, I hope these easy ideas inspire you to create a bathroom “oasis” of your own!

Thanks y’all!

-Nikki

Home Office On A Budget

When my daughter moved out to go to college, her bedroom was an empty reminder that she was grown and independent, a sad thing to accept as a mother. Passing by her empty room every day got depressing, knowing that she would never be a little kid again.

As a home health nurse, I work from home a lot, doing my patient charting on my computer in the evenings when I get home. I would typically do this at my kitchen counter, which was distracting with my son watching tv or my husband talking on the phone. I needed my own quiet space to work and concentrate, so I decided to turn my daughter’s bedroom into my home office.

Pretty much the only thing left in her room was a rug, so I had a blank slate. What I didn’t have was a ton of money to spend. I knew I needed a desk, a chair, and storage, so I started with some shelving. Built-in shelving is expensive, and bookcases are expensive, so I decided to buy several of the white shoe shelves that go in a closet and just line them up together on the back wall to give the look of being custom shelving. I ended up getting five of them, and at around $20 each, that was only $100 for an entire wall of shelving.

I love to read, and had books stored all over my house in cabinets, on my nightstand, under the bed… Now I have a spot for all my books. I had my printer stored in a cabinet in the living room, and I had to get it out every time I needed to print something, and now it is on my new shelves ready to use whenever I need it.

Next I needed a desk and chair. I needed something cheap, but also something I was excited to sit down at to do my work. And thanks to amazon for the win! I found this small, rustic desk on their website for less than $100, and this cream colored velvet rolling desk chair for less than $60. The desk has two small drawers, perfect for storing desk supplies and the power cord for my laptop, and the chair is feminine and comfy.

Now that I had a work space, I still needed the room to function for guests or for when my daughter decided she wanted to spend a night or two at home. There was no room for a bed anymore with the office furniture, so I had to think outside the box. I went with a black futon from WalMart. It’s a Serta brand, so it’s good quality and surprisingly comfy, but still doesn’t take up a lot of space when it’s folded up as a sitting area.

The futon was only $100, and I had all these throw pillows lying around in closets that I put on it to add some color and texture.

And even though this is supposed to be my work space, now that there is a sitting area in front of my desk, my husband and son wander in every now and then to sit down and hang out with me while I’m trying to work! But of course I don’t mind the company every now and then ha ha!

There is also plenty of room to fold the futon out into a bed for when we have guests.

So now not only do I have a quiet, pretty, comfortable space to work at home, but I don’t feel so sad passing by an empty room every day! And I was able to turn the room into an office AND a guest room for less than $400!

Thanks y’all!

-Nikki

Italian Cheese-Stuffed Meatloaf

I am NOT a fan of meatloaf, but the rest of my family loves it. So a perfect compromise is this Italian-style version of meatloaf oozing with mozzarella cheese. Imagine a giant, cheese-stuffed meatball with a crispy topping, MUCH tastier than regular meatloaf with ketchup on top.

Here’s what you’ll need:

  • 2 pounds ground meat (I used 1 pound ground beef and 1 pound ground sausage)
  • chopped celery, about 3 stalks
  • 1/2 onion, chopped
  • a few mushrooms, chopped (I used baby portabella)
  • 3-4 garlic cloves, minced
  • Italian breadcrumbs (I used Panko since they are crispier)
  • chopped parsley
  • 8-ounce block mozzarella cheese
  • 2 eggs
  • salt and pepper
  • extra-virgin olive oil

Preheat oven to 350 degrees. While oven is heating, sauté onion and celery in 2 tbs olive oil until tender. Add in garlic and mushrooms, then sauté another minute or two. Season with salt and pepper AFTER the mushrooms have started to cook, because salt will make the mushrooms rubbery if you salt them too early. Remove pan from heat and let cool a few minutes.

This is a great way to sneak in a few veggies, because they sort of disappear into the meatloaf and your kids won’t know they are in there! You could also sneak in some carrots, eggplant, etc.

In a large mixing bowl, combine raw ground meat, cooked veggie mixture, eggs, parsley, 2 cups breadcrumbs, 6 ounces of the cheese cut into cubes, and salt and pepper. Shape into a loaf about 12″x5″ and place in greased baking dish. (I put mine on a roasting rack inside the dish so the fat could drain off while cooking.)

In a separate bowl, combine 1/2 cup breadcrumbs, the remaining 2 ounces of mozzarella shredded up, a little parsley, and 1 tbs olive oil. Arrange this mixture on top of meatloaf to make the crispy, cheesy topping, then bake at 350 degrees for about an hour or until meat is cooked all the way through.

When you take the meatloaf out of the oven, the topping will be browned and crispy like this…

…and the cubed mozzarella will be oozing out of the meatloaf.

You should have gooey cheese in every slice, and it is SO GOOD! Much better than regular meatloaf! And your kids won’t even notice the veggies snuck in!

I hope your family enjoys this Italian twist on boring meatloaf as much as mine does!

Thanks y’all!

– Nikki

What to REALLY Put on Your Kitchen Countertops

When I scroll through Instagram or Pinterest and see all of these perfectly arranged kitchen countertops with hardly anything on them, I think to myself that these people either have a TON of cabinets to store their everyday things in, or that they staged their countertops just to take these pictures. In reality, our kitchen countertops are a work space, a catch-all area, and a place to store things we need to access everyday. So I figured I’d post some pictures of my “real life” kitchen countertops to give you some inspiration on styling them so that they are functional as well as aesthetically pleasing.

I’m a married mother of two with a full-time job, so my kitchen countertops don’t look like the ones on Instagram or Pinterest, but with some creative organizing I feel like they still look like I put some effort into styling them.

When you have more things to do each day besides make your kitchen look like it should be in a magazine spread, but you still want it to be inviting and clutter-free, there are a few steps you can follow to create a kitchen space that you’ll be happy with.

1. Store any small appliances that you don’t use everyday in a cabinet or pantry. I have a very small kitchen, so my storage is limited, but I have found room to put away anything I don’t use daily, like my toaster, my quesadilla maker, etc. The only small appliances I use pretty often are my coffee maker and my stand mixer, so those are the only ones I actually have out.

2. If you have staple ingredients you use daily, store them in something you actually like to look at, like cute canisters and containers. Canisters can be expensive, so I got these large glass ones at Walmart for $10 each and used scrapbook sticker letters for the words. They aren’t as pretty as others, but they are functional. I like that they are huge, so I don’t have to refill them all the time. I like that they are clear, so I can always see when I’m running low on something. And I like that they were cheap! The wooden pepper mill and salt box came from Target, and cost around $5 each. I cook with salt and pepper everyday so it’s nice to have them handy, but also in pretty containers.

3. If you have cooking utensils that you use often, or that you just don’t have room for in a drawer, store them in a cute utensil crock. I keep my utensil crock and my knife block right next to my stove, so that I can easily grab whatever I need while I’m cooking. The utensils that are plastic, old, ugly colors, etc. are kept in drawers.

4. Use trays, baskets, risers, etc. to keep smaller items together, so your countertops don’t look so cluttered. Grouping smaller items together on trays also makes it easier to clean your countertops.

5. Only keep items around your sink that you actually use. I have soap and paper towels next to my sink, and that’s it. When you’re washing your hands or washing dishes, you know some dirty water is going to get splashed around, and it makes it much easier to clean up when you aren’t having to navigate around a bunch of knick-knacks or a million different kinds of soap and lotion bottles. You can still make it “pretty” with choosing soap dispensers or paper towel holders.

6. Mix in some decorative items to make you actually want to be in the kitchen. I don’t have a lot of sunlight coming into my kitchen, so I have fake plants, but they still make me happy. In the spring and summer I’ll replace them with real flowers and greenery from outside in vases.

7. When you’re arranging everything, be sure to leave plenty of counter space to actually work on. After all, that’s what our countertops are for – to use!

I hope these tips have given you some inspiration for your own kitchen. It IS actually possible to have a put-together looking kitchen that is still functional, even if it doesn’t look like the perfect ones you see on social media. (Side note, I would LOVE to have white or cream colored cabinets, but my husband wanted natural wood cabinets, so we compromised and settled on this espresso color. I feel like it makes the kitchen look too dark and smaller than it actually is, but maybe in my next kitchen I can talk him into a lighter color!)

Thanks y’all!

-Nikki

Cash’s Room Redo

My youngest is almost 13 years old (How did that happen?!?), so I thought it was time to update his room and make it a little more “grown up” looking. He loves baseball, so that was the “before” theme of his room.

Before

The plaid bedding and the baseball pillows were cute, they just looked too young for him now. I wanted to keep the baseball theme, just with an “older kid edge,” so when I came across these prints on Etsy of baseball patents, I thought they were perfect!

(Please ignore my reflection in the glass!)
Etsy – baseball patent prints

These prints were the perfect inspiration to update his room! I got the 11×17 barnwood frames at Hobby Lobby, giving them a rustic look. The black print contrasts well against the gray walls, and also fits with the more mature look I was going for. These prints also come in other colors though.

Before

The main wall of his room was a cluttered mess. Originally it was just the canvases and basket of hats above the tv, then things just kept getting added to his wall over the years until it was full. This was the perfect place to hang the new prints.

After

We kept his award displays and the first deer he ever killed, and took down everything else, leaving plenty of room for the new prints. Even though this wall is still pretty full, it looks much less cluttered and haphazard.

I had found a brown leather lumbar pillow at Home Goods a while back for super cheap, and knew it would be perfect for Cash’s room, even though at that time I had no idea what I was going to do with it. I decided to just go with neutral bedding, and bring in pattern with a new rug.

Before
After
Before
After
Before
After

The gray sheets actually came from Walmart, so they were super cheap, but so soft since they are the t-shirt sheets. The khaki comforter set came from Amazon, so also inexpensive. The khaki color is a little lighter than it looked online, but the material is so soft. The abstract rug also came from Amazon, and ties all the grays, blacks and tans together. (Please ignore all the clutter on his desk – we hadn’t gotten around to cleaning that part of his room out yet!)

After

The brown leather pillow works perfectly with the neutral bedding, so I’m so glad I snagged it at Home Goods since it was the only one they had!

After

Last, I changed his navy blue curtains to gray…

After

…and replaced the large baseball canvas with a fishing rod holder so now his fishing poles are out of the way. The solid comforter instead of the plaid one, as well as de-cluttering the walls a little bit, make his room look bigger and definitely more grown up.

After

So even if I’m not quite ready for him to be a teenager, his room is ready for it!

Thanks y’all!

-Nikki