I hate meatloaf. It’s boring, it’s ugly, it’s not really all that tasty. But THIS meatloaf…
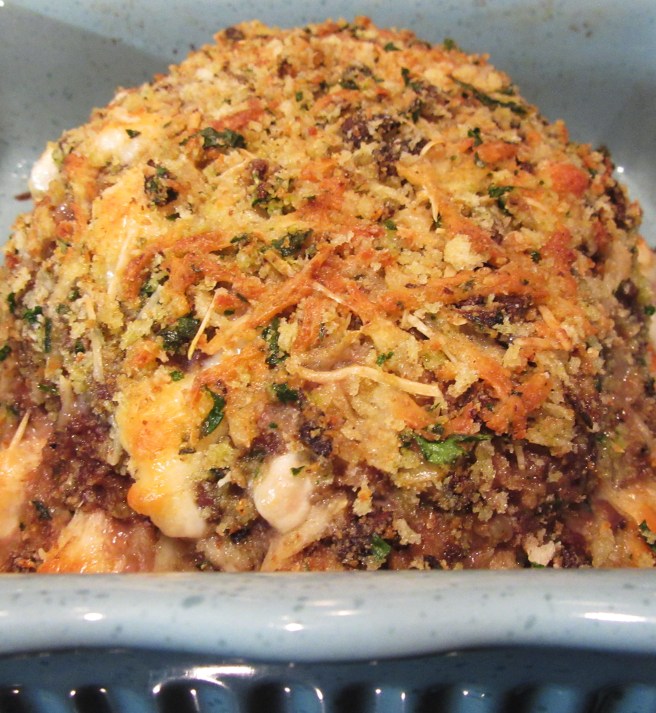
… This meatloaf is exciting! No ketchup topping on this beautiful meatloaf – instead there is a crispy, colorful topping. And what is that gooey white stuff oozing out? Well that’s mozzarella cheese, because this meatloaf is beautiful on the INSIDE too.
I’ve been trying to use up our ground deer meat from last deer season to make room in the freezer for this season’s meat, and there are only so many cheeseburgers a person can eat. We needed something different for the ground meat. There were several suggestions thrown out by my husband and kids (someone even suggested Hamburger Helper, which resulted in them being sent to their room), but none sounded good to me.
After brainstorming for a while, I decided I could combine the idea of meatloaf with meatballs, resulting in this amazing dish.
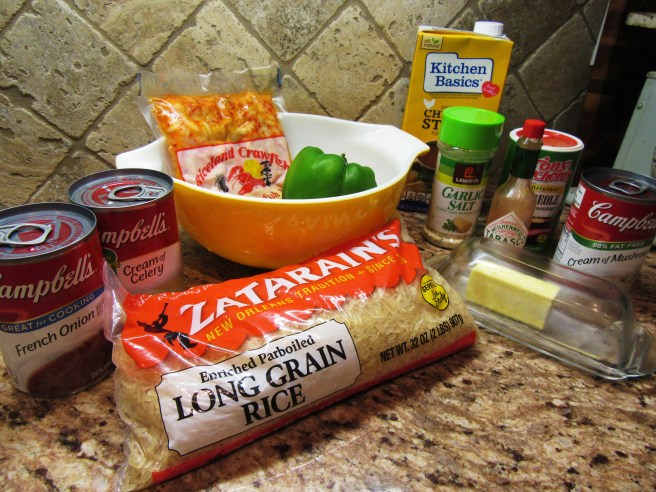
Here’s what you’ll need:

- 2 lbs ground meat (I used deer meat but regular beef is fine – just get the lean beef so your meatloaf doesn’t end up floating in a dish full of grease)
- vegetables of your choice – I used onion, garlic, celery and bell pepper
- 2 eggs
- Italian breadcrumbs
- mozzarella cheese (I used a whole block)
- Parmesan cheese, shredded
- chopped fresh parsley
- a few mushrooms (I used baby portabellas, but any dark mushroom is fine – stay away from the white mushrooms or you won’t get a good color on your topping)
- salt and pepper
- olive oil or butter
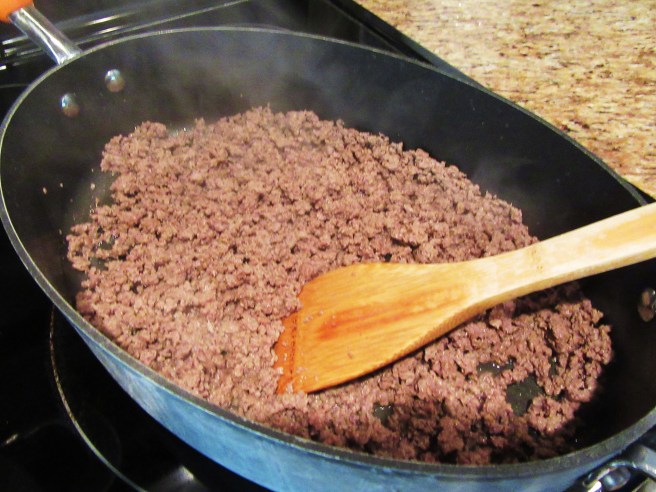
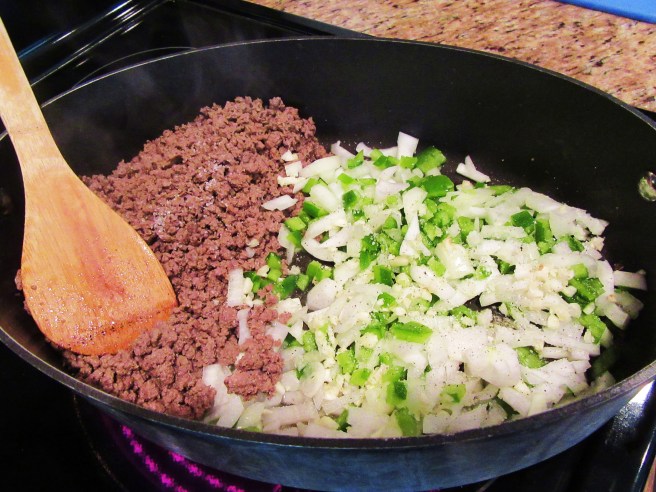
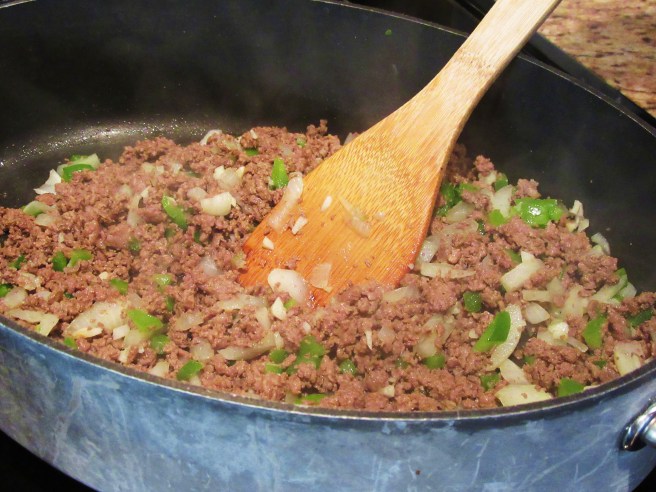
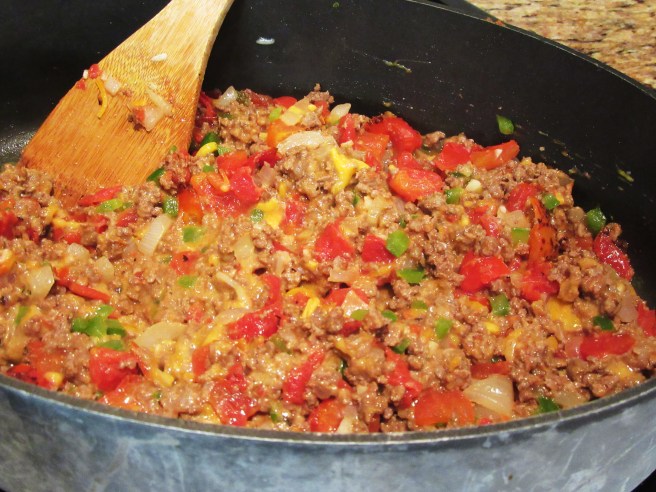
First, chop up your vegetables and saute them in butter or olive oil until they are tender. Use any vegetables you’d like. This is a great way to sneak in vegetables your kids wouldn’t usually eat!


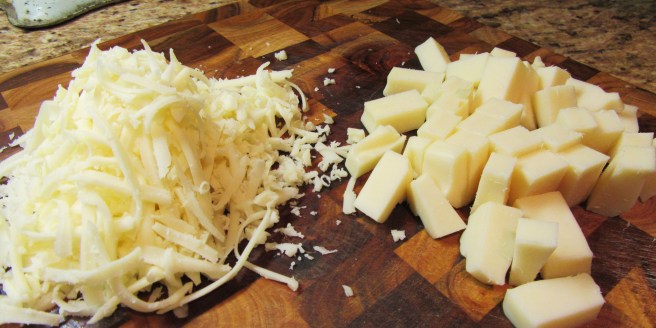
While the vegetables are cooking, cut half of the block of mozzarella cheese into small cubes, and shred the other half with a cheese grater.
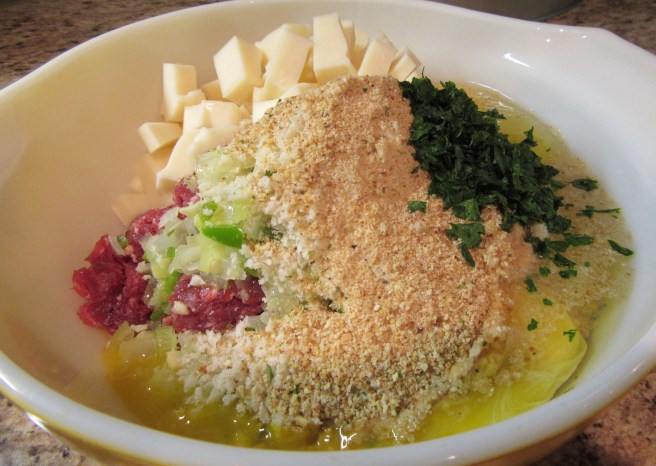
Now it’s time to get your hands dirty! In a large bowl, combine the raw ground meat, eggs, cooked vegetables, 1/2 cup breadcrumbs, cubed cheese, salt and pepper, and a few pinches of the chopped fresh parsley.
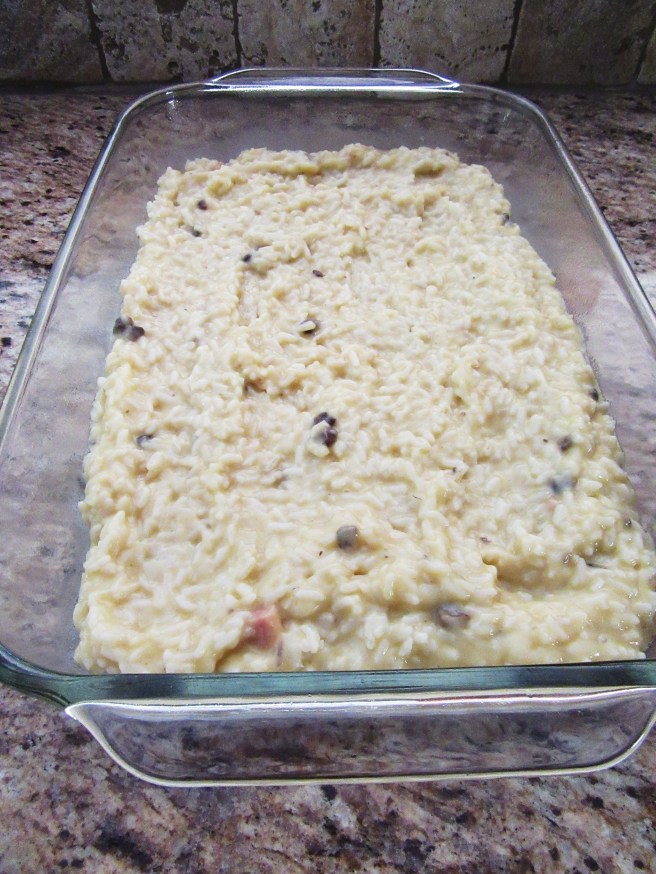
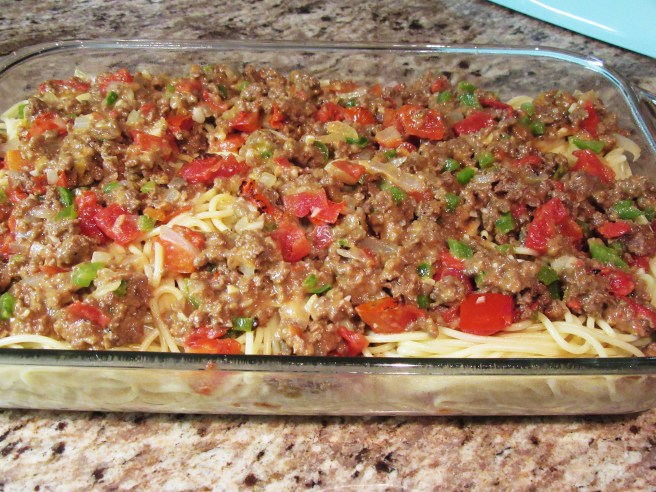
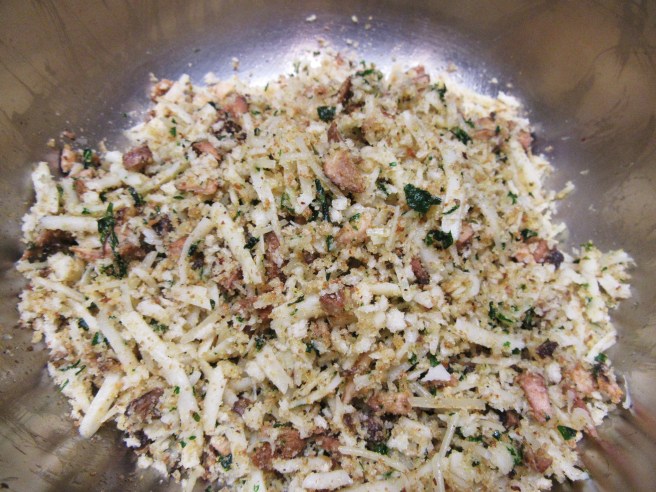
Mix it all up with your hands, then form it into a “loaf” in a greased baking dish. (You may have to add more breadcrumbs if your mixture is too wet.)

This looks pretty good on its own, but it’s about to look even better with the topping…
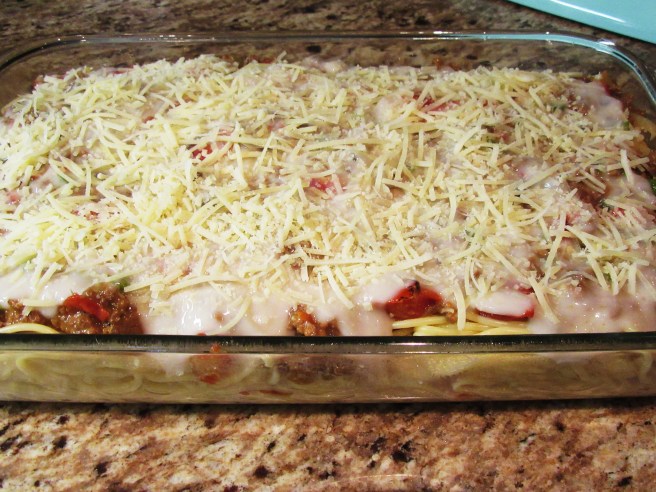
In another bowl, combine the shredded mozzarella cheese, a small handful of the shredded Parmesan cheese, 2 or 3 of the mushrooms chopped very finely, 1/4 cup breadcrumbs, 1 tbs olive oil, and a pinch of the parsley. Using your hands, press the topping all over top and sides of the meatloaf.
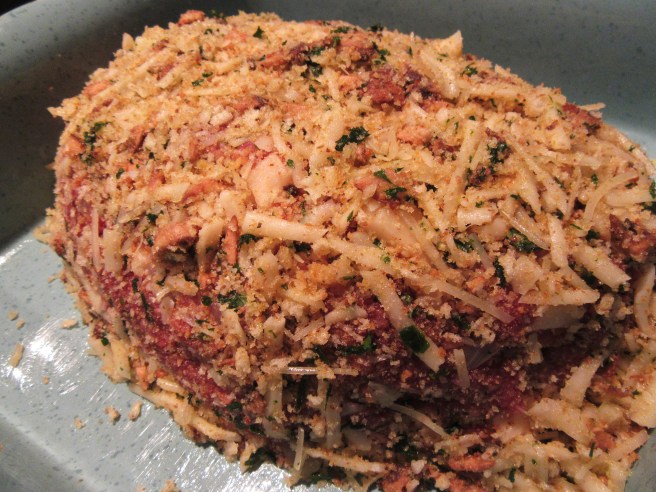
There should be very little of the meat showing. I had extra topping – you may not need to use it all, just enough to cover the meat. Also, don’t freak out if you don’t like mushrooms – you can’t taste them – they just enhance the color and texture of the topping.
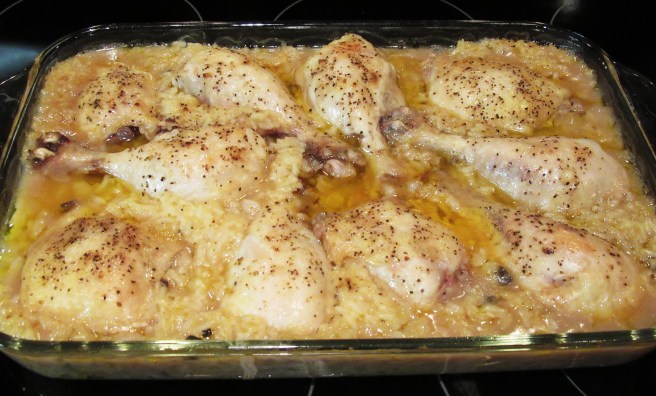
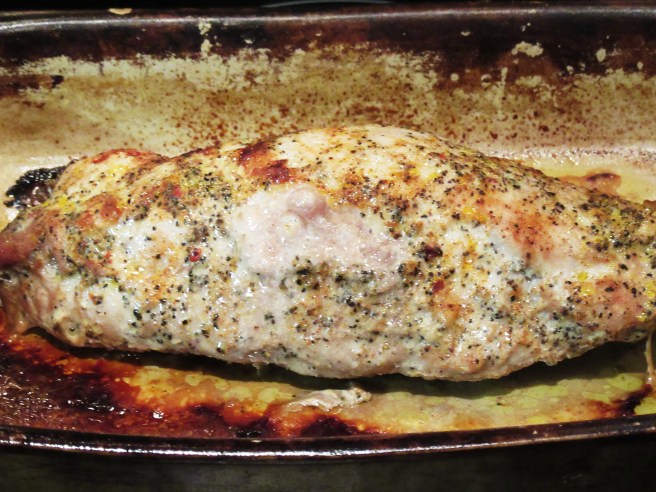
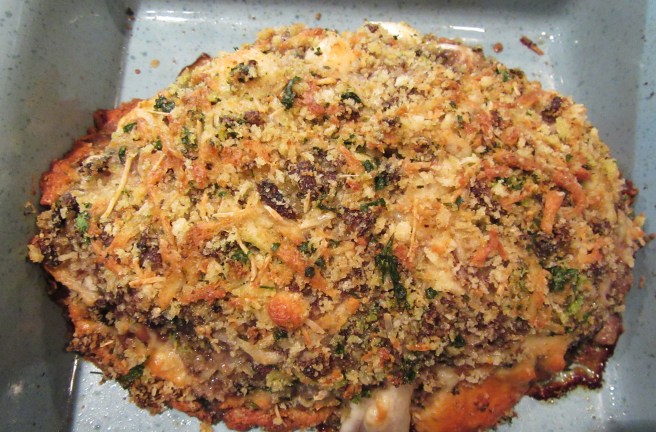
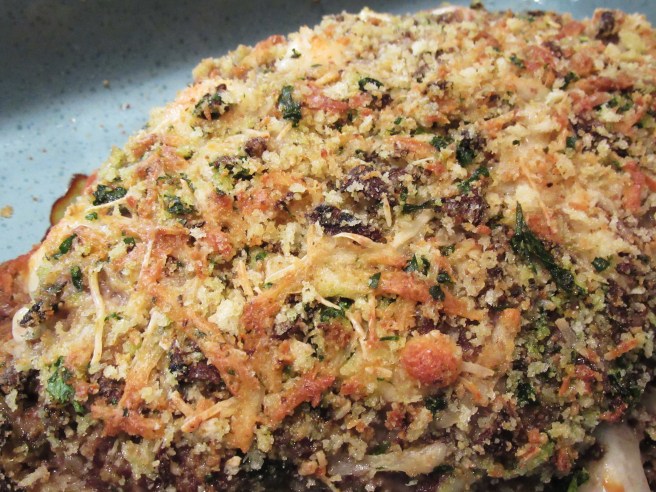
Now bake at 350 degrees for about 1 1/2 hours, or until meat thermometer reads 165-170 degrees in center of meatloaf. When it’s done baking, the topping will give it a rich color, and some of the cheese cubes will be oozing out of the sides.
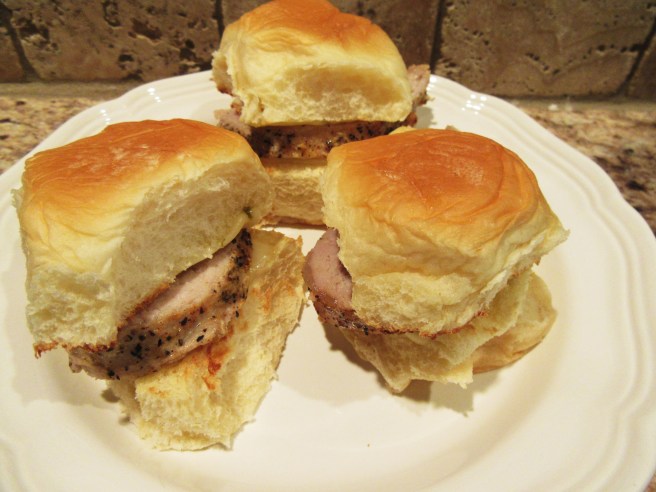
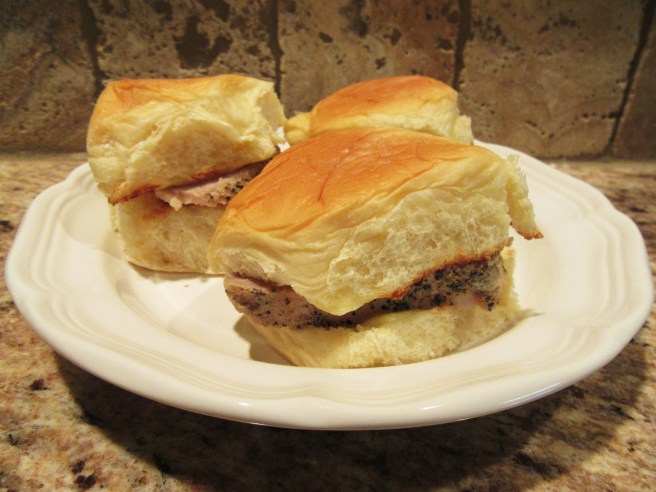
And when you slice it, you can see all the cheese inside as well.

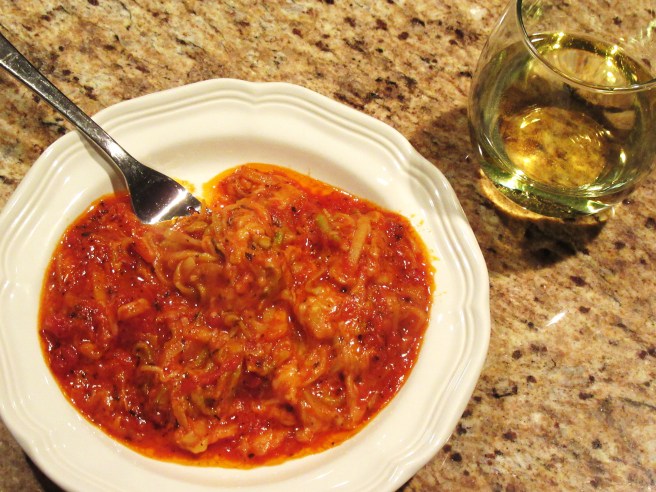
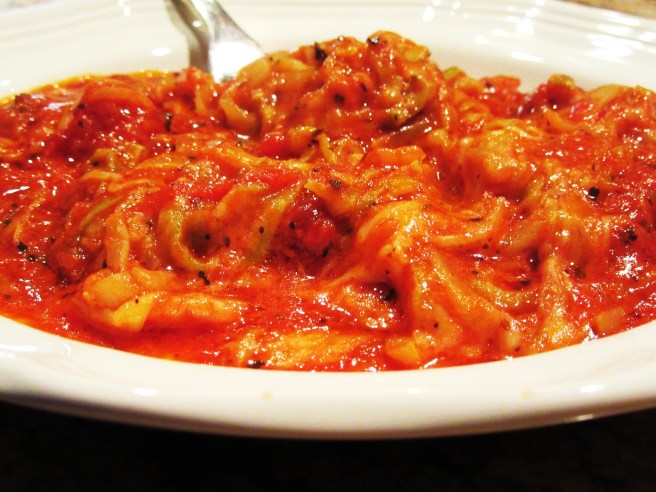
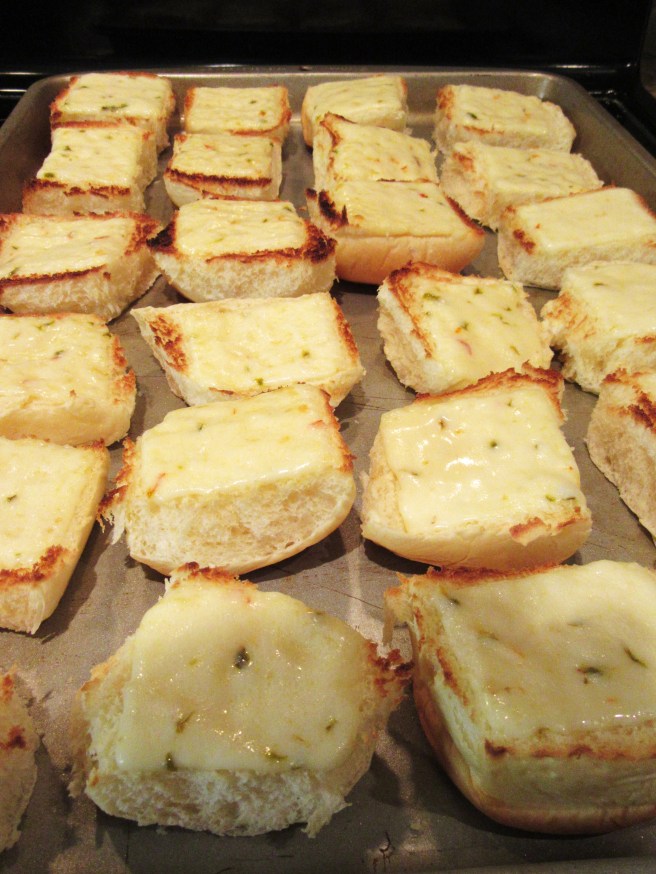
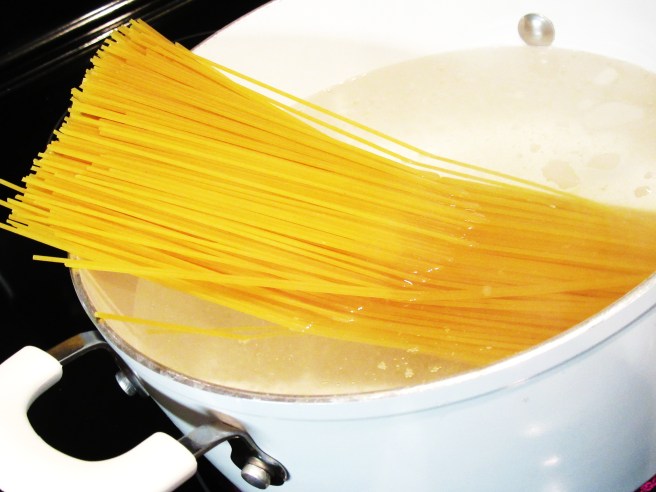
So what do you serve with something this extraordinary? Mashed potatoes are what we usually think of going with meatloaf, so you could add garlic and Parmesan cheese to make them more fitting for this Italian version. I ended up doing fettuccine (from a box) and some garlic Parmesan crescent rolls.


I hope this inspires you to think outside the box (of Hamburger Helper) if you are ever needing ways to use up your ground meat.
Thanks y’all!
– Nikki