If you are on a diet, you might as well stop reading – these are NOT on your diet! They are WELL worth a cheat day though! Creamy, cheesy, and better than any I’ve had at a restaurant!
I have to give credit to my sister Stacie on these – this is actually her recipe. I also have to give her EXTRA credit because I believe cooking these enchiladas snagged me my husband! (So all you single ladies – be careful who you make these for!)
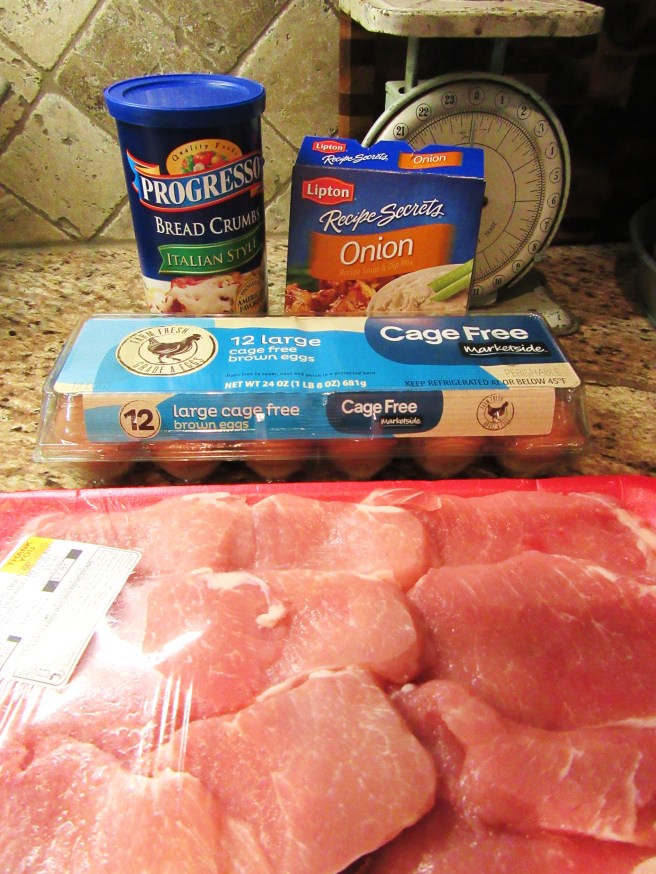
Here’s what you’ll need:

- 1 small onion, diced
- 1 can chopped green chiles
- 1 block cream cheese
- 1/2 pint heavy whipping cream
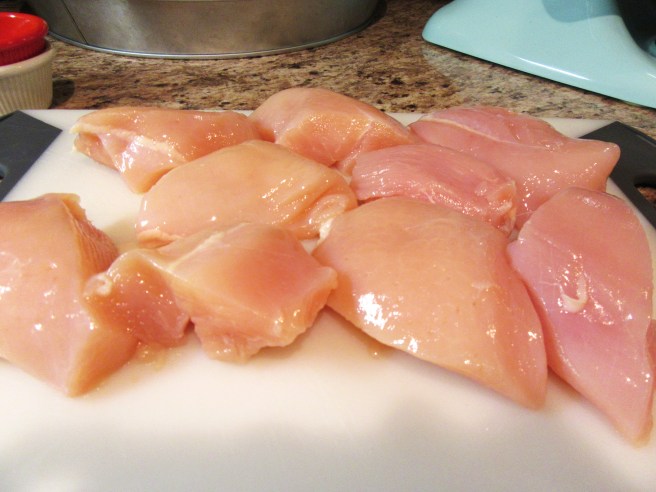
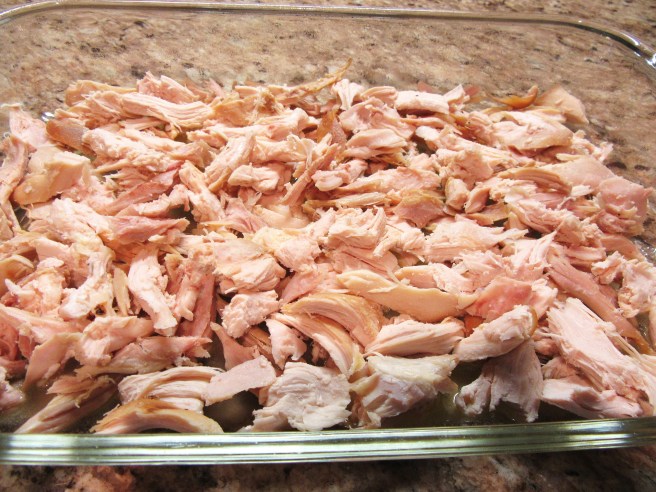
- 8 oz cooked chicken, chopped (I use this pre-cooked bag – it’s already seasoned)
- 1 bag shredded Mexican cheese
- 10 flour tortillas
Please don’t disrespect these enchiladas by using low-fat cheese, wheat tortillas, etc. – you’ll regret it! You can always eat a salad the next night!
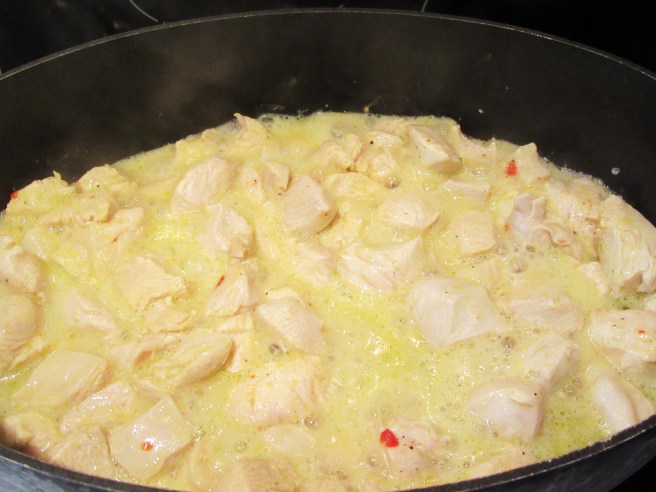
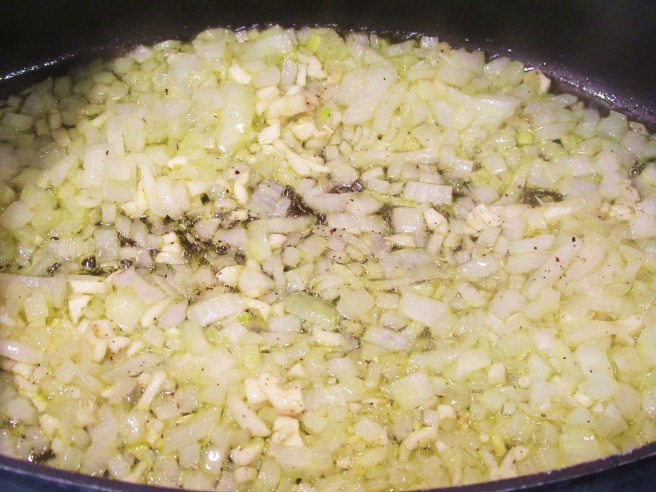
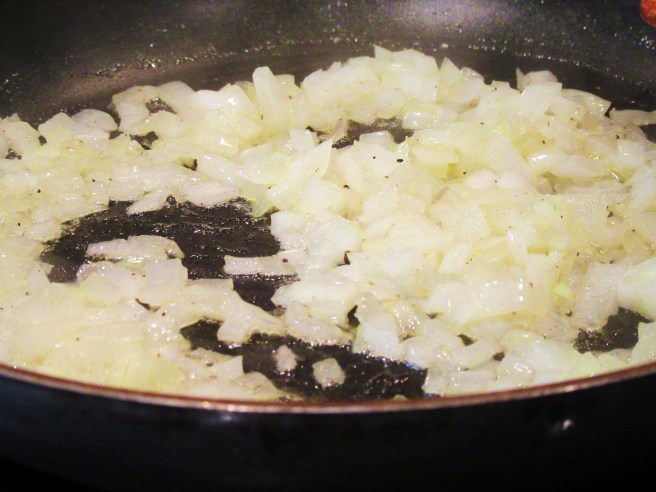
Start by sauteing the chopped onion in some butter or oil until they are soft and almost clear.
Next add in the green chiles and cook another minute or so.

Now add the chicken and cream cheese to the skillet.

While the cream cheese is cooking down, preheat your oven to 350 degrees. Stir every now and then to work cream cheese into other ingredients until it looks like this:

Remove skillet from heat and spoon mixture down center of each tortilla.

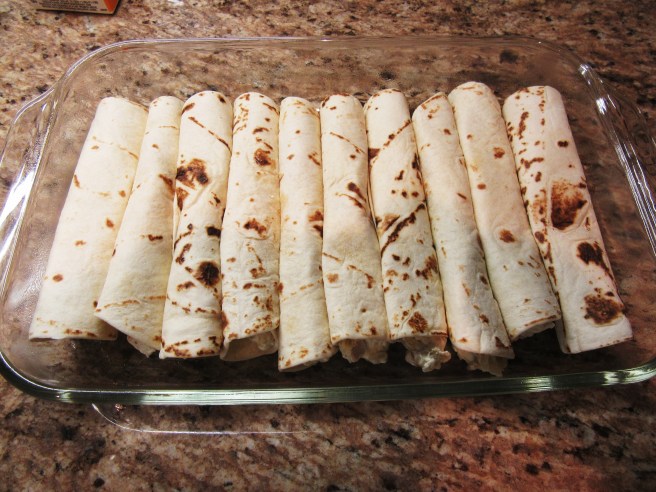
Roll up tightly and place seam-side down in a greased 13×9 baking dish.

Repeat for the rest of the tortillas.
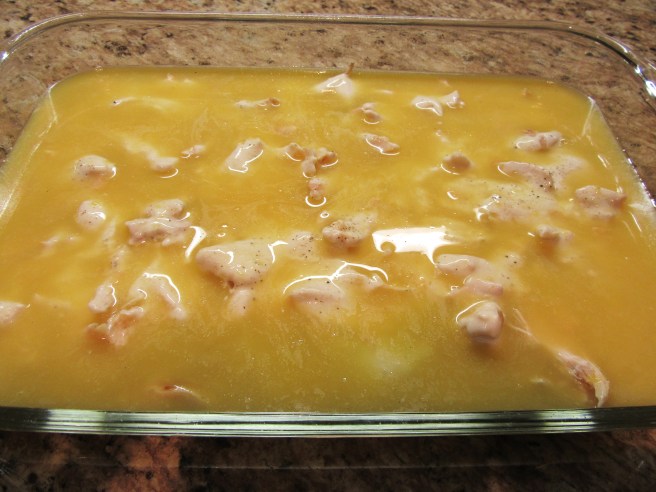
Now is when it gets serious! Pour half of the whipping cream over the enchiladas…

…then the ENTIRE bag of cheese, then the rest of the cream.
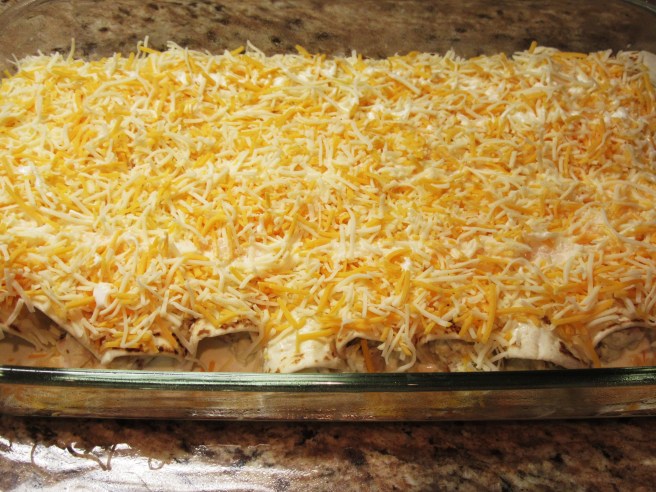
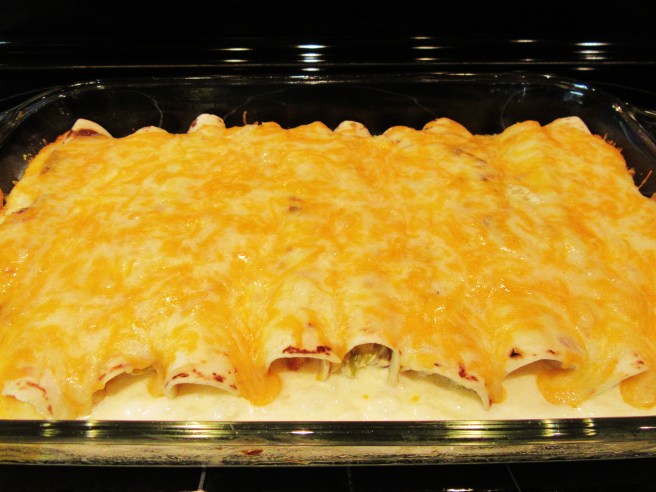
Now bake this beautiful thing at 350 degrees for about 20-30 minutes, until the cheese is melted and bubbly.
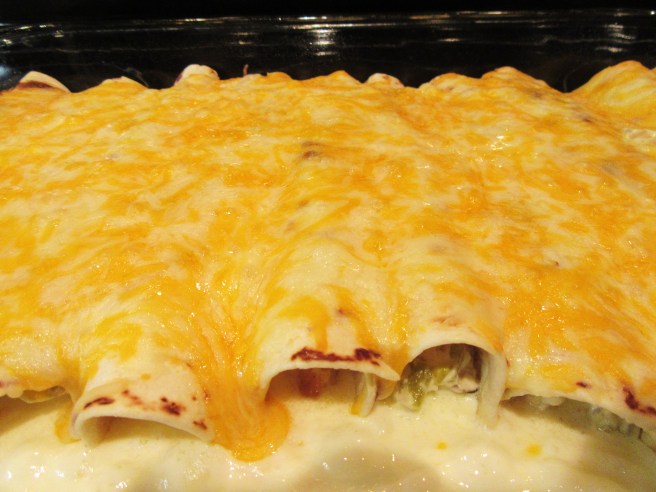
Everyone I’ve ever served these to has said they are better than enchiladas from a Mexican restaurant! I can’t wait to hear how you all like them!


Thanks y’all!
– Nikki